Fivebraids Custom Woodworking, Inc.
Purveyor of "Things Wooden"
Metter, Georgia
*** Business and Retail Shop Closed. ***
Thanks for your support
|
|
Fivebraids Custom Woodworking, Inc.Purveyor of "Things Wooden"Metter, Georgia*** Business and Retail Shop Closed. ***
Thanks for your support
|
|
Custom White Oak Gothic AltarClick on any thumbnail below for full size picture
A client that we've done other work for has a chapel on their property. They've been trying to find an altar they liked that would fit in the space between two windows, but haven't had any luck. When they asked if we could design and build them one, the only reasonable response was OF COURSE WE CAN!
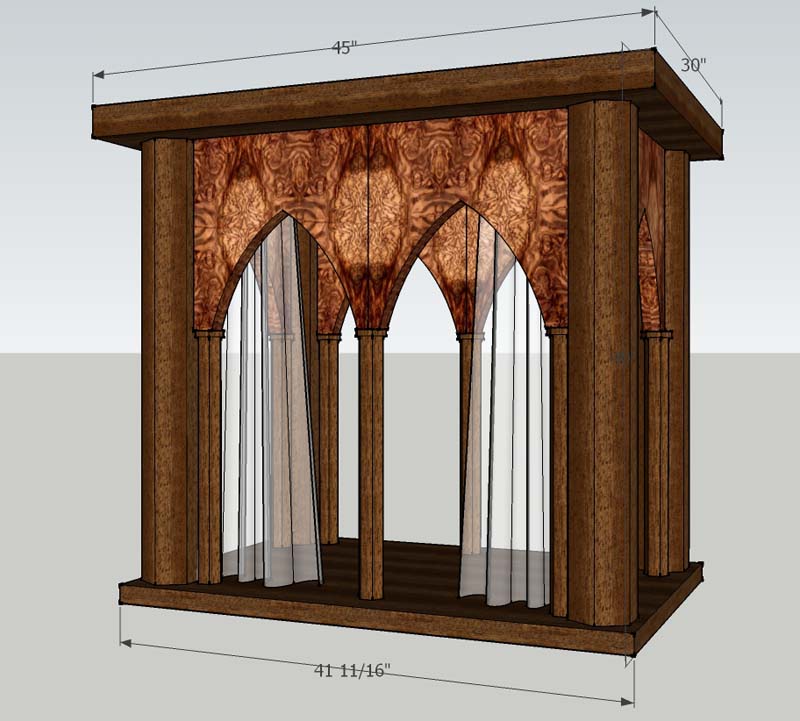
After taking careful measurements of the space the altar needed to fill, we discussed design options. Our client found an altar online that had a basic design they liked. They said they liked Walnut, so we started making modifications to that basic design and offered up a variety of choices, utilizing Walnut and various veneer options.
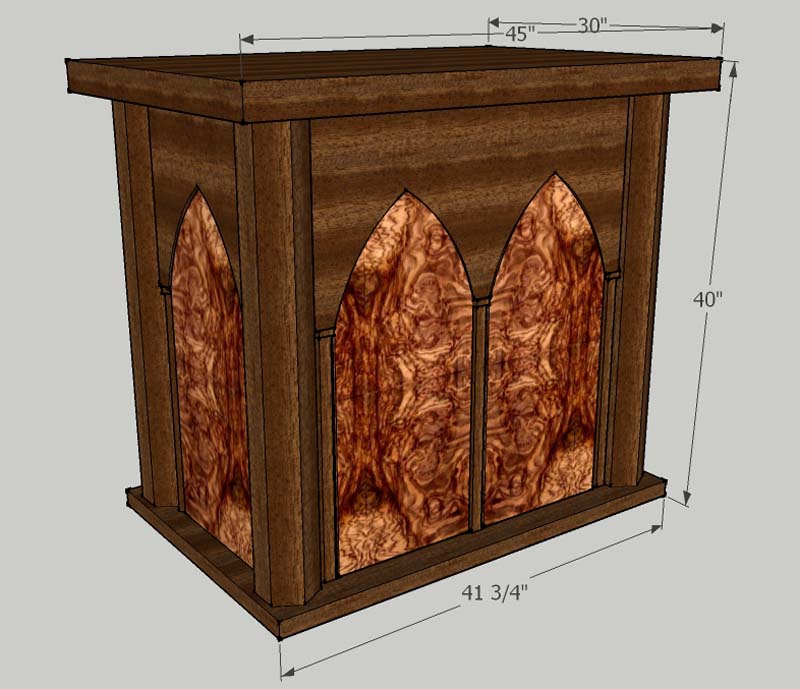
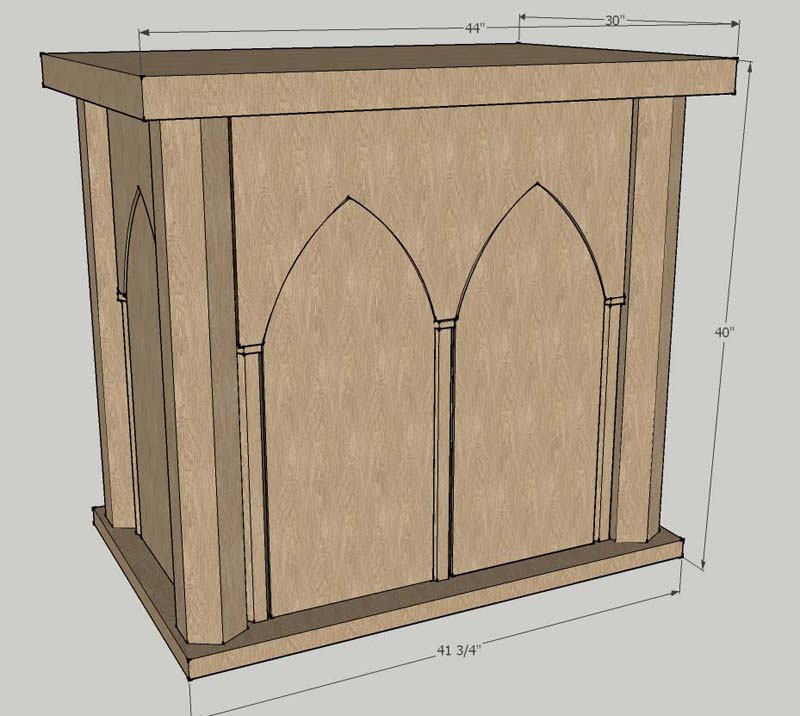
After reviewing our designs, and considering that the majority of the furnishings in the chapel were made of Oak, this is the basic design our client chose. The entire altar would be made from White Oak, and eventually stained to blend in with the other furnishings in the chapel:
I call the above the 'basic design' since this is one of those projects where the actual design details would be determined as the piece came together. It's hard to visualize the exact dimensions of the columns, the angles of the cathedrals, or the profiles of moldings that will be used, until scale models are made and the piece starts to take shape. Our past work with this client gave them the confidence that the right choices would be made along the way.
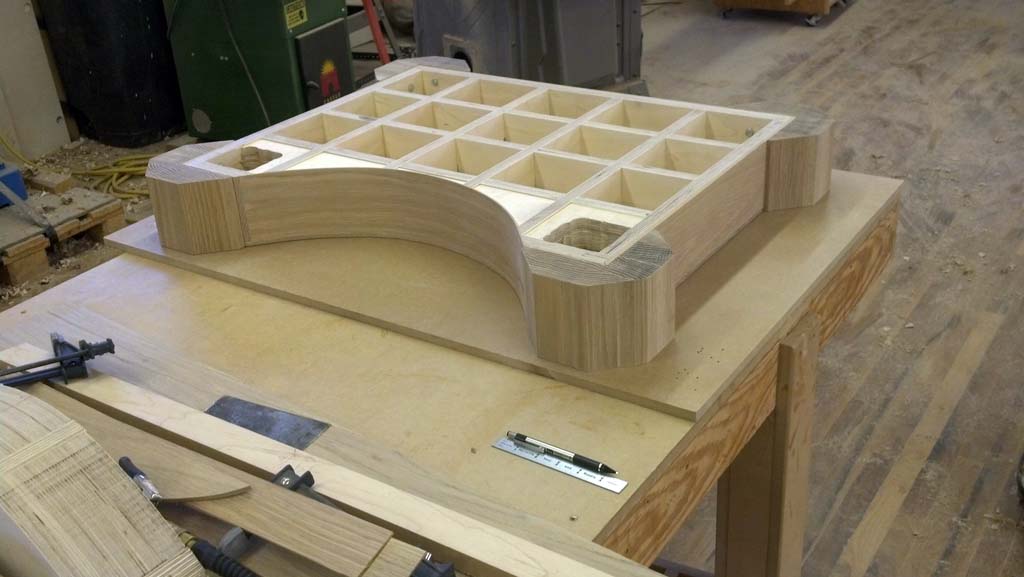
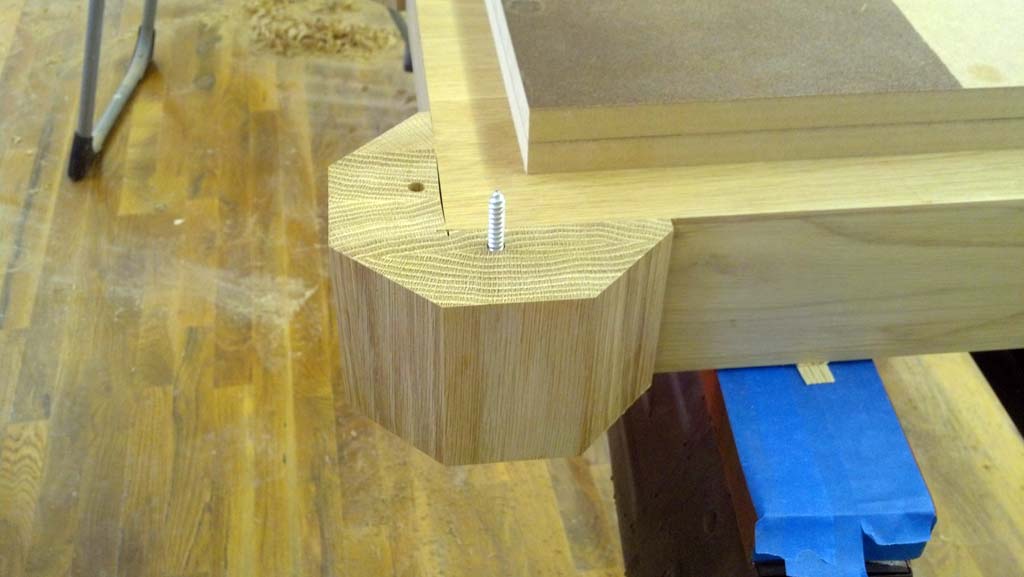
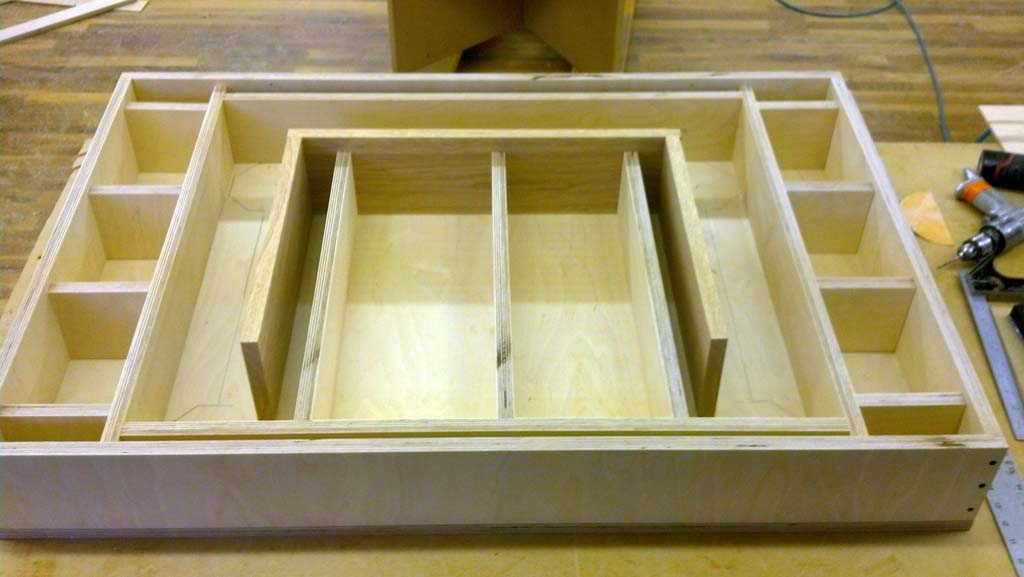
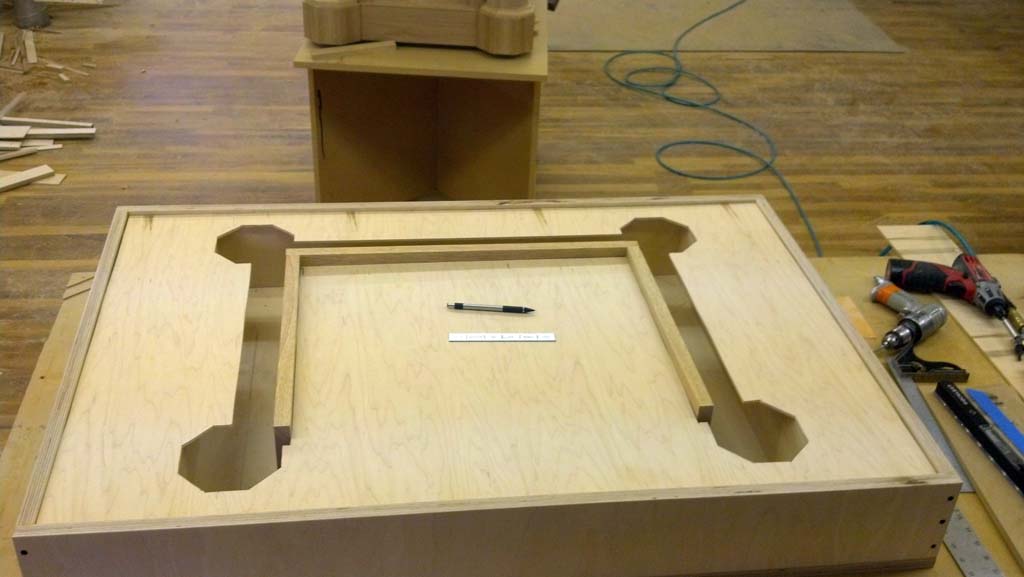
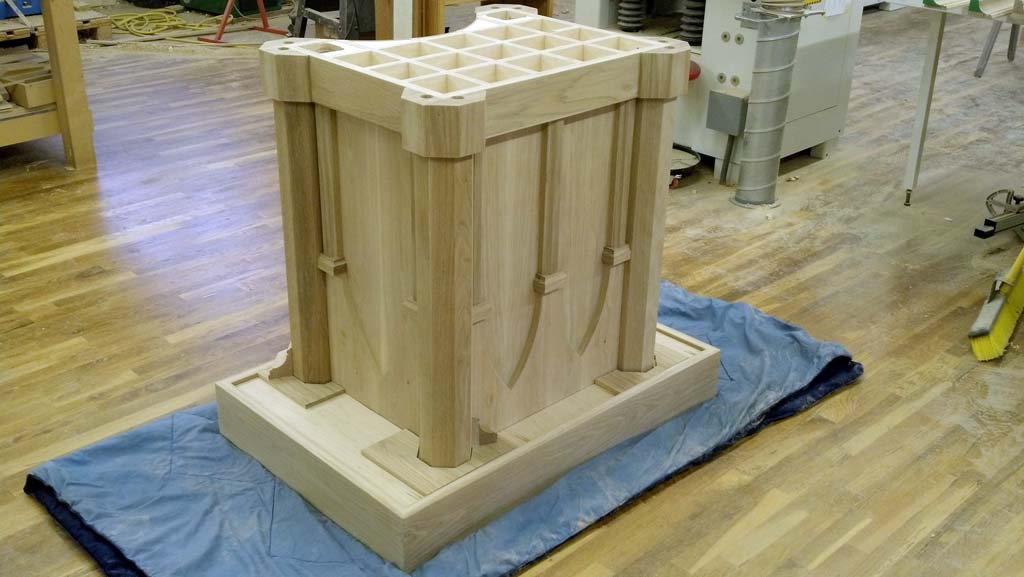
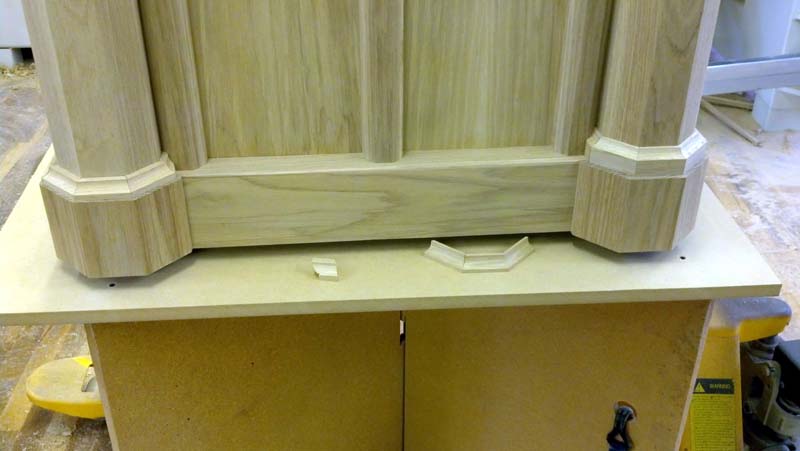
With the basic design down, several different prototypes were made to determine the proper dimensions for the columns. Once the dimensions were chosen, a very sturdy torsion box base was built, and the 'feet' for the tall columns were attached:
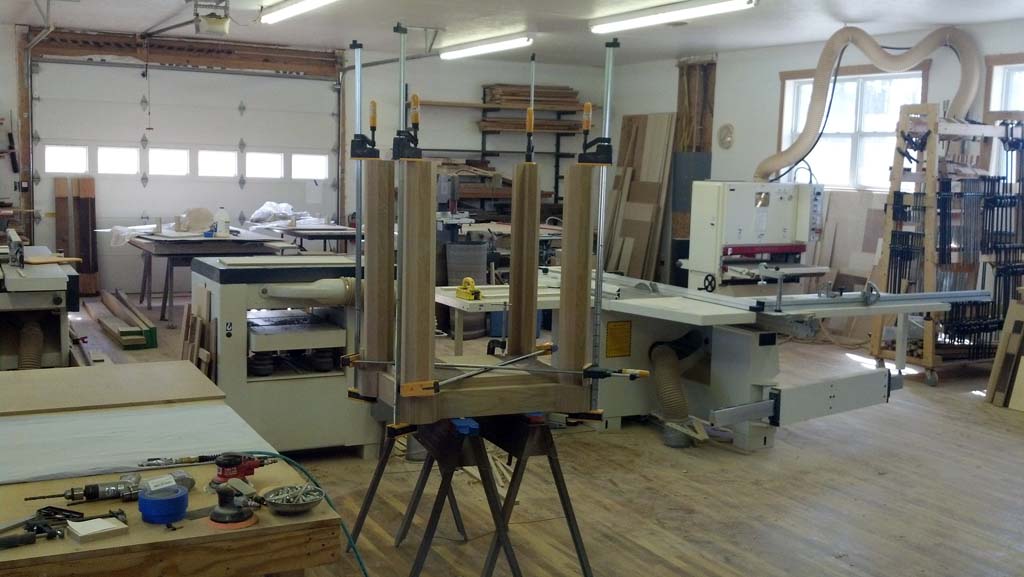
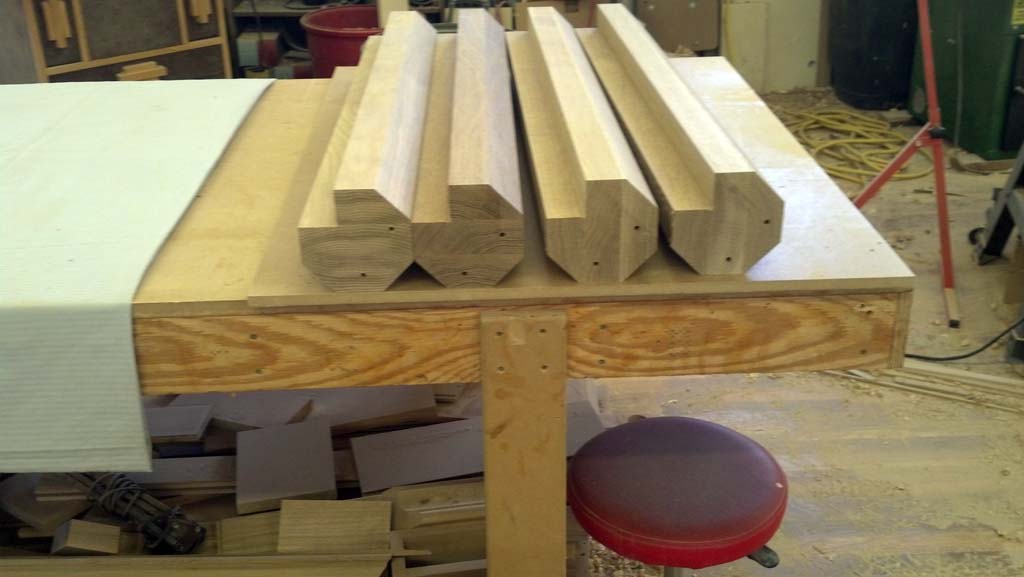
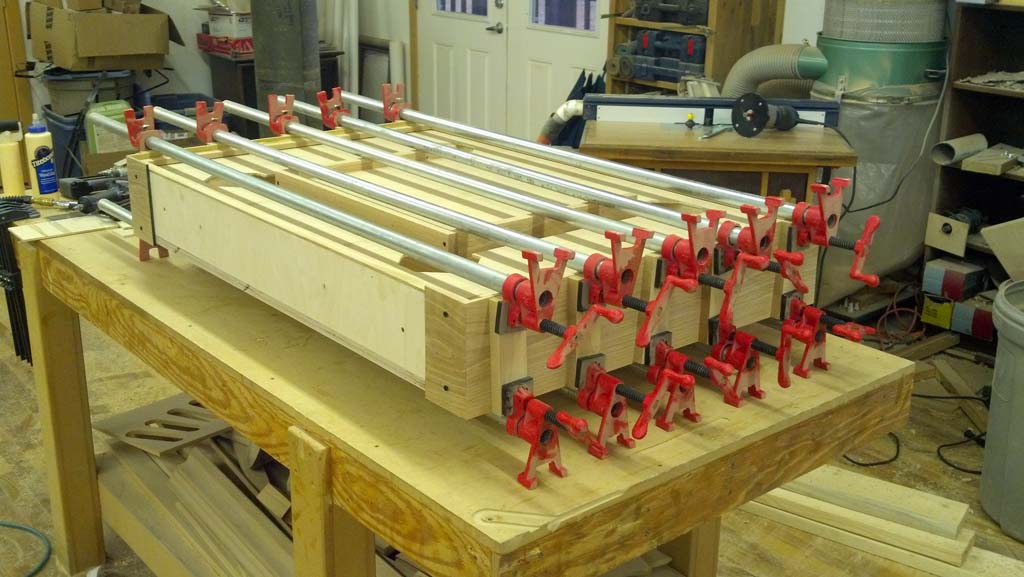
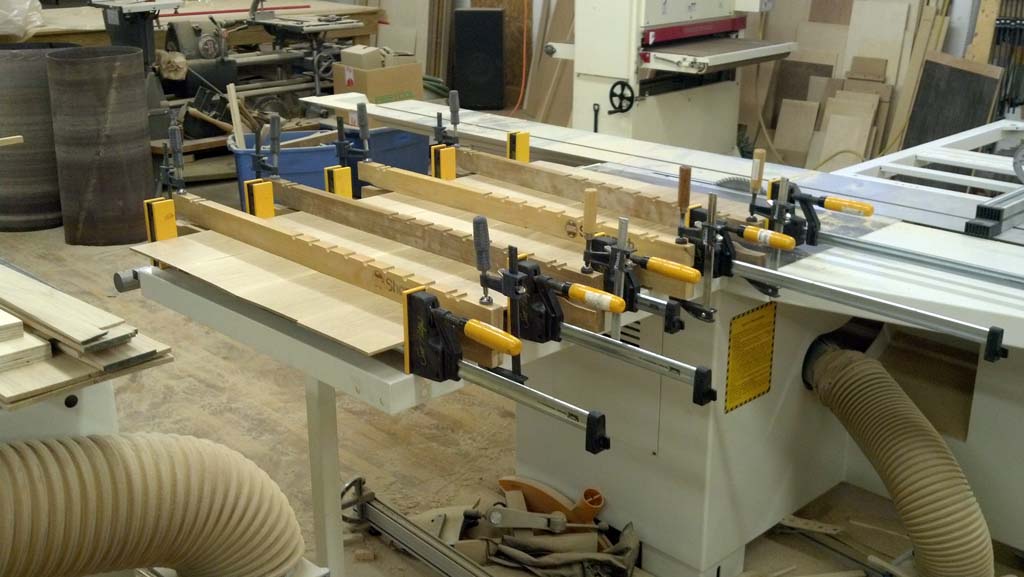
Next, the actual columns were built and temporarily mounted to the feet to allow the assembly to be drilled for lag bolts:
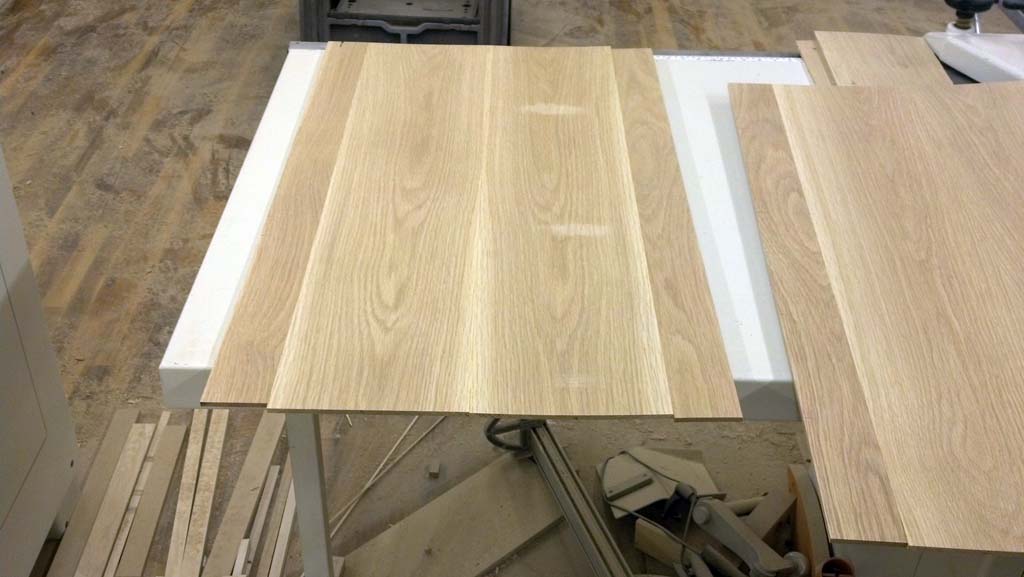
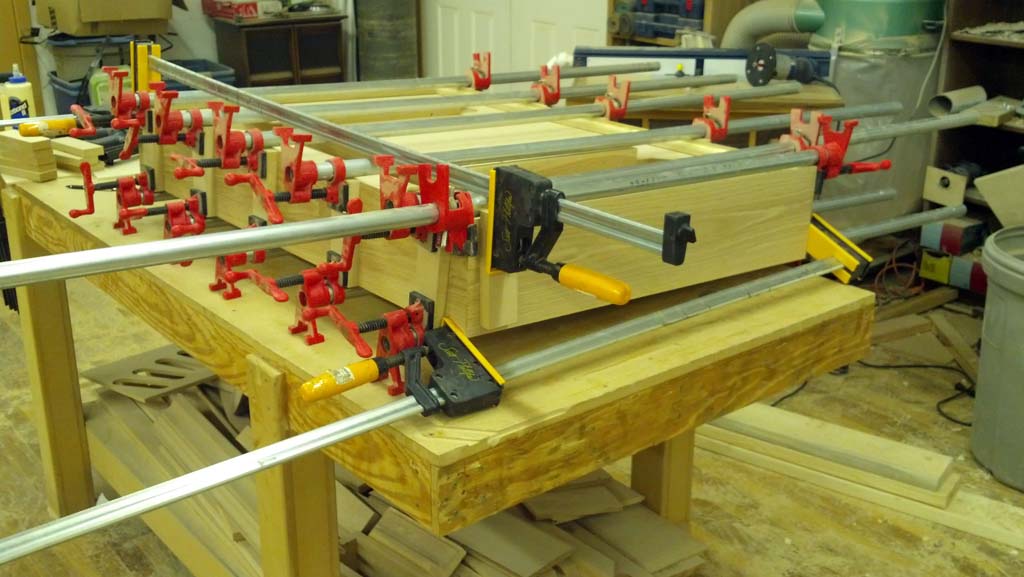
While the industrial construction adhesive that was used to attach the columns was curing, boards were chosen, re-sawn and book-matched for the front and side panels:
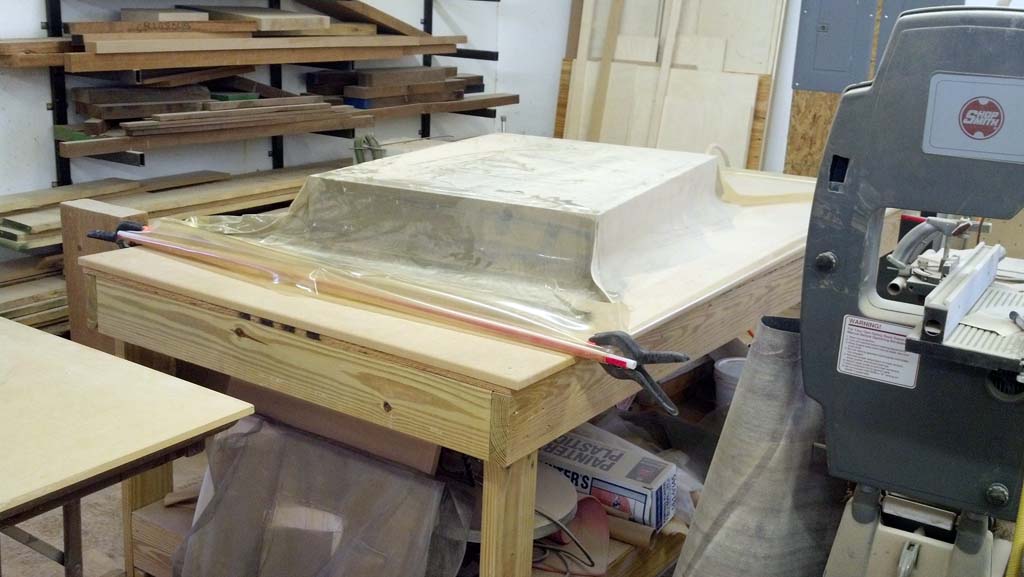
Using the vacuum bag, these book-matched panels were attached to Baltic Birch plywood, then sent through the wide belt sander:
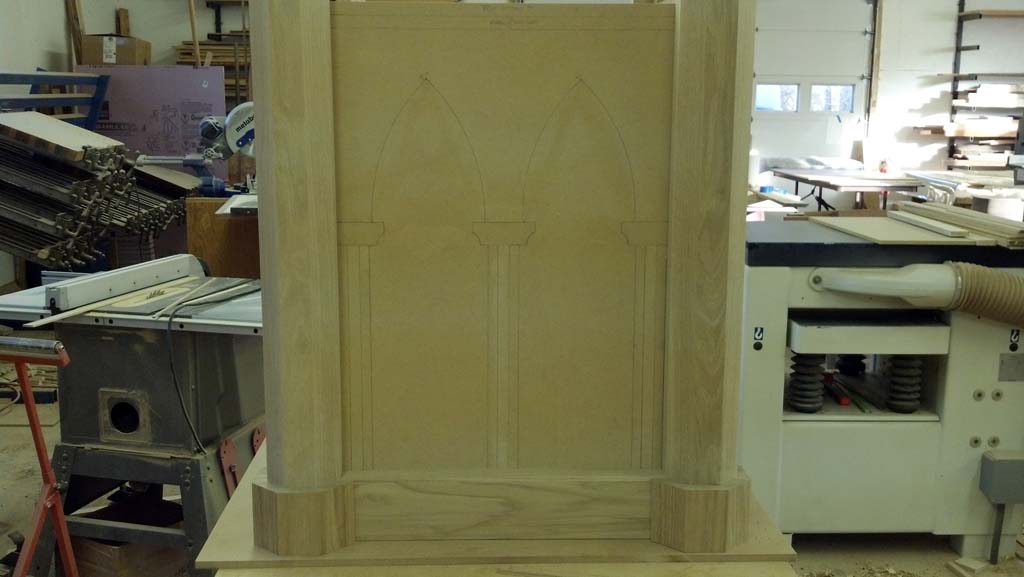
With the basic carcass completed, it was time to layout the cathedrals and columns that would be applied. The best way to accomplish this is with full sized, scale drawings:
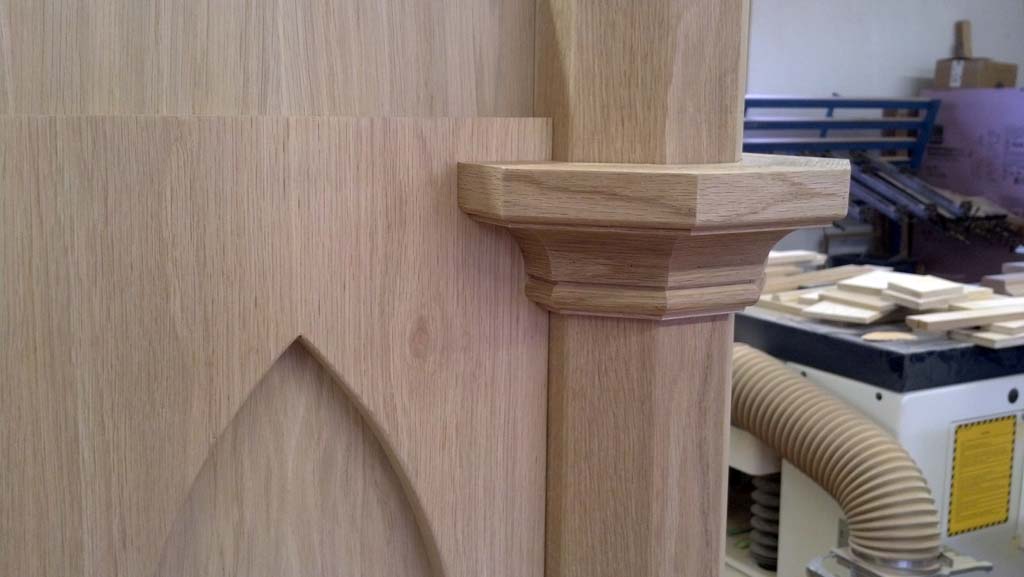
Working directly from the full scale drawings, mini columns, column capitals, and book-matched cathedrals were built:
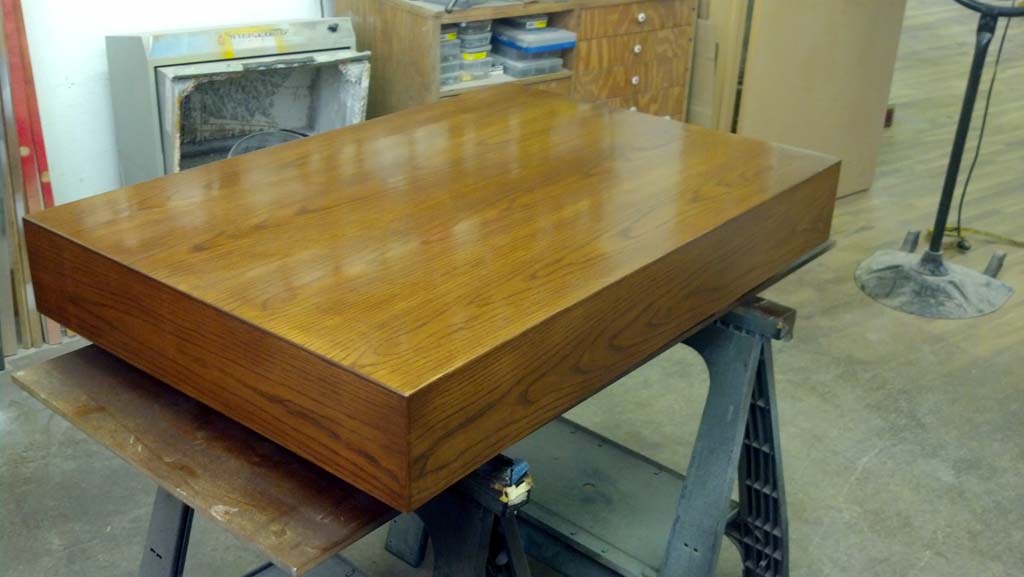
With the base and all the components to be applied completed, it was time to address the top. As was done with the base, a torsion box of sorts was built that would fit around the top of the columns:
A single board was chosen and re-sawn, then wrapped around the four sides of the top:
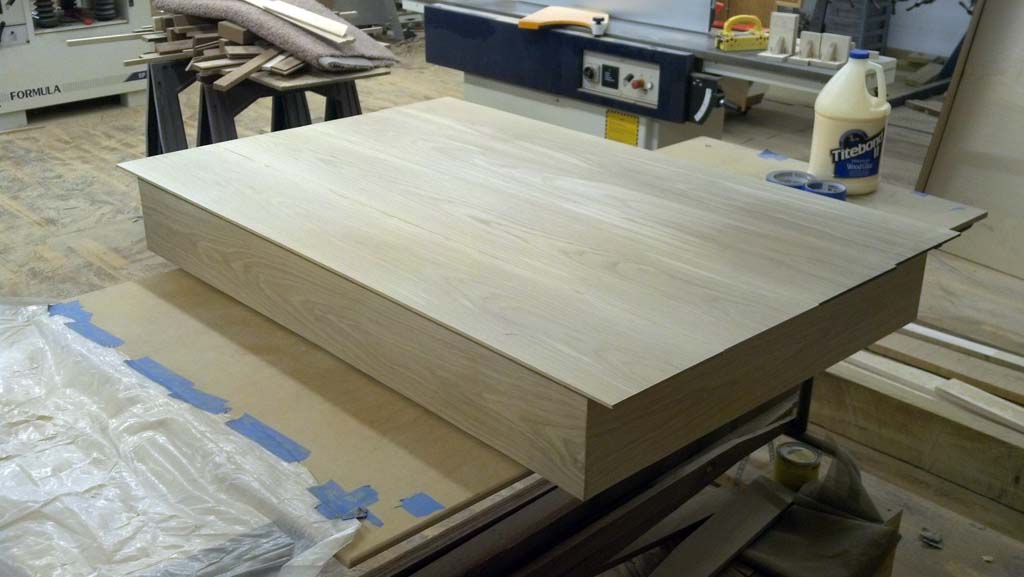
Next, a single long board was cut in half then re-sawn and book-matched. This panel was then attached to the top in the vacuum bag:
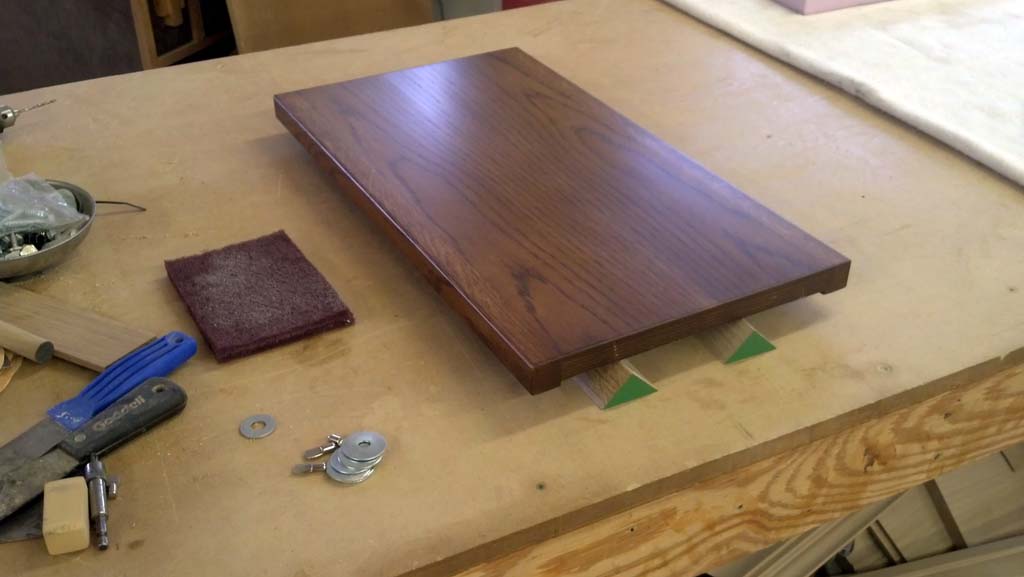
The completed top was then trimmed to final size, and a book-matched adjustable shelf was added:
With the structure of the altar completed, it was time to determine the profiles for the upper and lower molding. Given the size of the top, and the overhang it created, a standard crown molding wouldn't work. Creating several profiles and stacking them to create a larger molding was considered, but given all the angle cuts that were involved, that approach was ruled out. Instead, a single shaper cutter was borrowed (thanks tod!) that would create the required large profile.
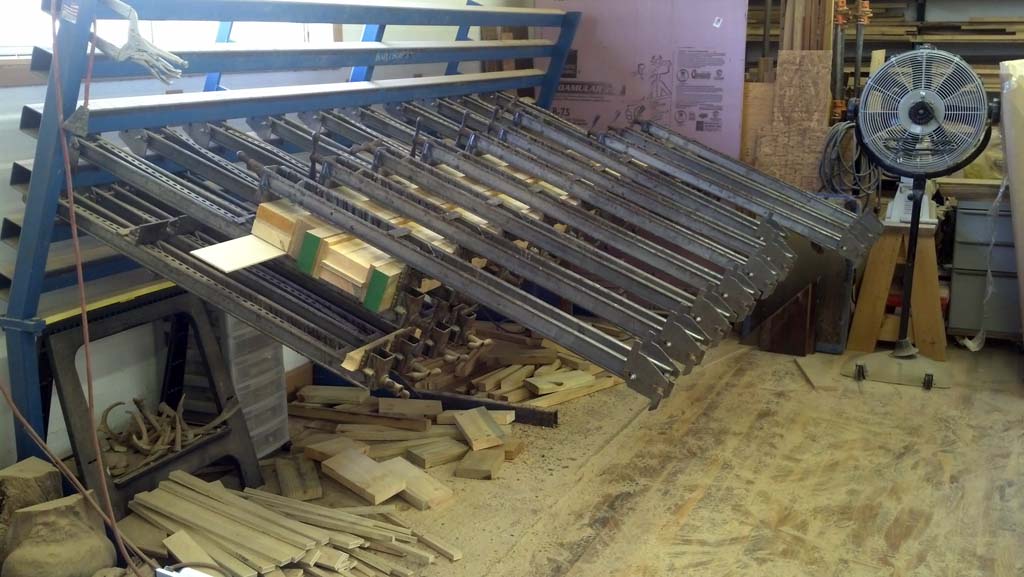
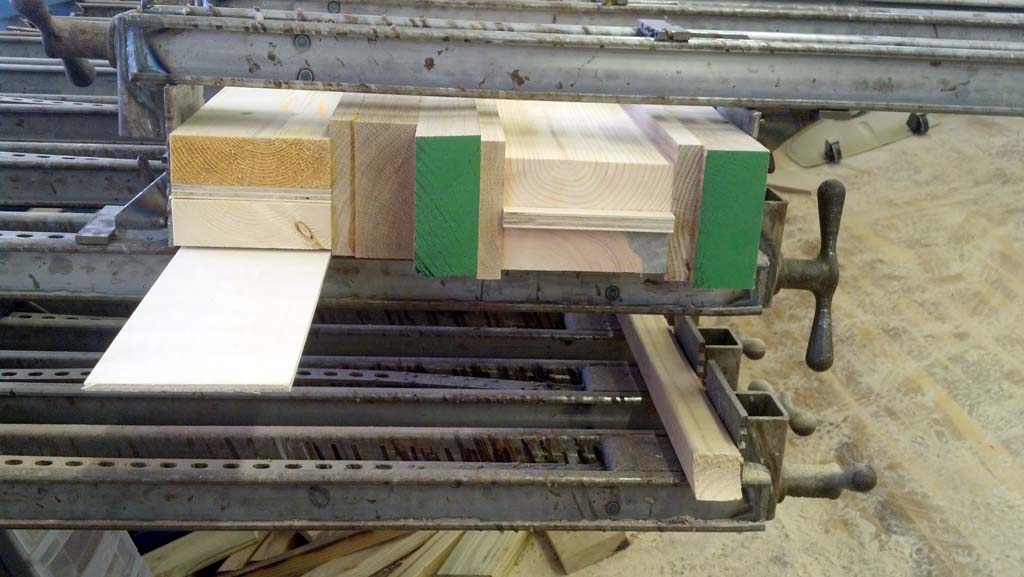
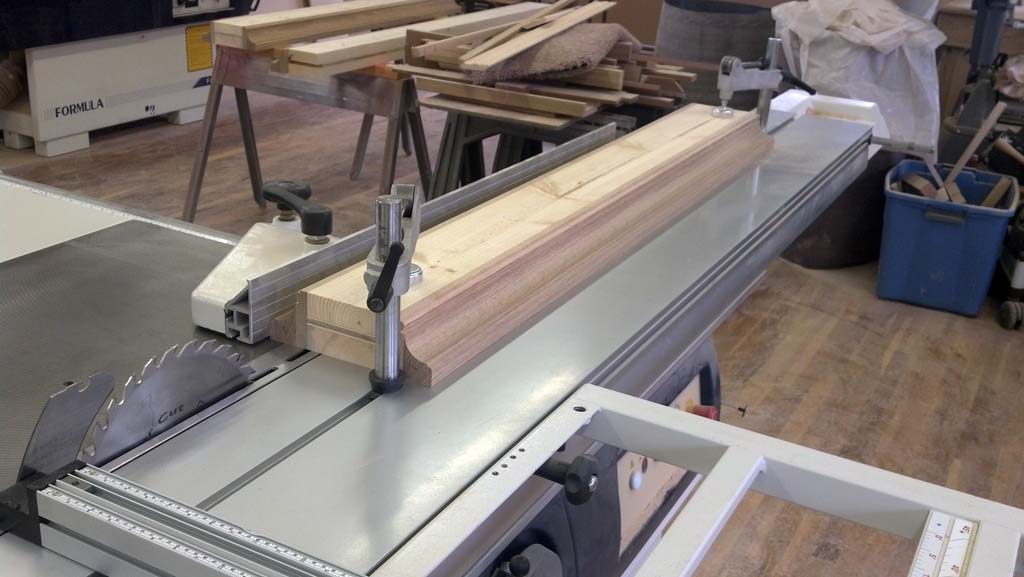
This large cutter required a single thick piece of oak to create the profile on. But it had to be mounted on a backer wide enough to be safely run through the shaper. Three "blanks" were made, each with a wide piece of oak on the outside. This would yield three sticks of the required molding. It's more than what was needed, but mistakes happen and it's better to have more than not enough of such a complicated molding:
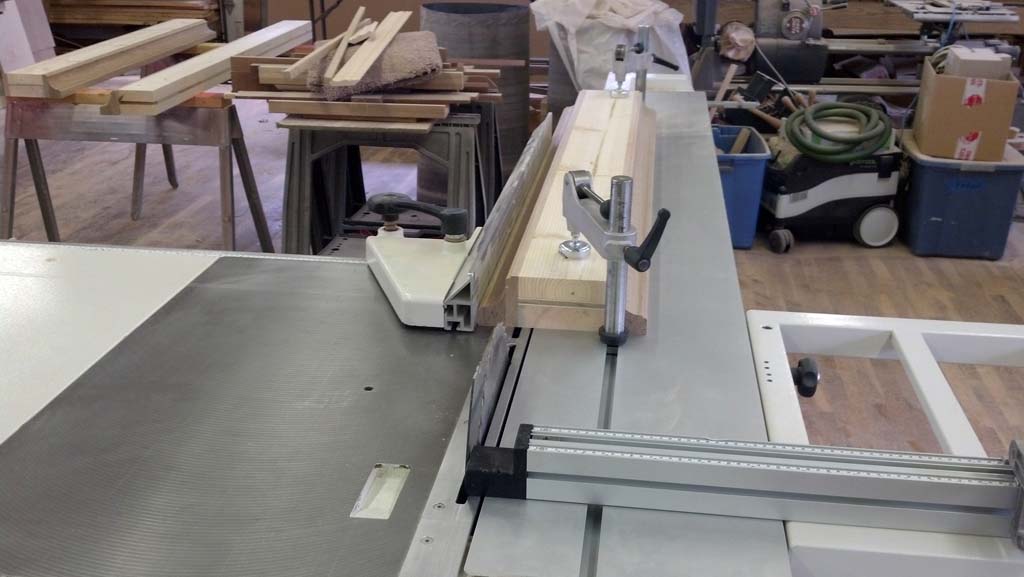
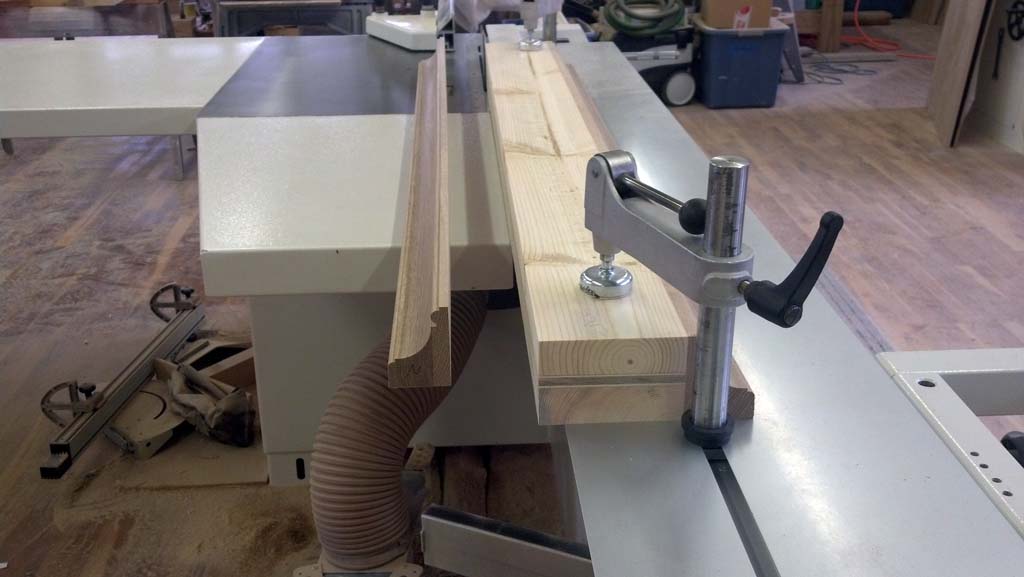
With the blanks made, it was simply a matter of running each through the shaper a few times to get the desired profile:
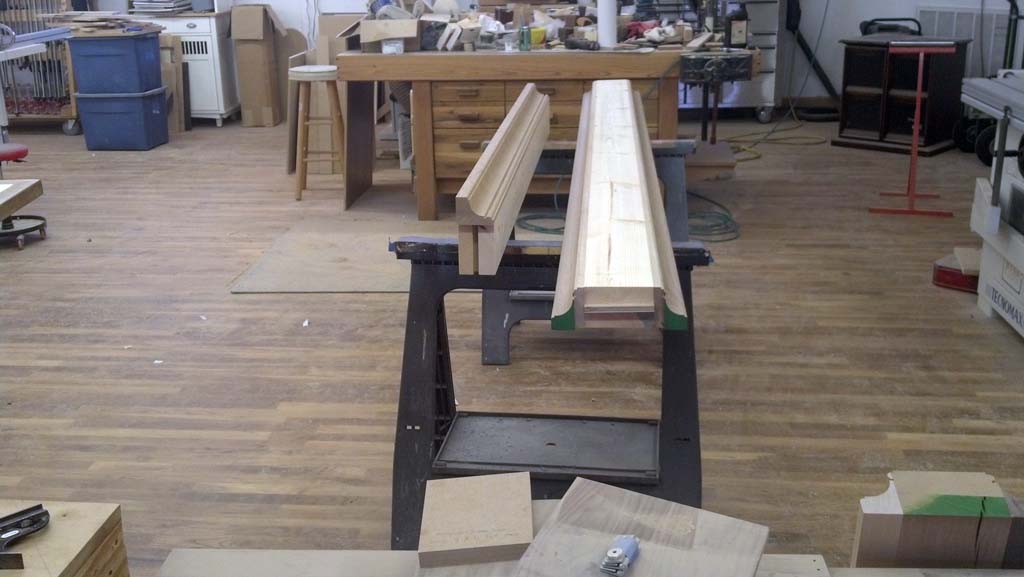
Once the profile was cut on all three blanks, all that was left was to separate the actual molding from the backers:
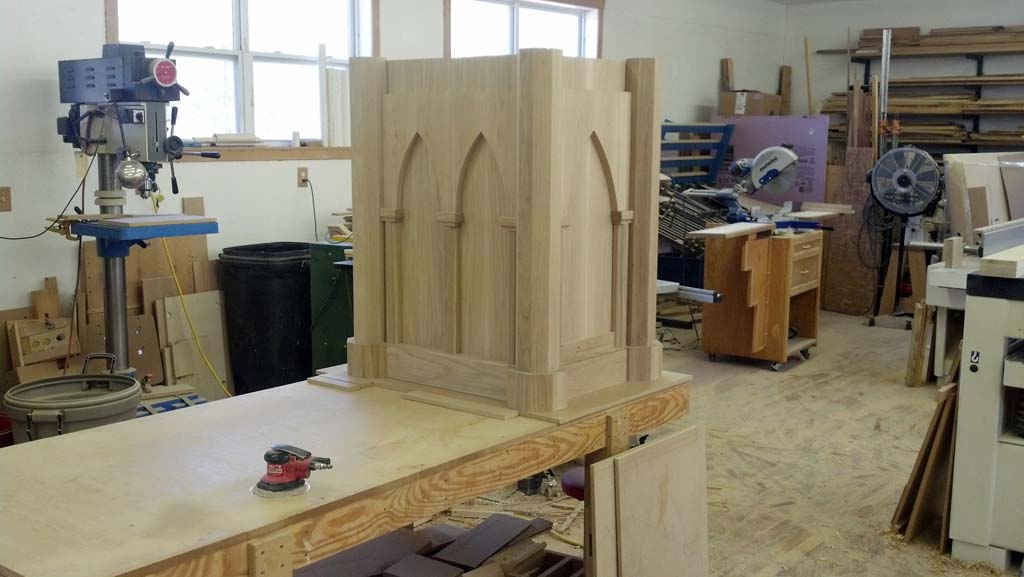
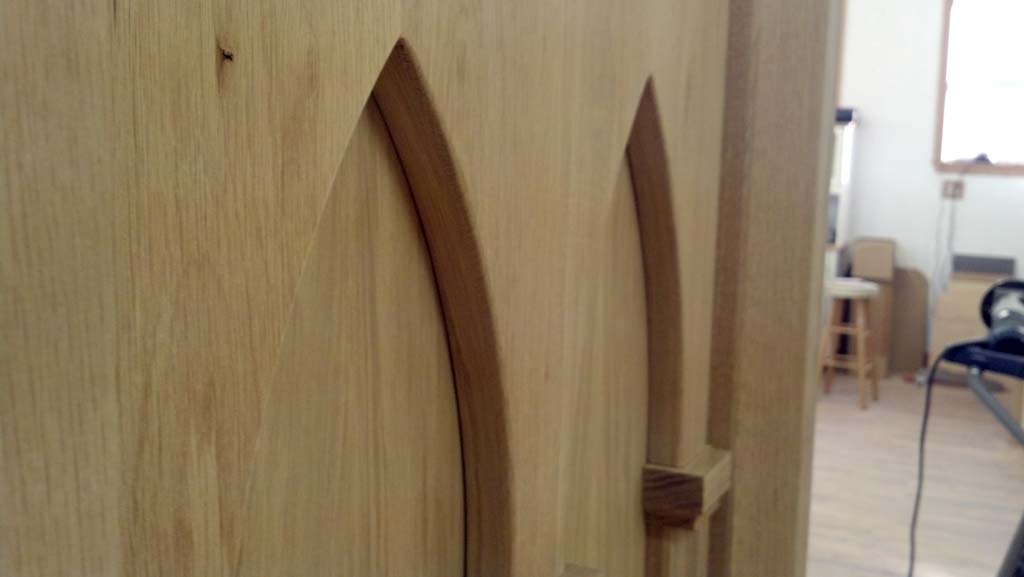
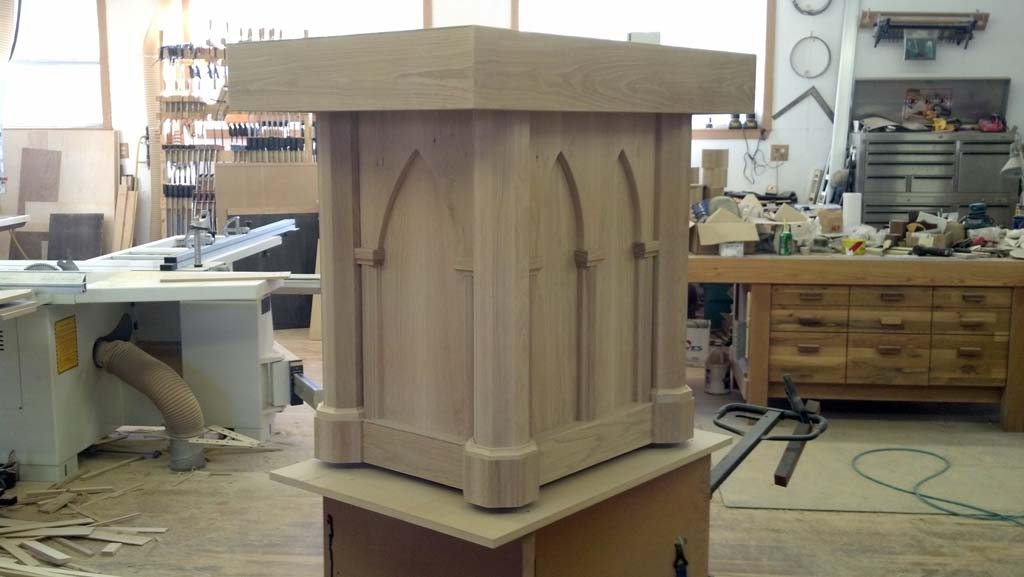
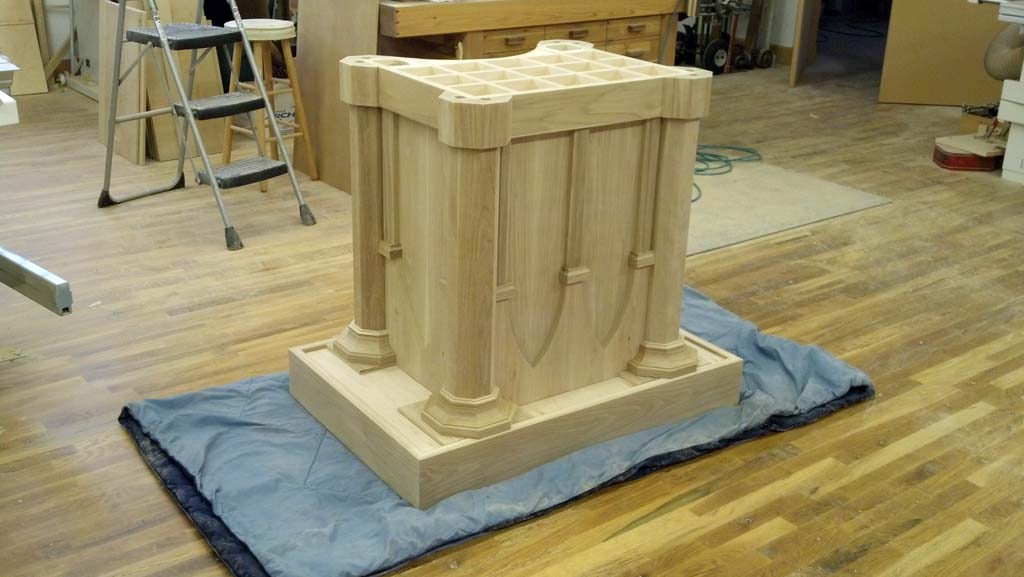
With the upper molding made, the mini columns, capitals, and cathedrals were permanently attached.
The only way to easily and accurately apply the upper crown molding is to turn the altar upside down...no easy task since the base alone probably weighs about 200 pounds! With the help of a friend, the base was inverted and the crown was mitered and applied:
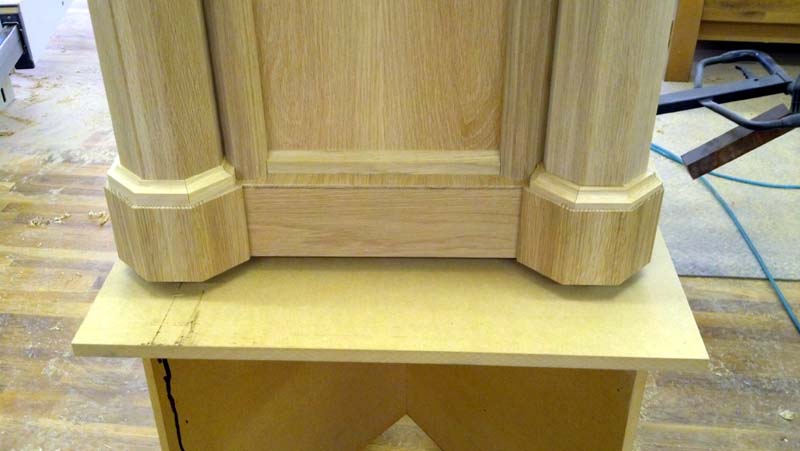
With the crown molding in place, an appropriate base molding could be chosen. Several different versions of a cove molding were proto-typed, and the most aesthetically pleasing one was chosen and applied:
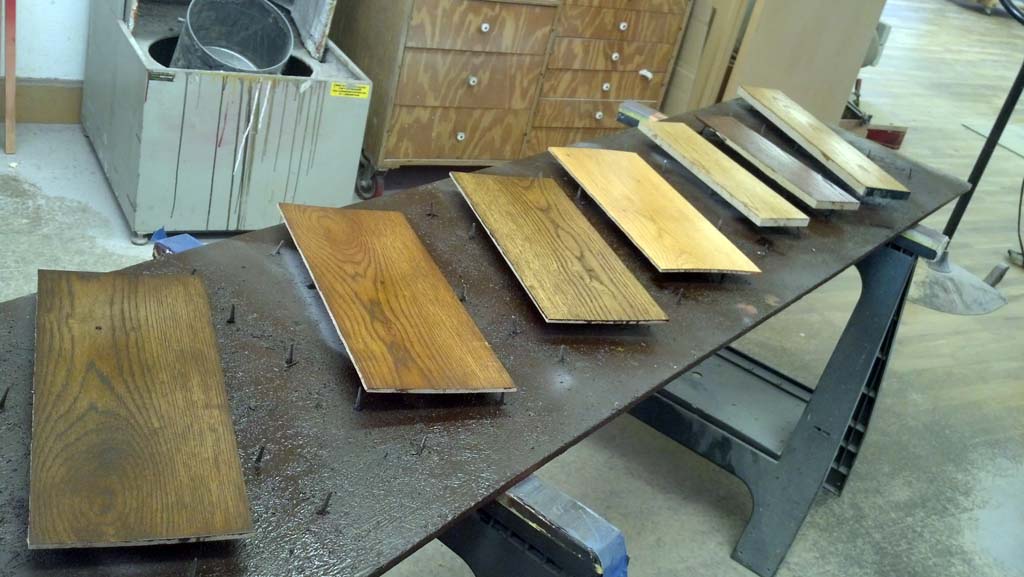
At this point, construction of the altar was complete. All that was left was for our client to choose a stain color so that finishing could be done. Several cutoffs from the actual white oak used to build the altar were stained in different shades and submitted to our client to choose from:
With a color chosen, all components were stained and left to dry:
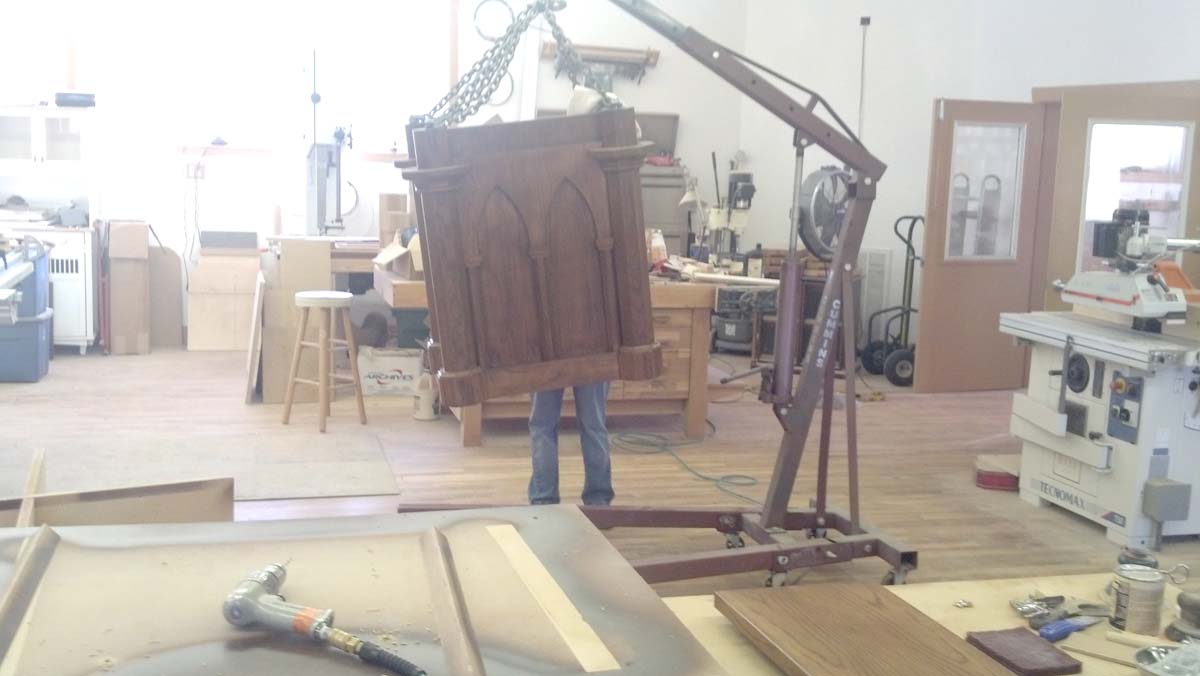
The underside of the altar had to be protected/sealed. This presented a unique challenge since the altar base couldn't be easily inverted. The solution came in the form of our engine hoist! The underside was sprayed, and while the altar was in the air, adjustable levelers were installed:
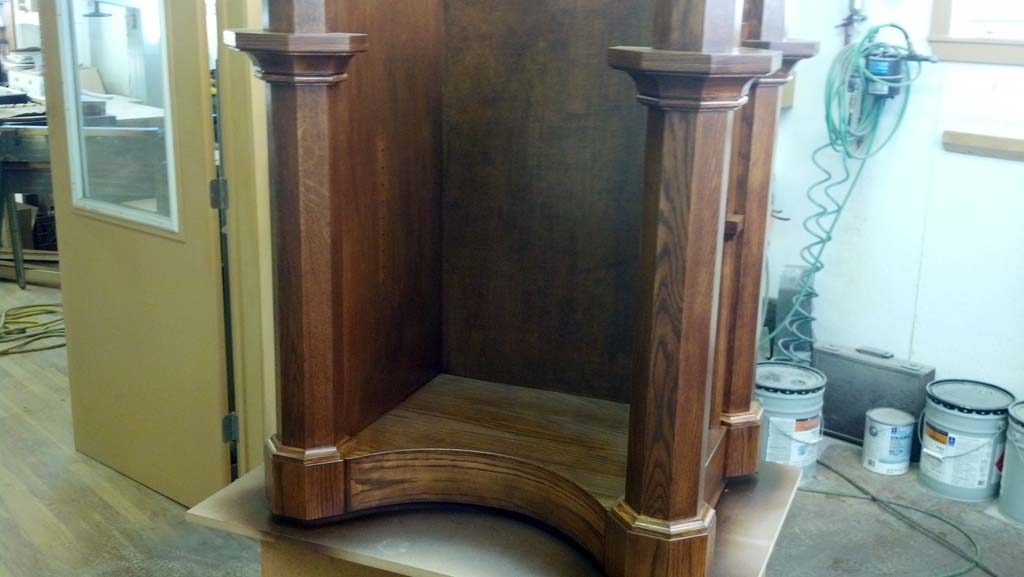
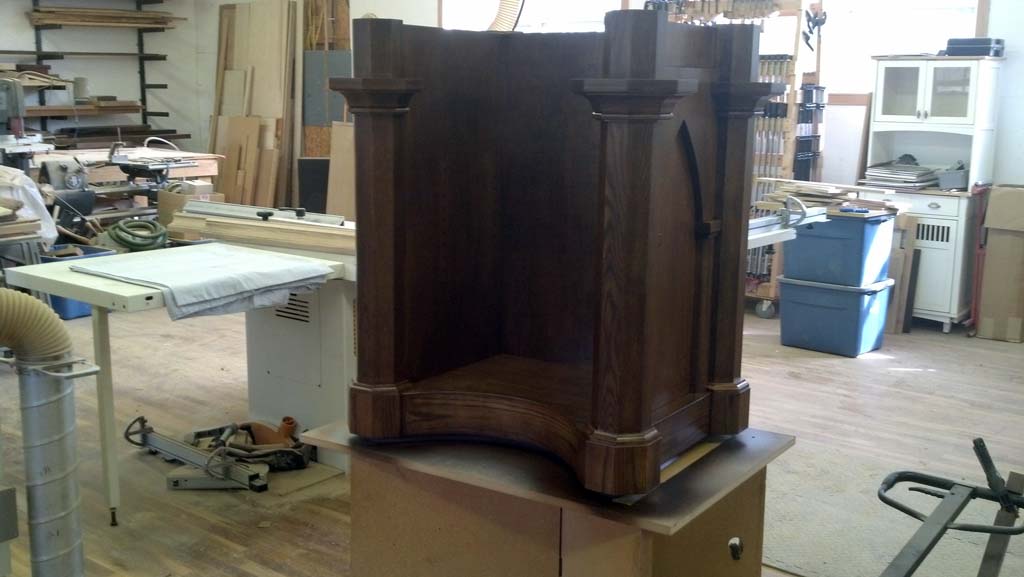
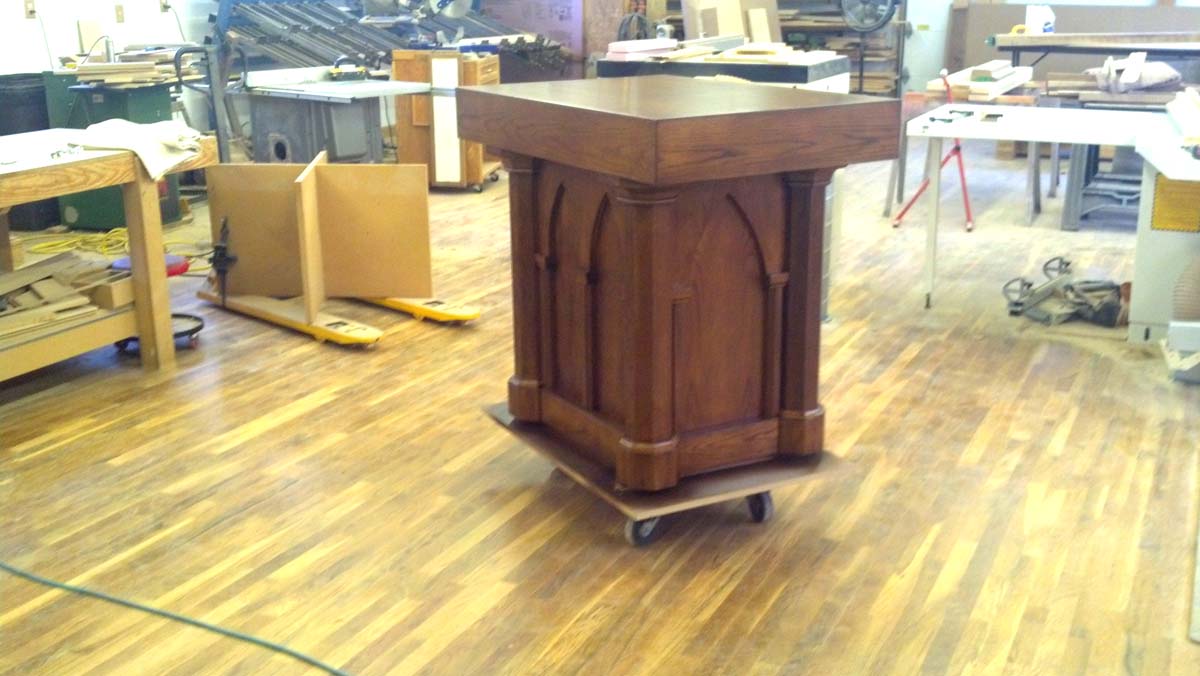
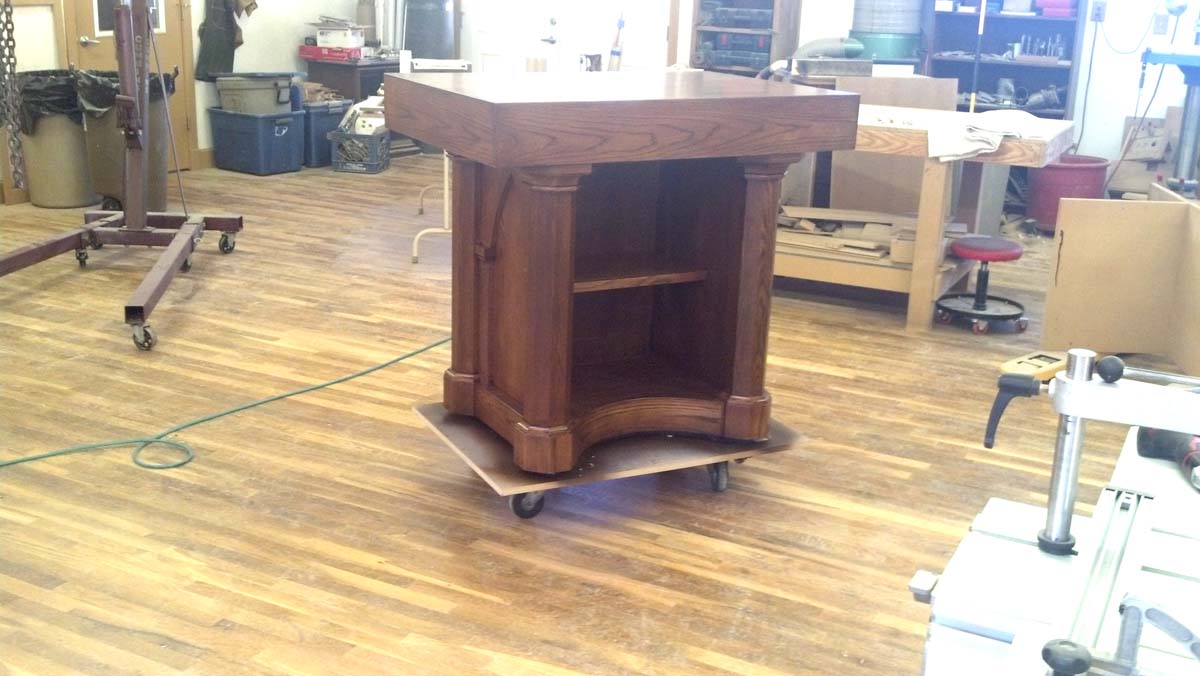
Once the underside had dried, the altar was set back down for finishing with several coats of sanding sealer and then the matte top coat our client requested:
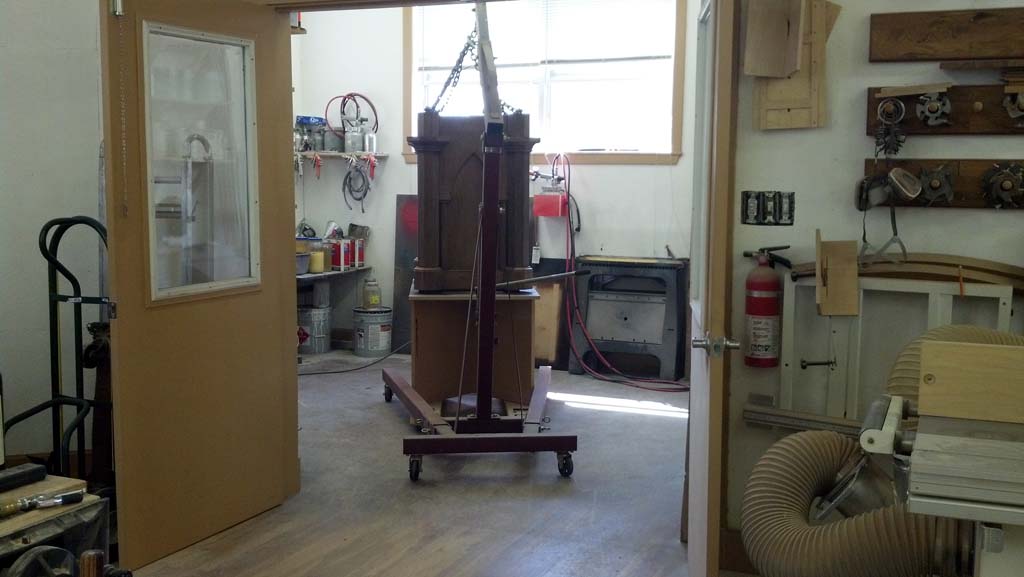
After allowing the finish to cure for a several days, it was time to get the altar base off the pallet jack platform and on to a furniture dolly for delivery. Once again, out came the engine hoist:
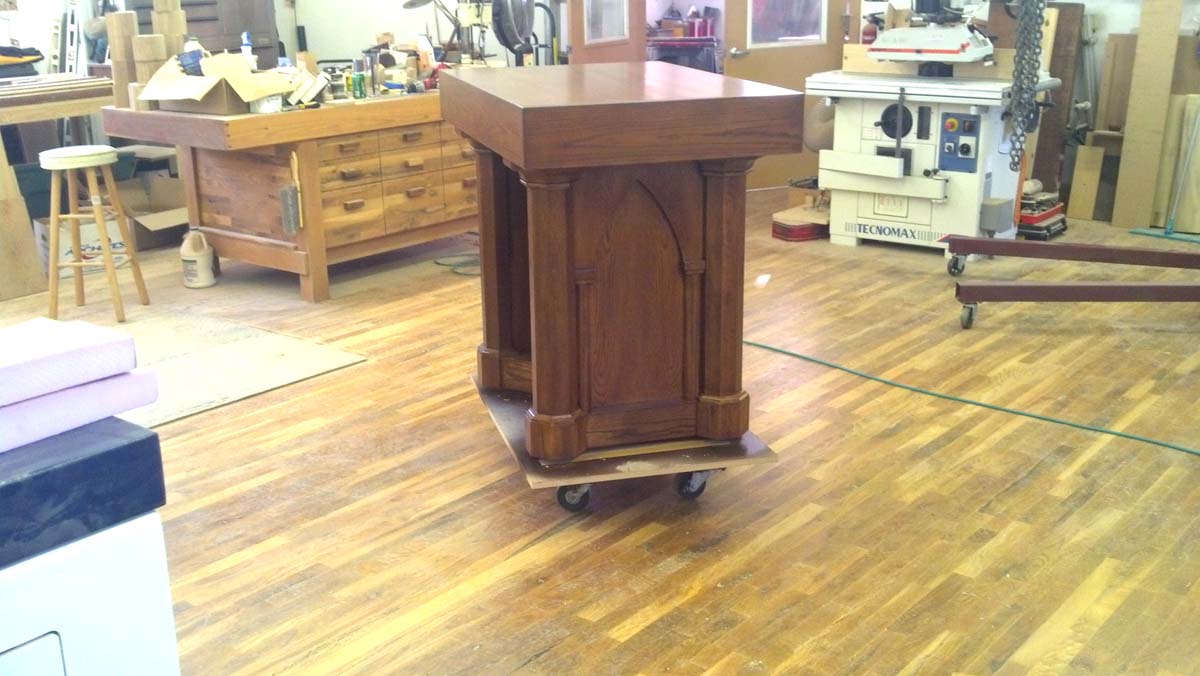
Here's the finished product, waiting for a delivery date to be set:
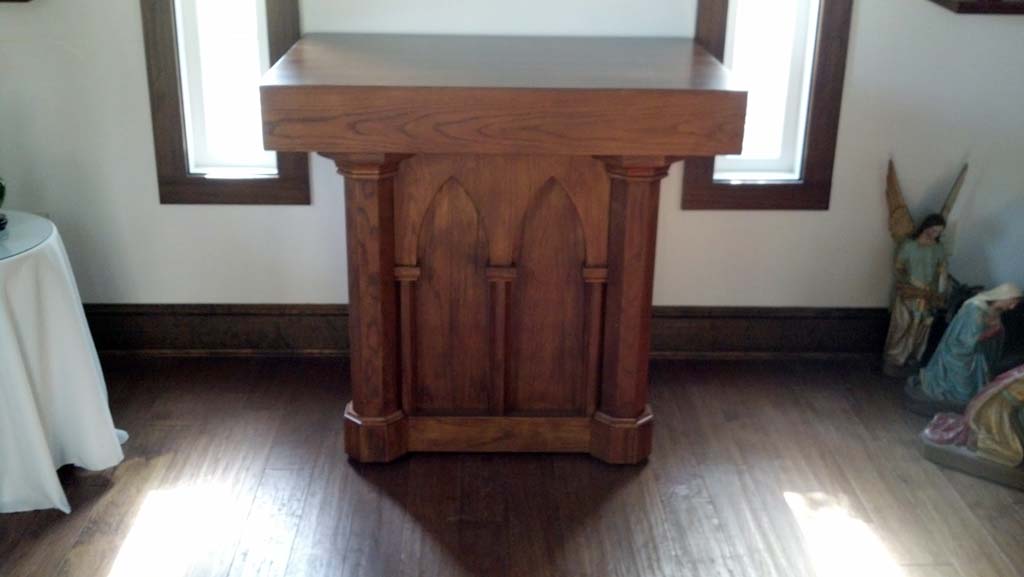
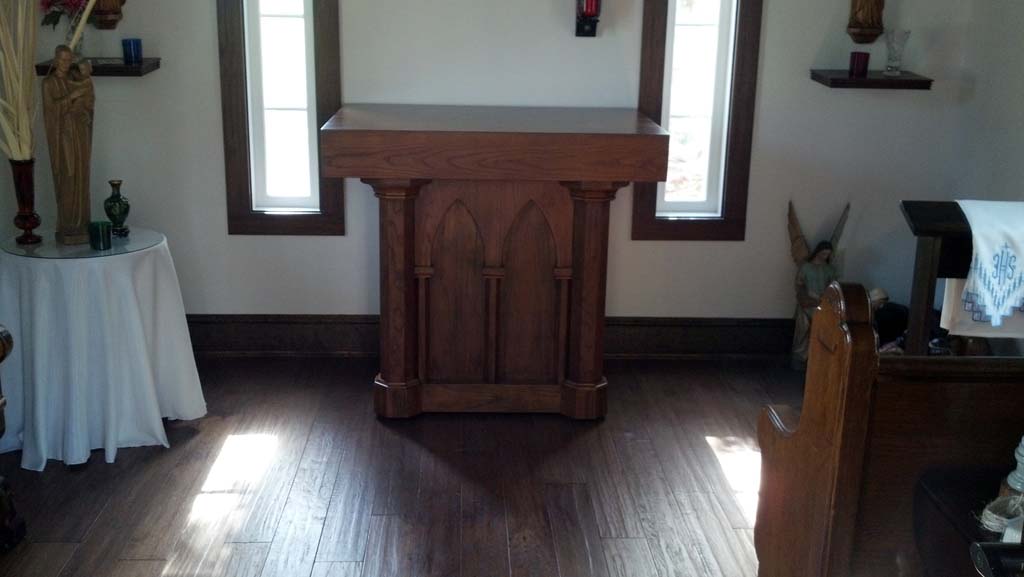
And finally, here's the altar in it's final home:
This project presented us with several unique challenges, but the end result was worth overcoming them all!
We're in the design stages on a few more projects for this chapel. Check back for updates...
|