Fivebraids Custom Woodworking, Inc.
Purveyor of "Things Wooden"
Metter, Georgia
*** Business and Retail Shop Closed. ***
Thanks for your support
|
|
Fivebraids Custom Woodworking, Inc.Purveyor of "Things Wooden"Metter, Georgia*** Business and Retail Shop Closed. ***
Thanks for your support
|
|
Maple Office CredenzaClick on any thumbnail below for full size picture
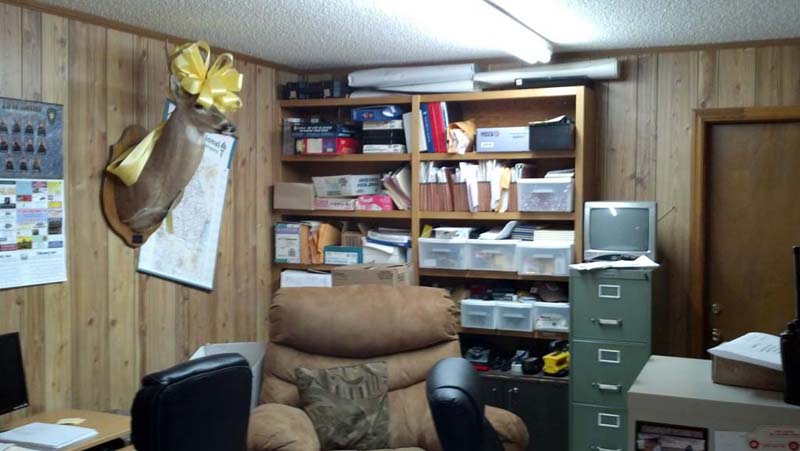
A client that we've done other work for contacted us to see if we could help them with a storage issue in their office. They had a set of open shelves that covered half of a wall, and wanted to know if we could build them a set of cabinets to go beneath the shelves. They not only needed additional storage space, they also wanted to be able to secure items behind locked doors.When we saw what they were dealing with, we suggested that we build them a full credenza to replace their current shelves as well as add cabinet space below. Here's the "before" shot, showing their shelves and some of the items to be stored:
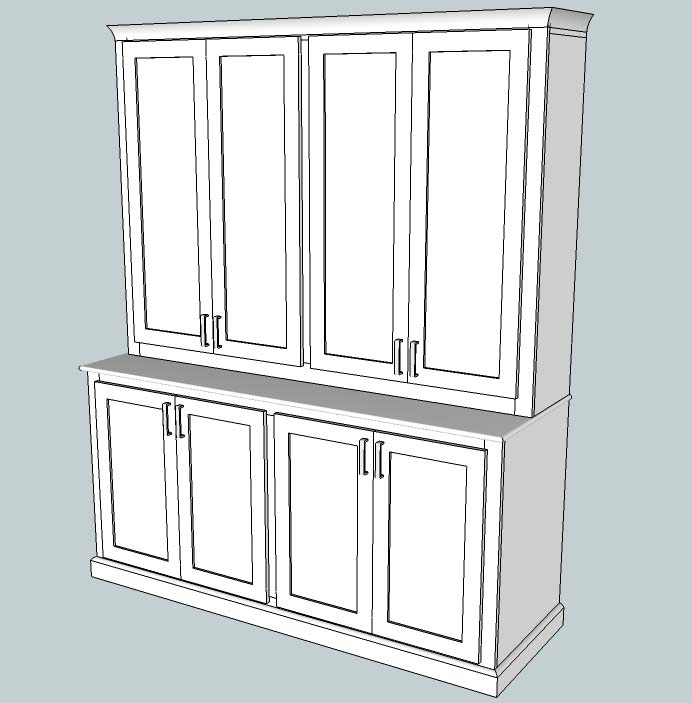
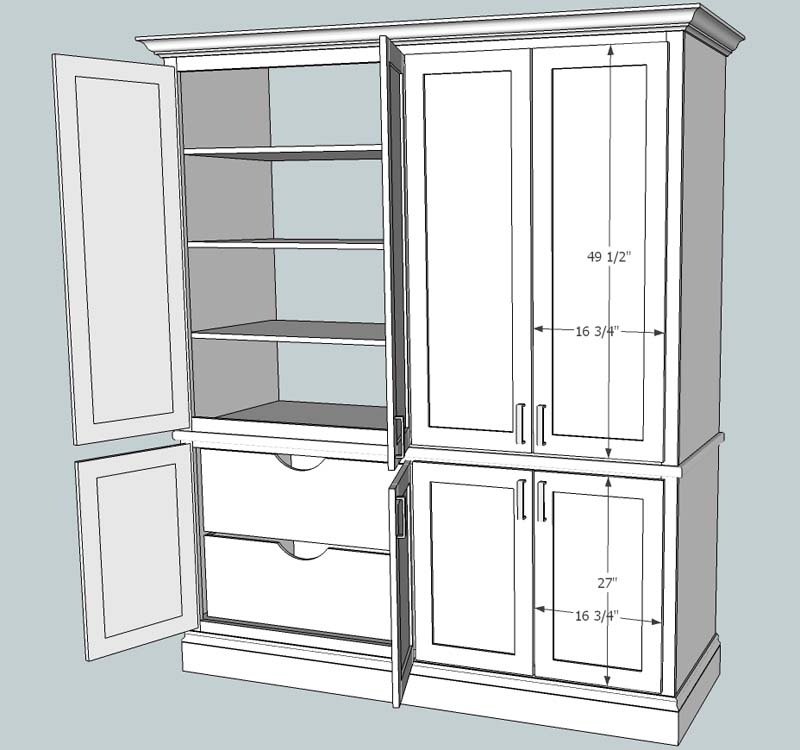
They were open to the idea, so we came up with a basic design to present them:
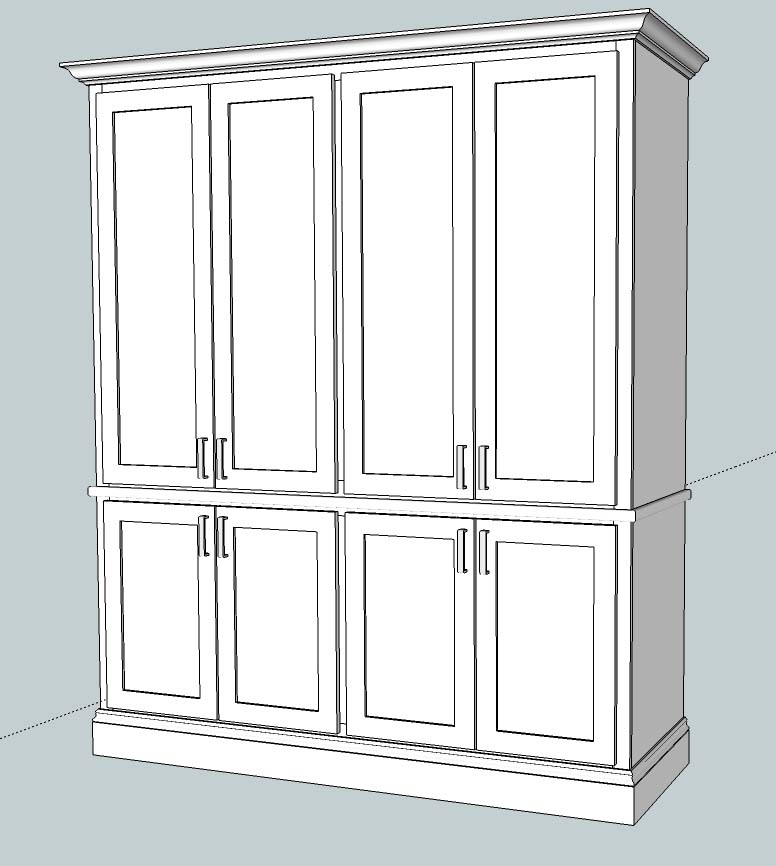
They liked the idea, but wanted the top section to be as deep as the lower section. We agreed, made the changes to the design and presented them with this:
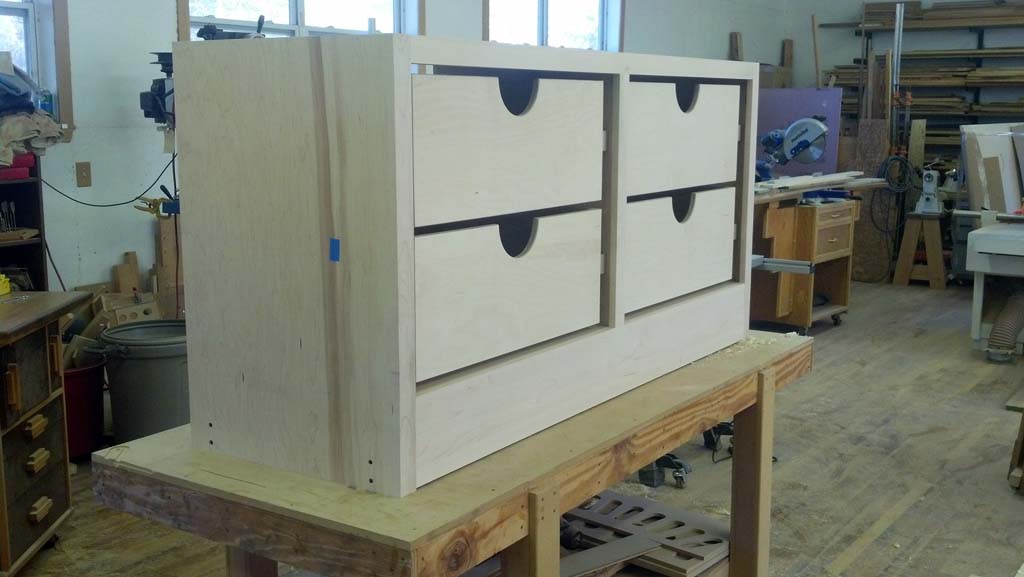
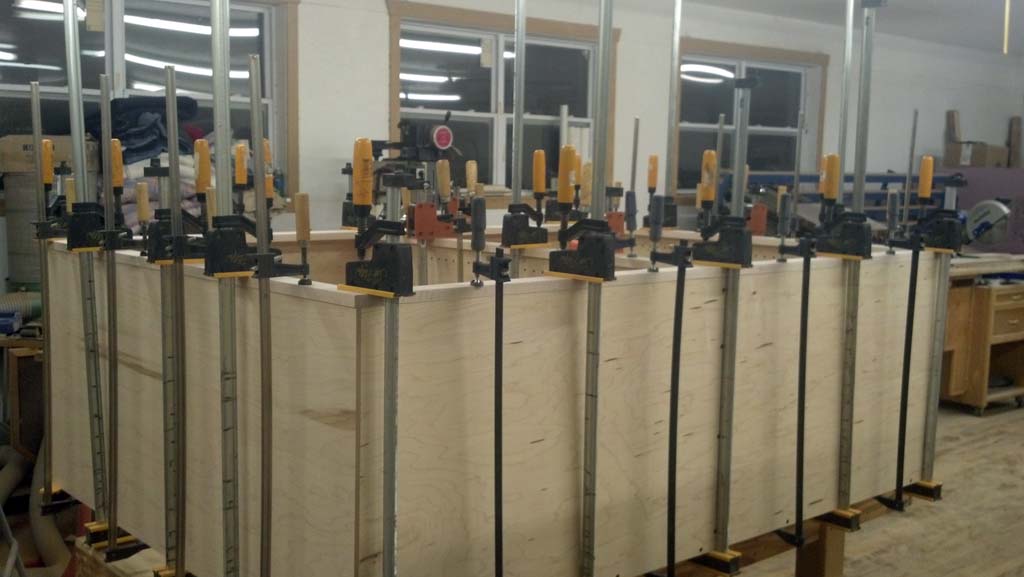
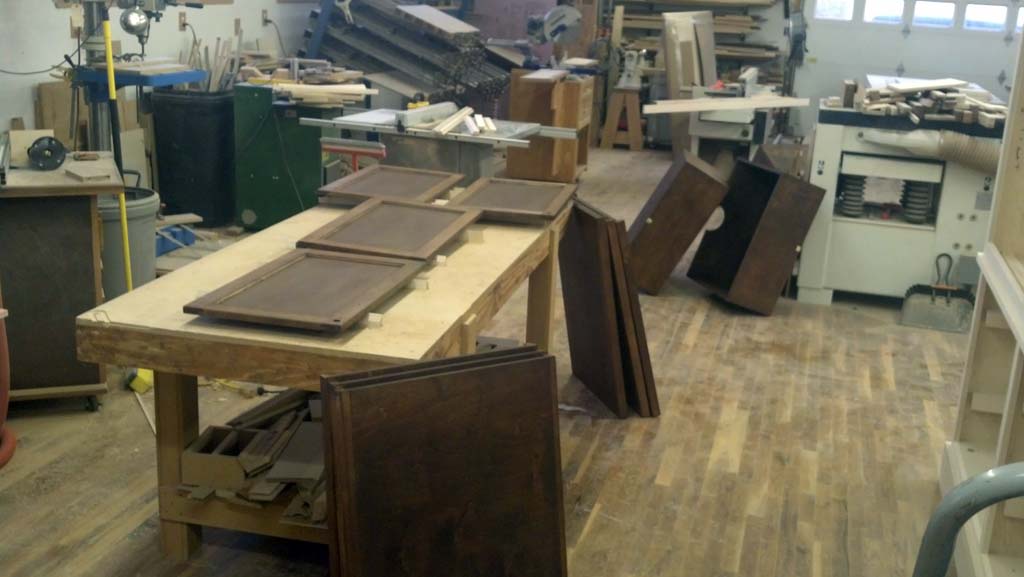
With the design approved, and maple chosen as the lumber species, it was time to build the lower cabinet. The top. bottom, and sides were made from maple plywood. A solid maple face frame was then attached to the front:
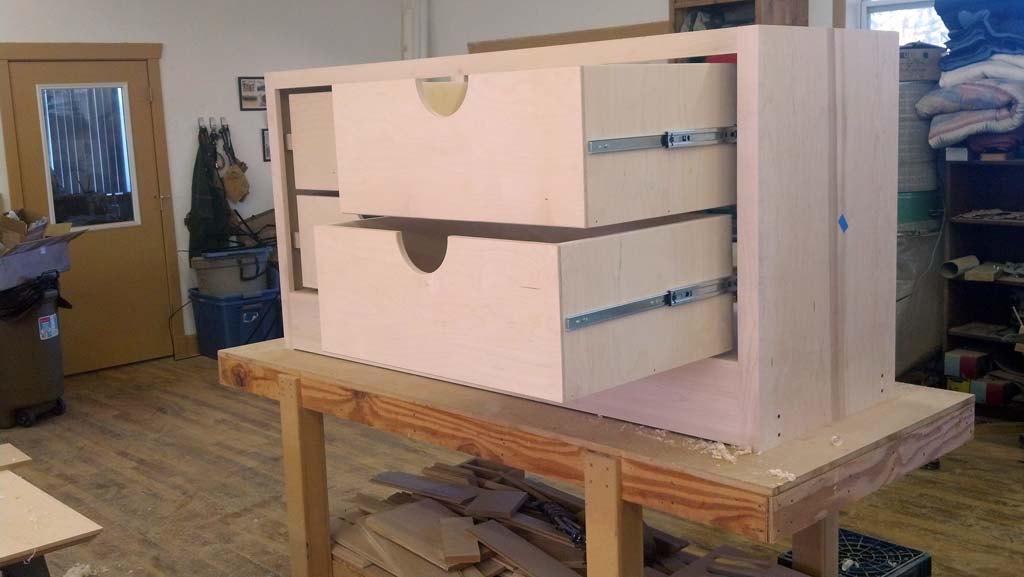
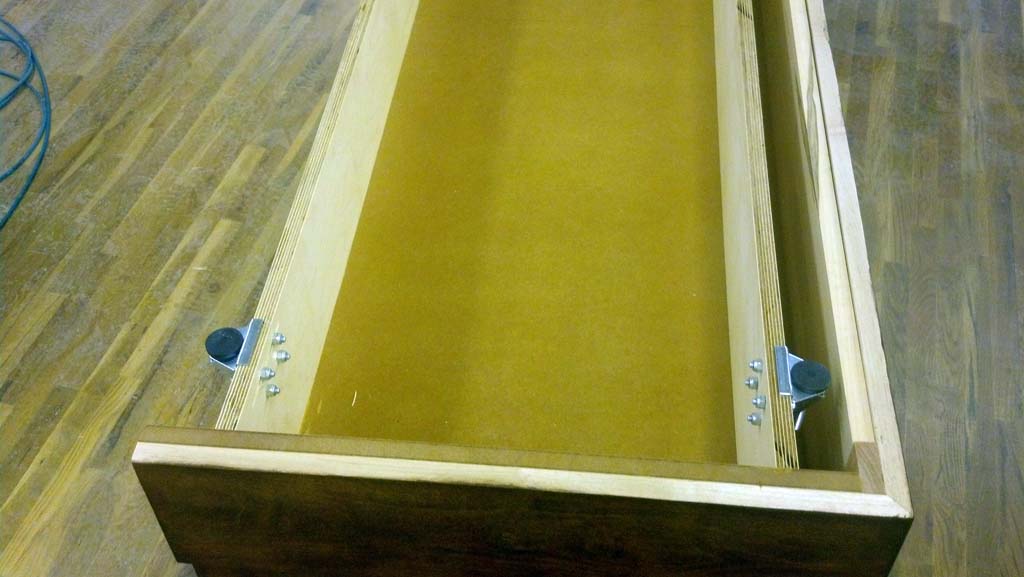
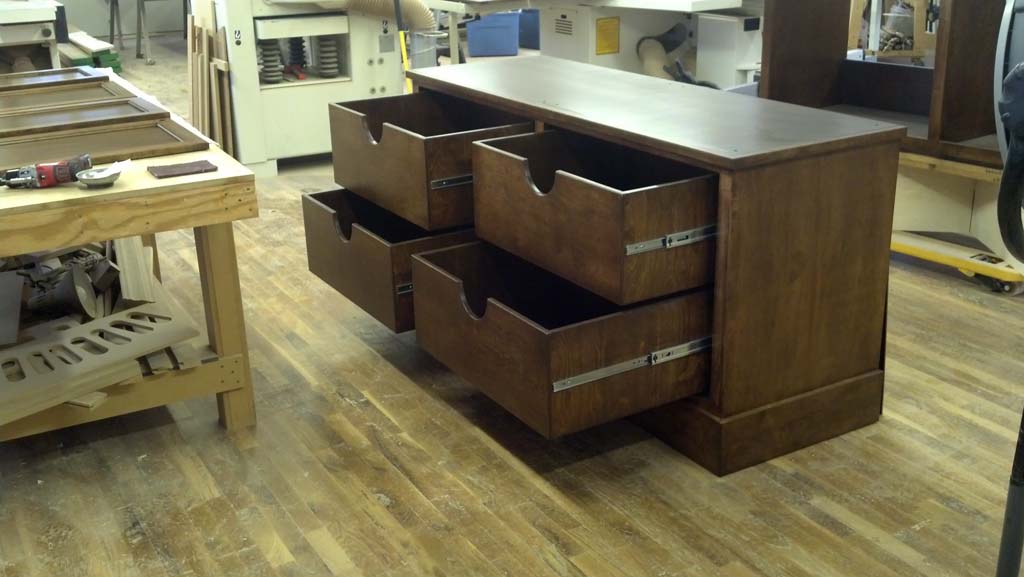
Next, a set of large, sturdy pullouts/drawers were built and mounted:
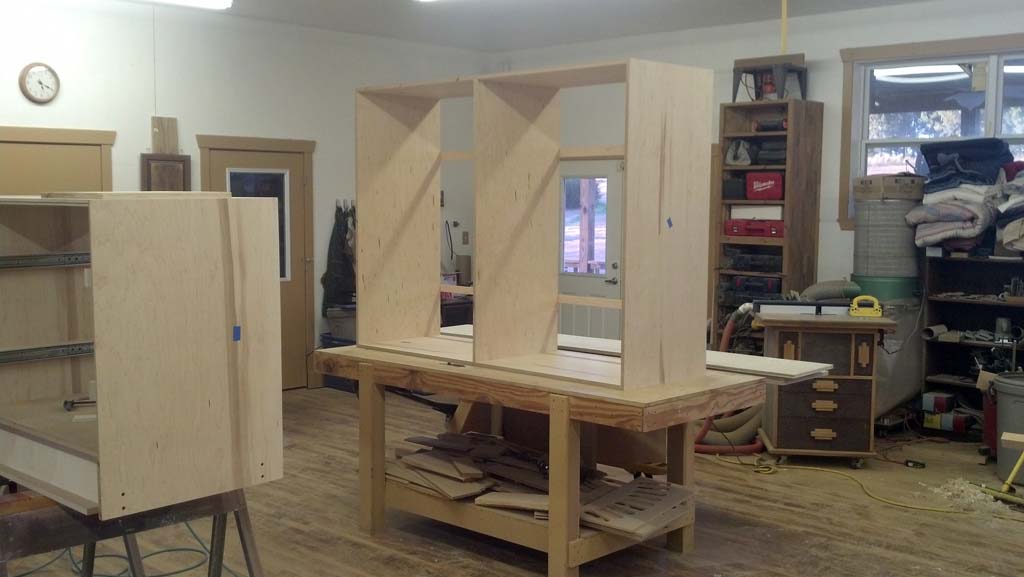
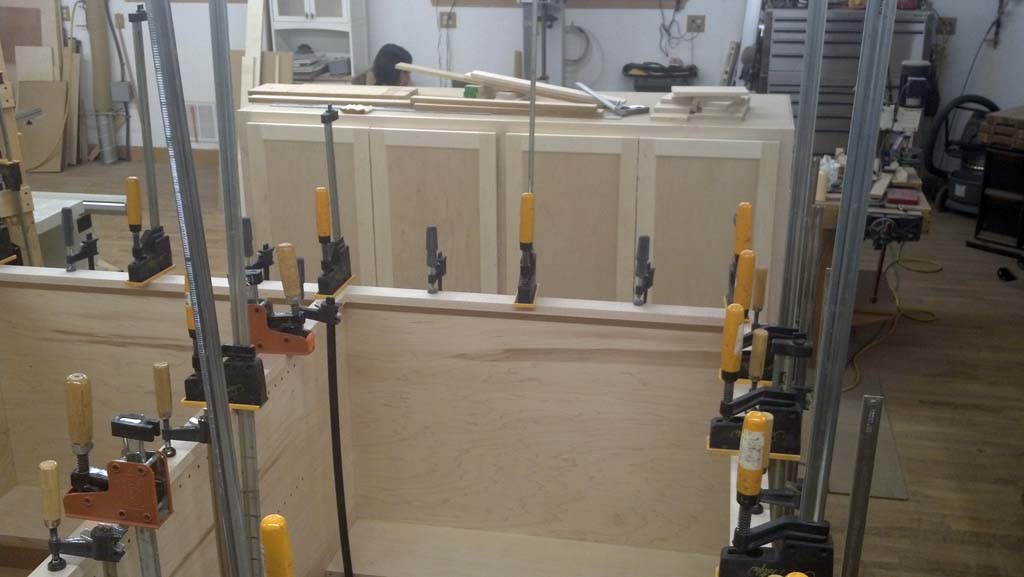
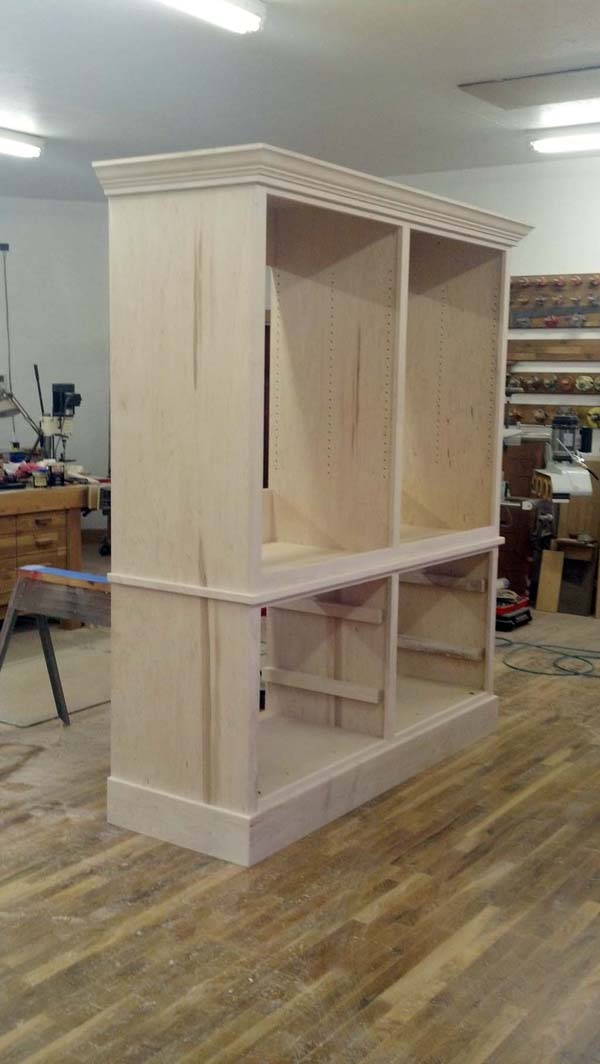
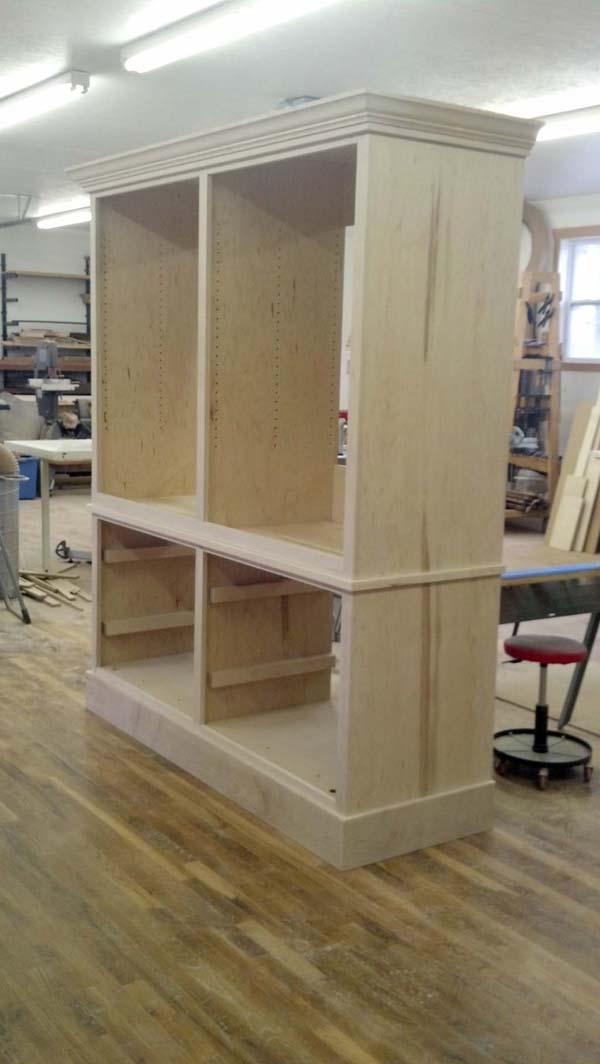
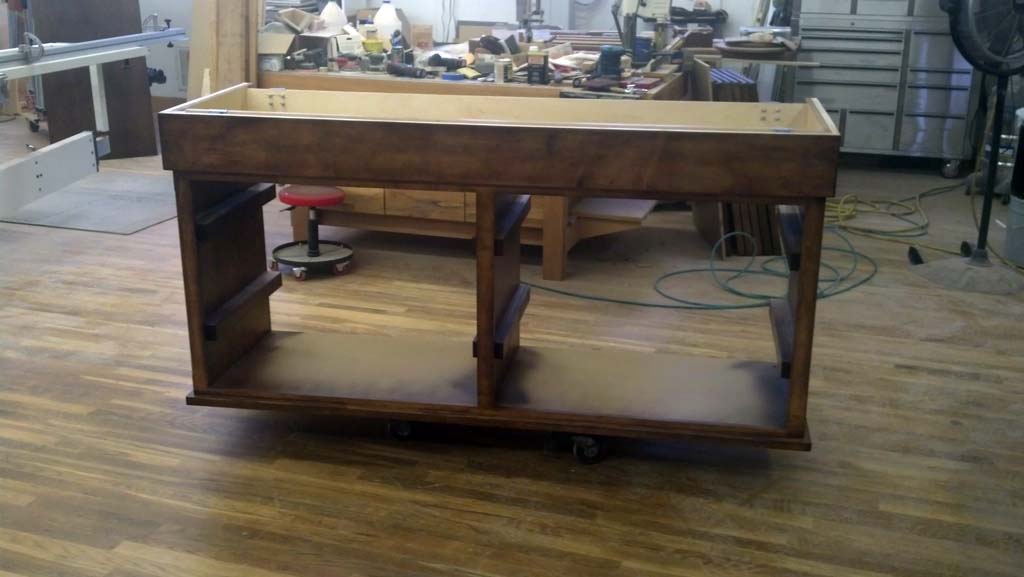
With the lower carcass completed, it was time to move on to the upper. Again, maple plywood was used for the top, bottom, and sides. And, a solid maple face frame was attached:
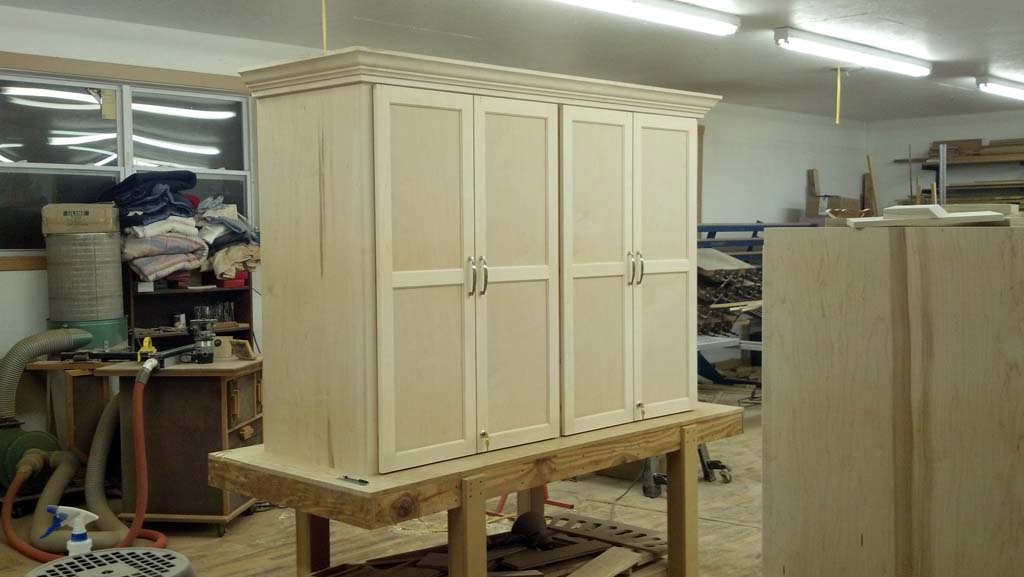
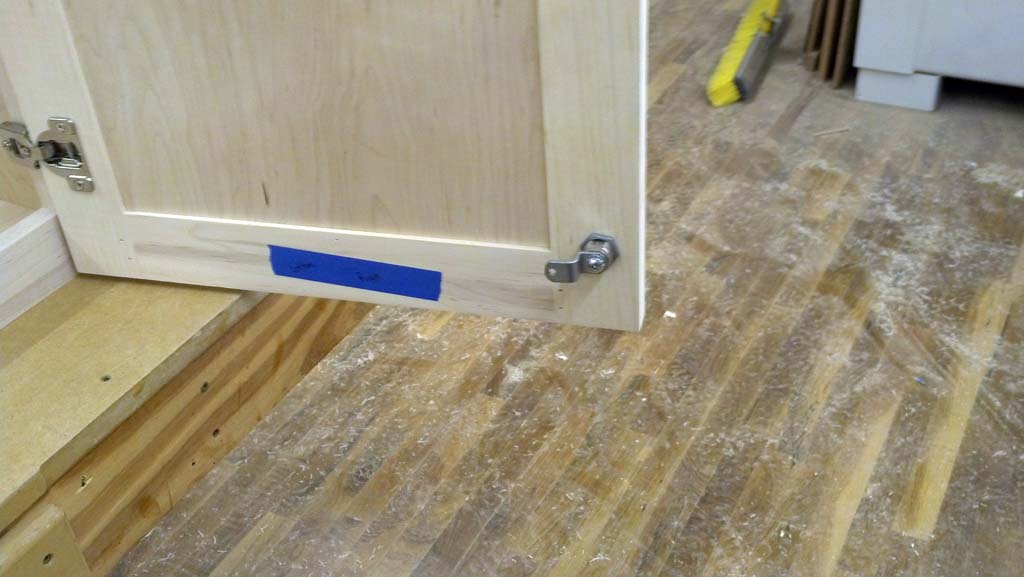
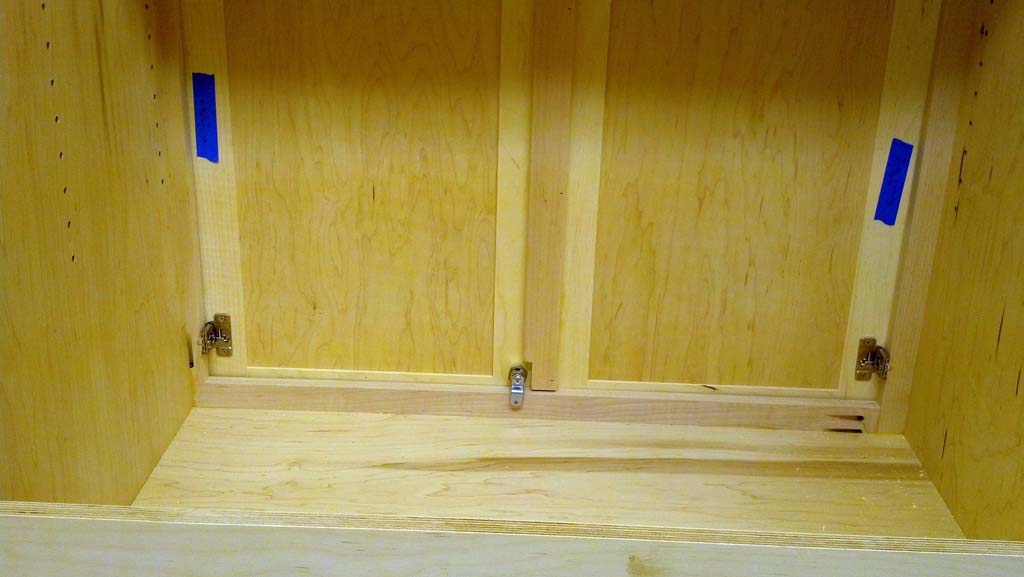
Next came upper and lower doors, pulls, and locks, as well as upper crown molding:
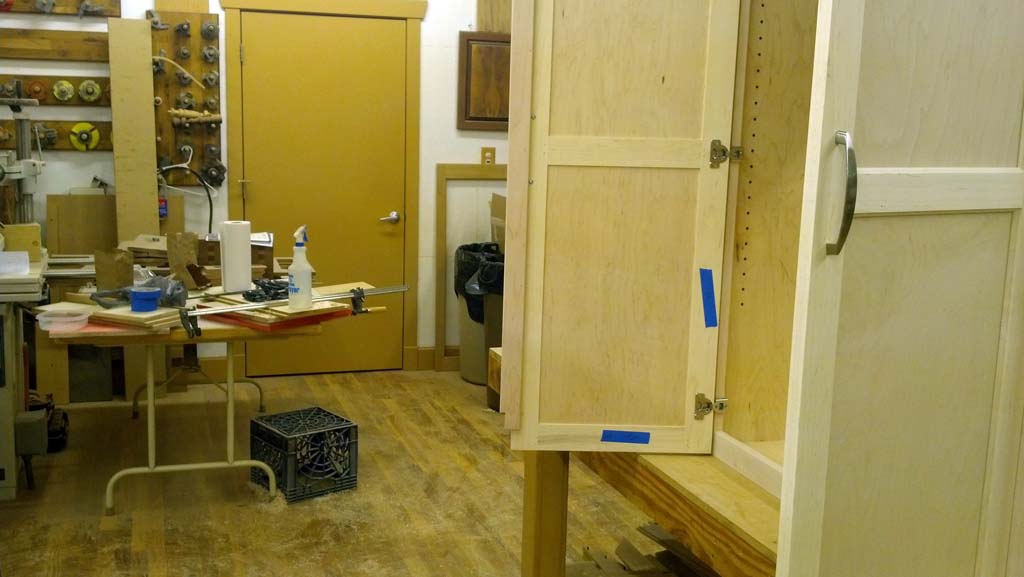
To avoid having a center stile on both the upper and lower cabinets, and yet allow them both to be securely locked, a false center stile was attached to the left hand door on each pair of doors. This allows the right hand door to be locked to the cabinet face frame, and keeps the left door from being opened without first unlocking and opening the right hand door:
Base molding was made and attached to the lower carcass. And a small waist molding was made and attached to the bottom of the upper carcass to visually pull both components together and make it appear as a single unit. Finally, sturdy adjustable shelves were built and installed.
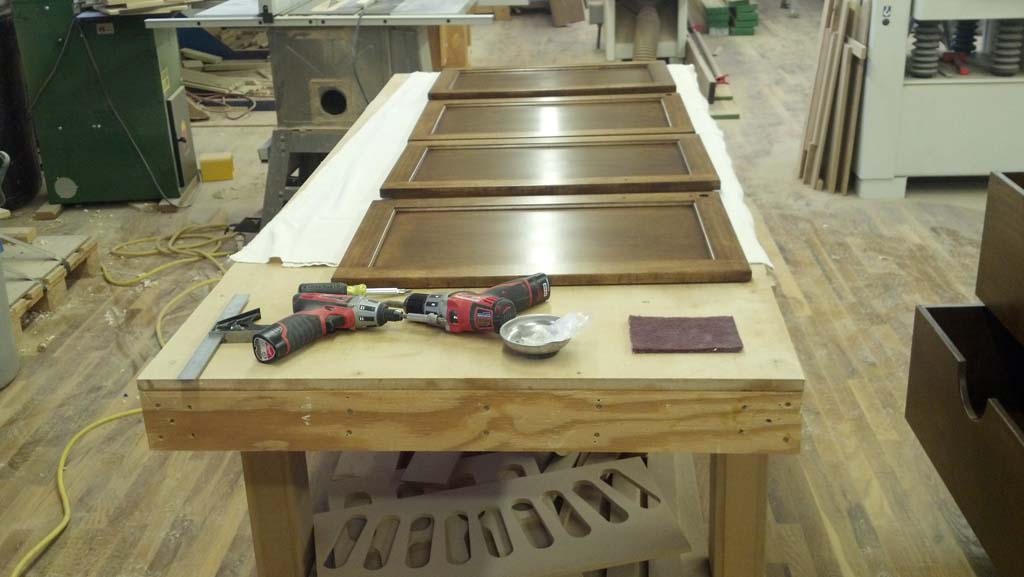
With construction complete, all the doors and associated hardware was removed. All components were given a final hand sanding ready for staining and finishing.
While cutting the maple ply for the cabinet carcasses, we took the time to mark where each piece came from. This allowed us to build the carcasses in such a way that the grain of the plywood flowed directly from the upper to the lower on both sides. It would be mostly unseen once stain was applied, but it was the right way to do it!
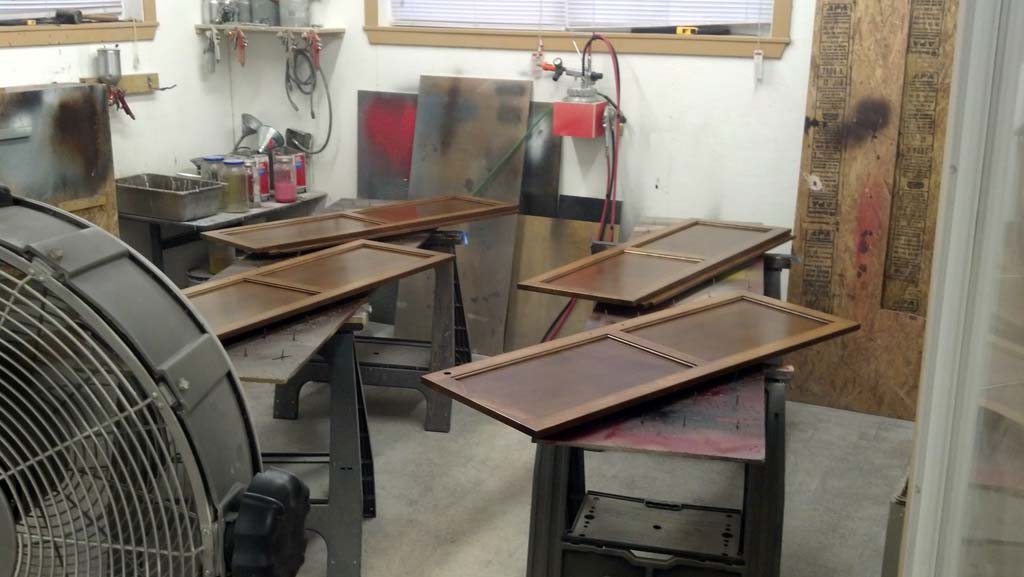
All components and both carcasses were stained and left to dry:
Once the stain was dry, the lower carcass was turned over and adjustable levelers were installed:
Several coats of sanding sealer were sprayed on, followed by several coats of top coat:
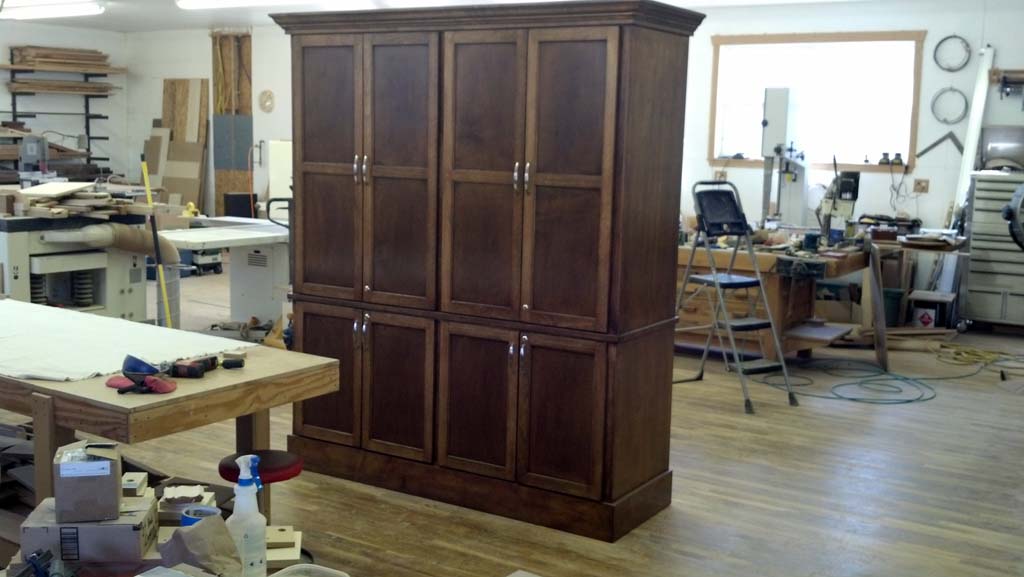
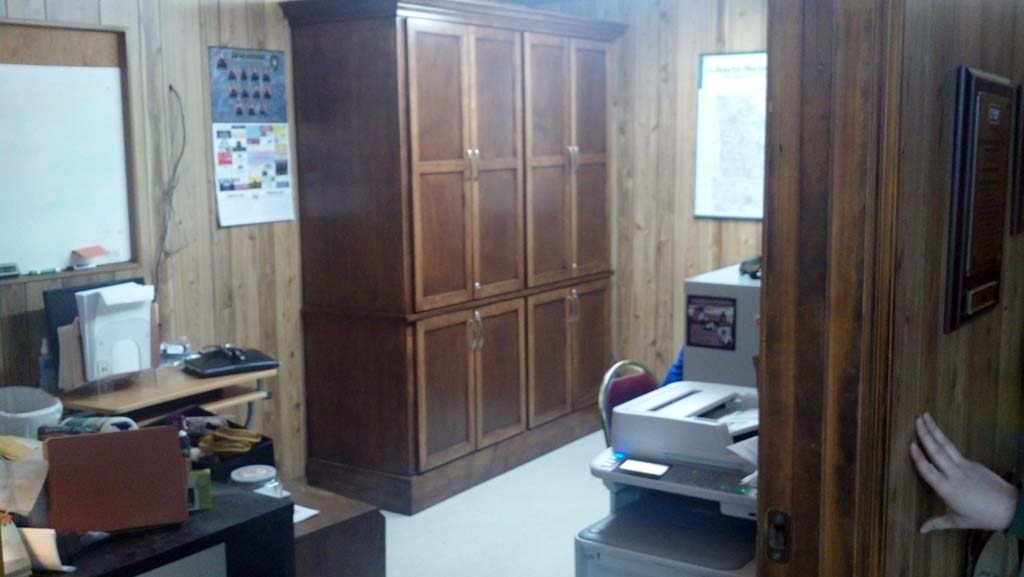
Once the finish on all the components and carcasses cured, the doors and associated hardware was re-installed and the piece was ready for delivery:
Here's the credenza in its final home, with the
before shot for comparison:
Mission accomplished! Lockable storage that allowed our client to organize all the "stuff" in their office
|