Fivebraids Cutting Board Medallion

Fivebraids Custom Woodworking, Inc.

Purveyor of "Things Wooden"


Metter, Georgia


*** Business and Retail Shop Closed. ***


Thanks for your support


Fivebraids Cutting Board Medallion

Custom Pelin Burl Jewelry Armoire


Click on any thumbnail below for full size picture


Dated progress reports


7-15-2012


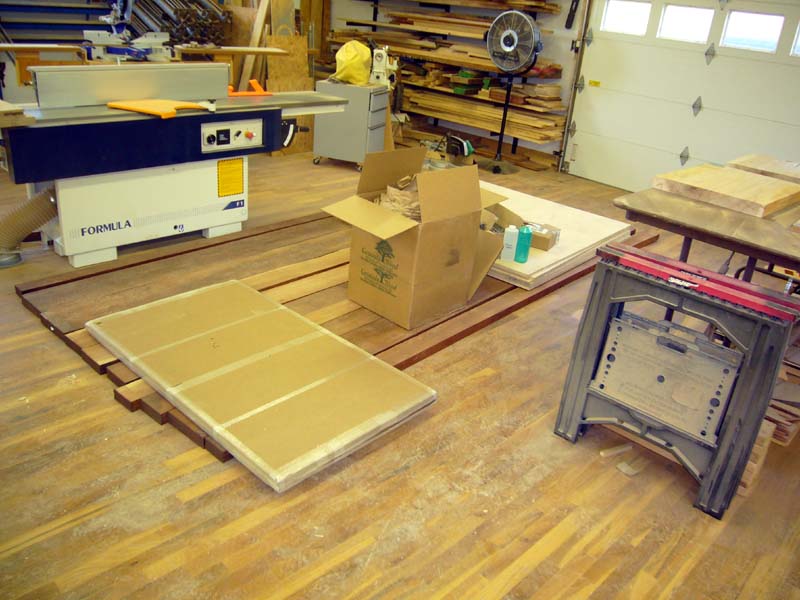
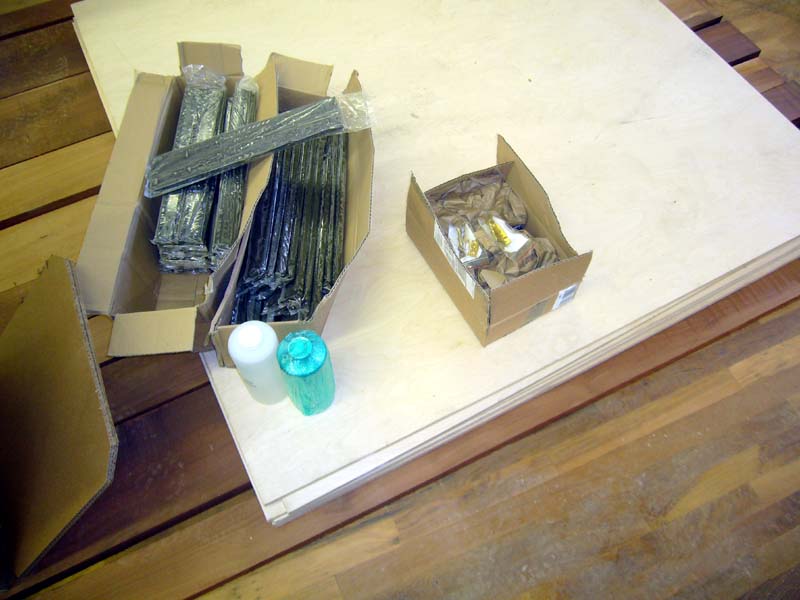
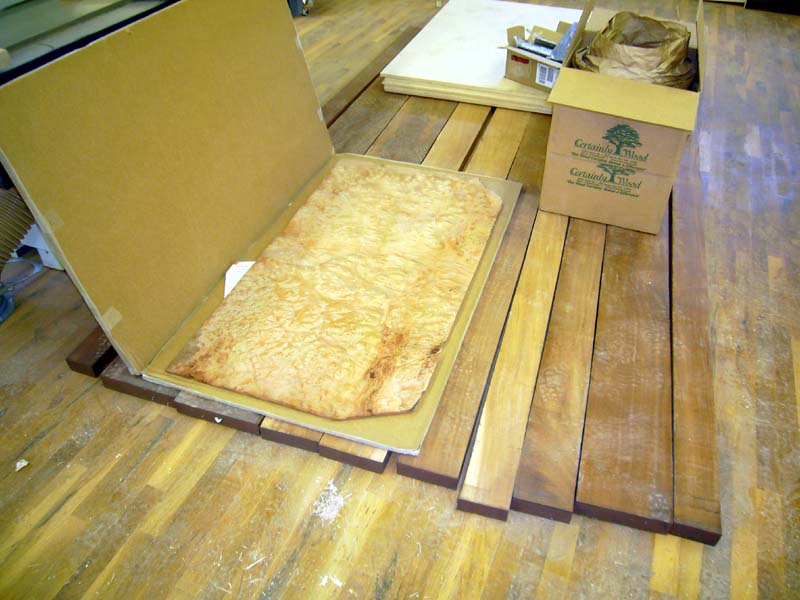
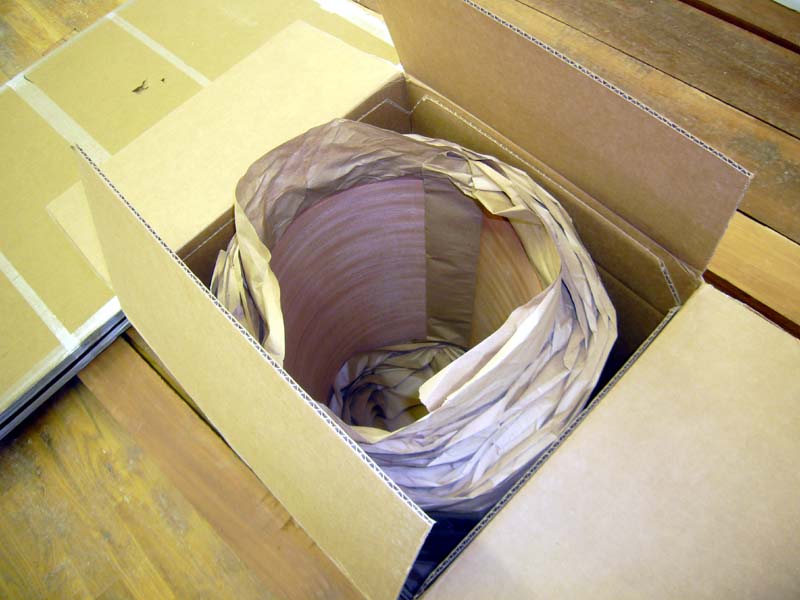
Materials have begun to arrive - Work will commence shortly


Mahogany lumber, Baltic Birch plywood, veneer, veneer softener, drawer slides and library catches have arrived.  Still a few items yet...

Armoire Material arriving Armoire material arriving
Armoire material arriving Armoire material arriving
These pictures do absolutely no justice conveying the beauty of this burl!  I'll get better shots once I have space cleared in the shop to lay it out.  The box below contains the Mahogany veneer that will cover the fields of the pullouts.
Armoire material arriving  

7-17-2012


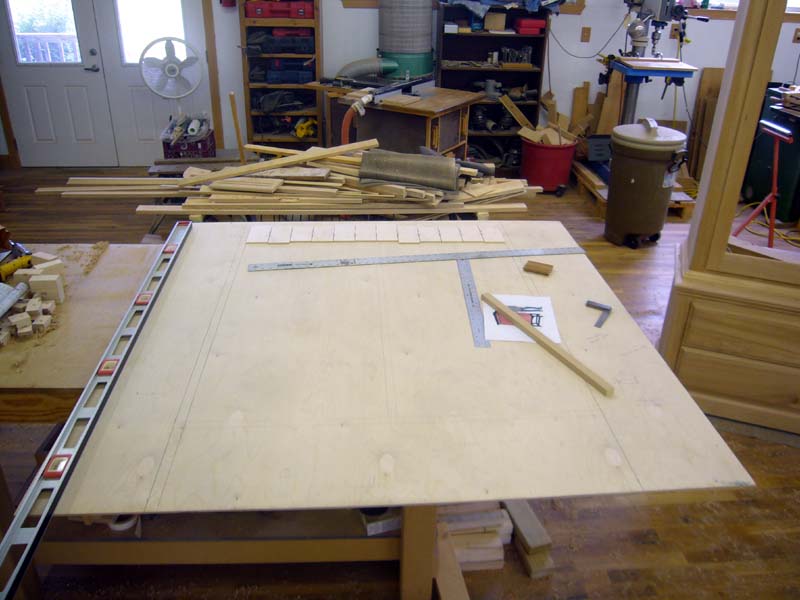
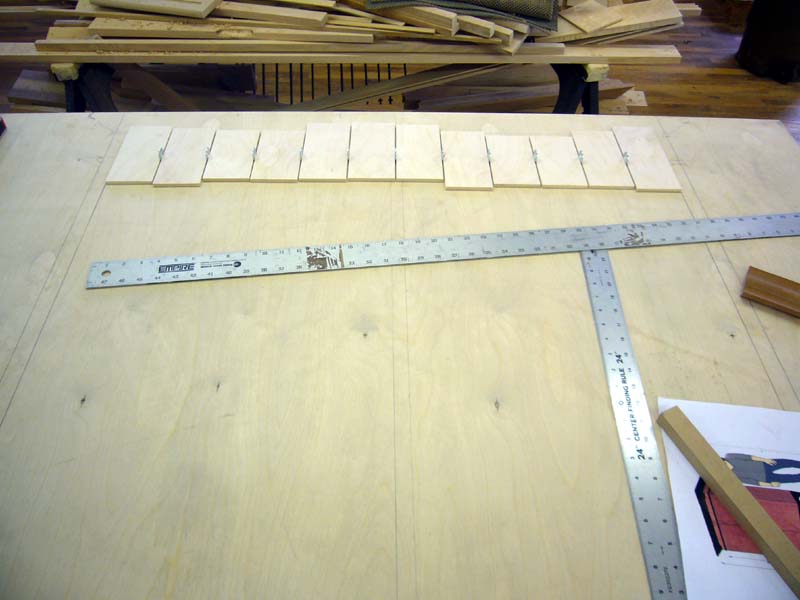
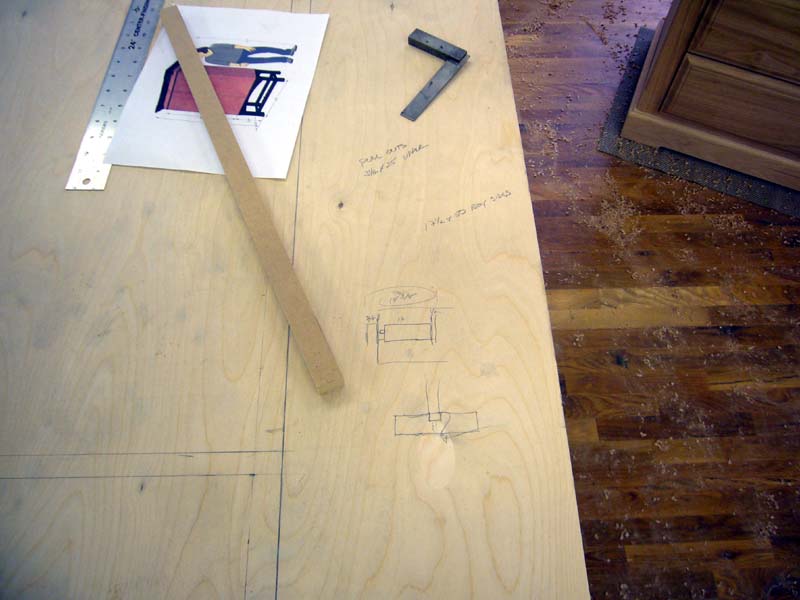
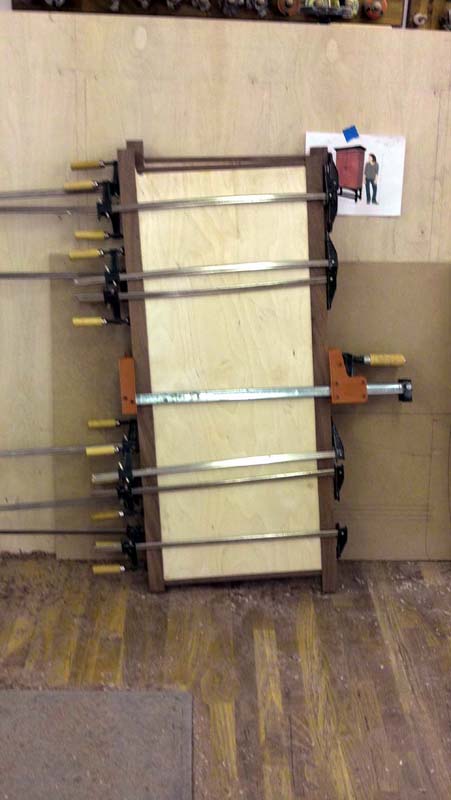
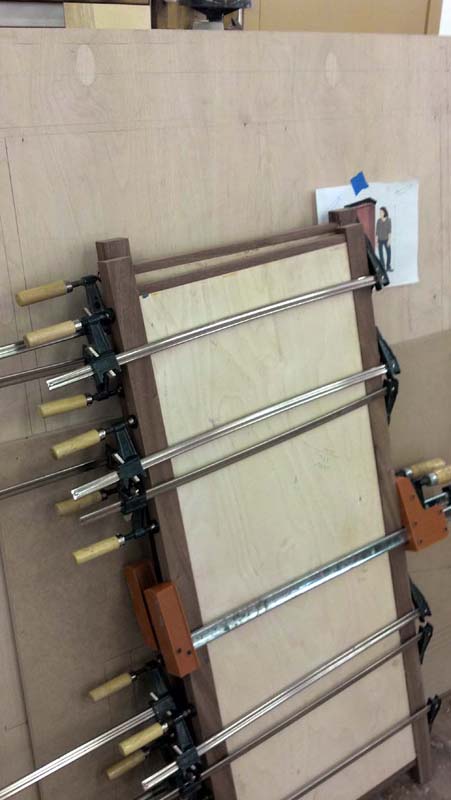
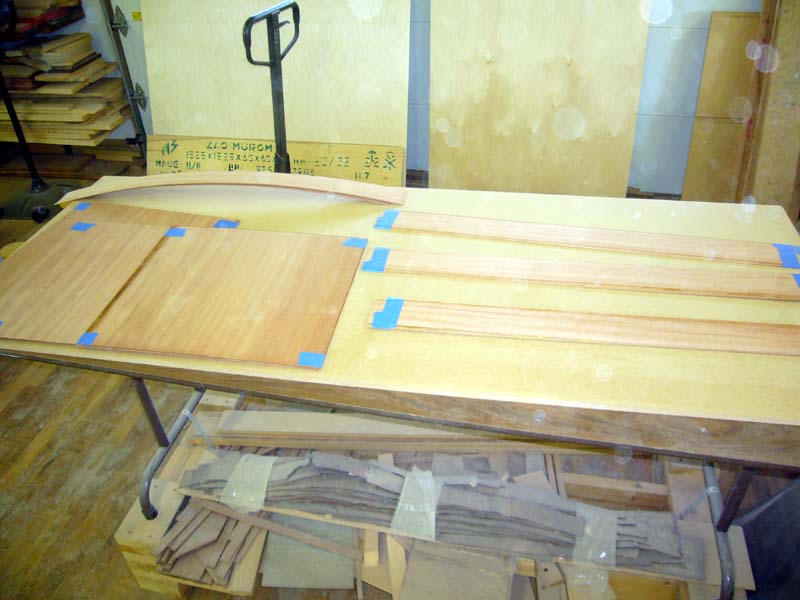
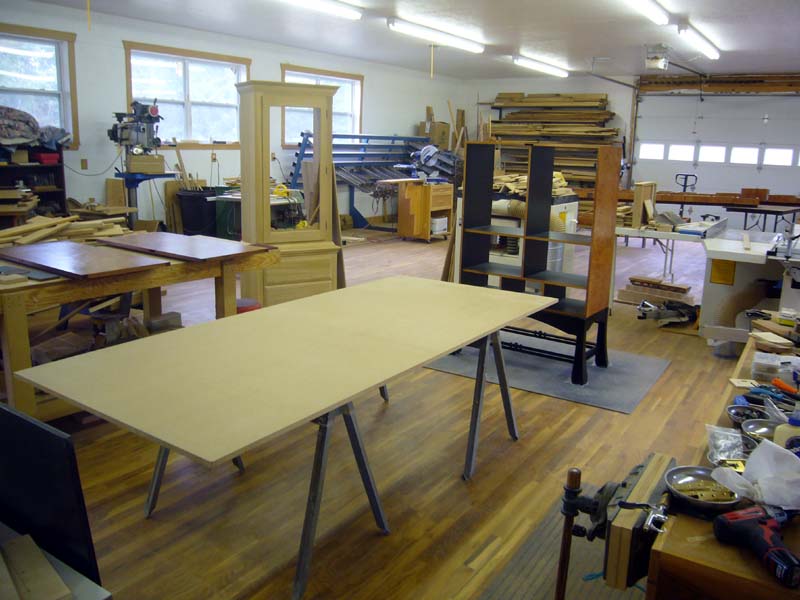
Full scale layout completed, dimensions determined.  Veneering begun on pullouts.
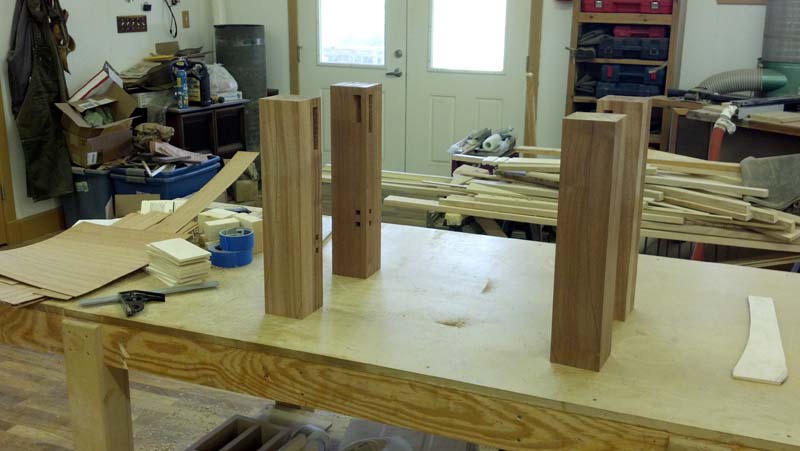
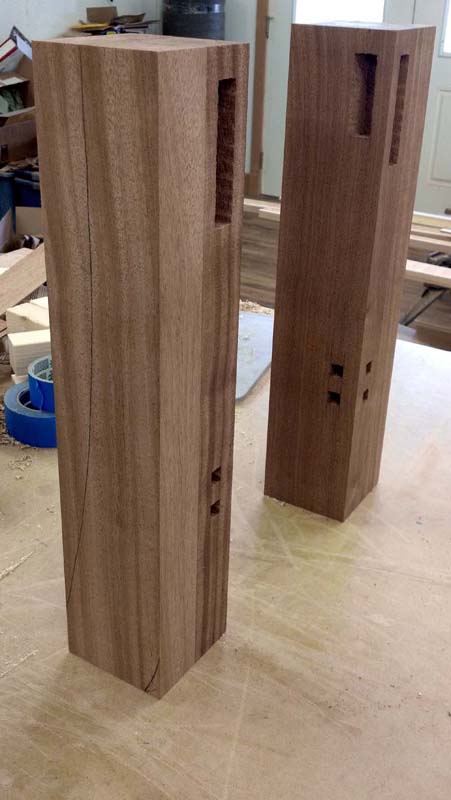
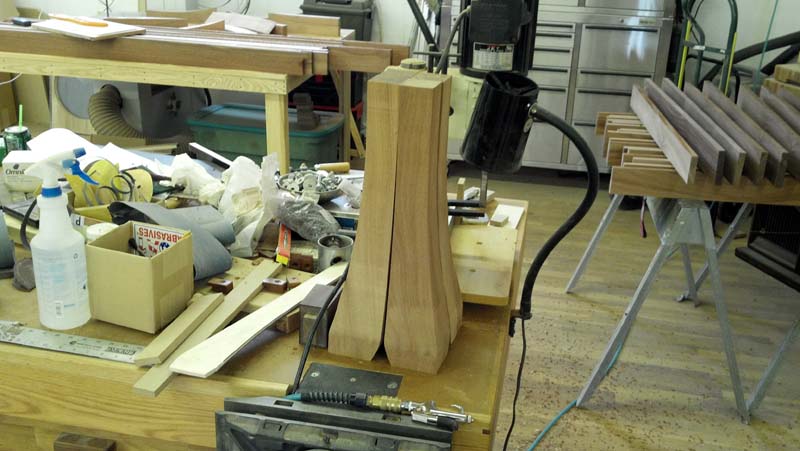
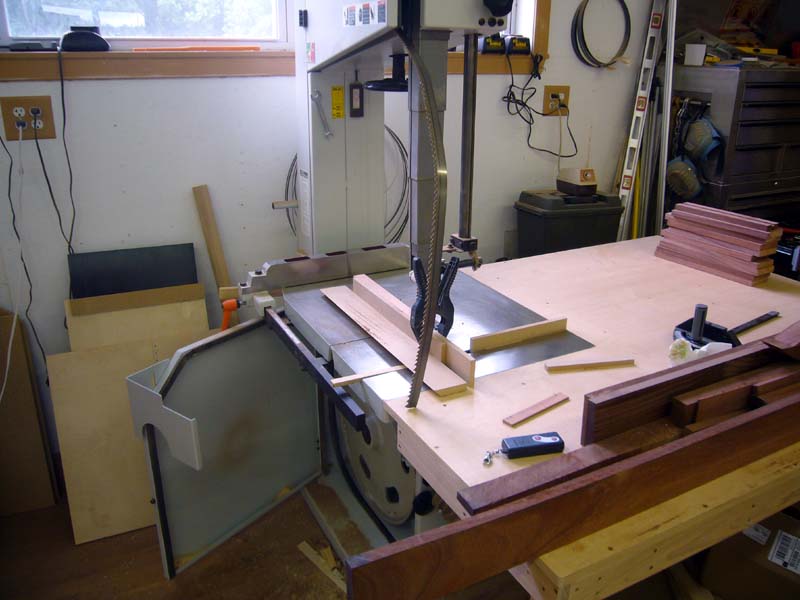
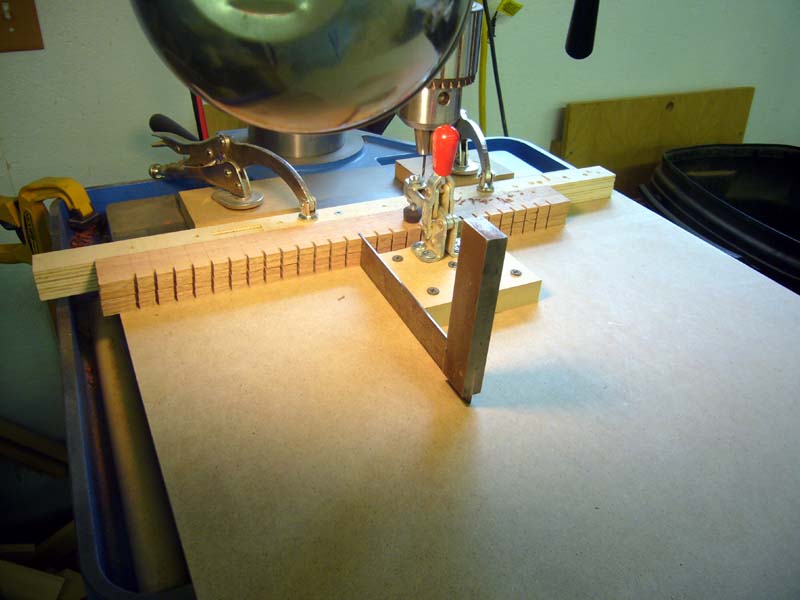
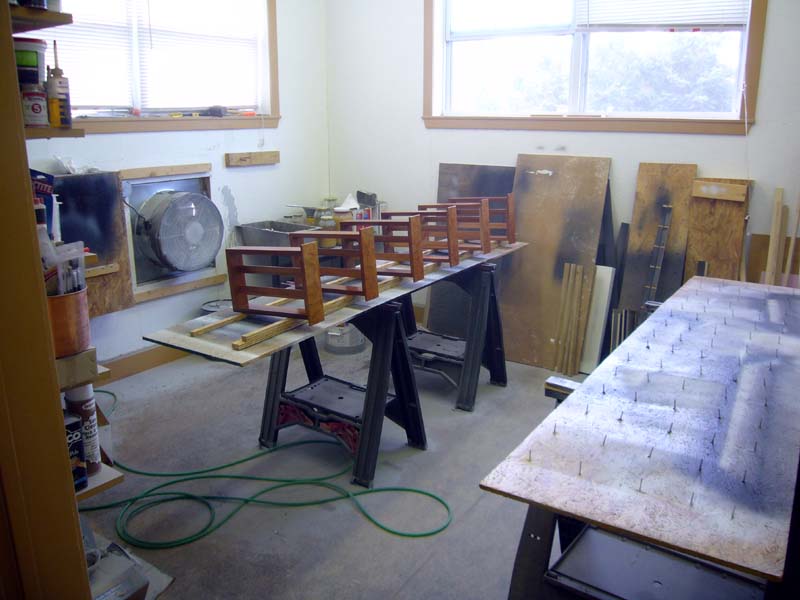


7-30-2012


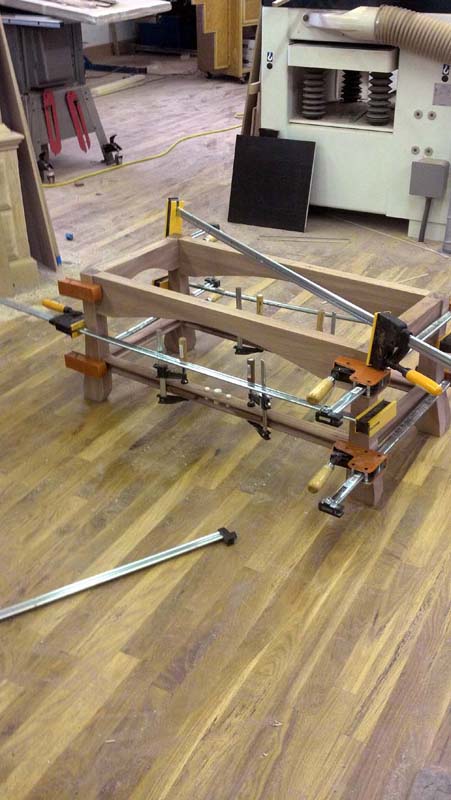
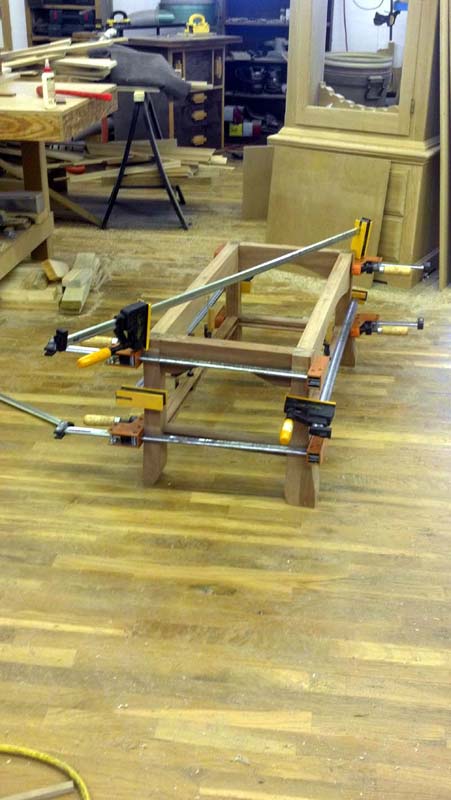
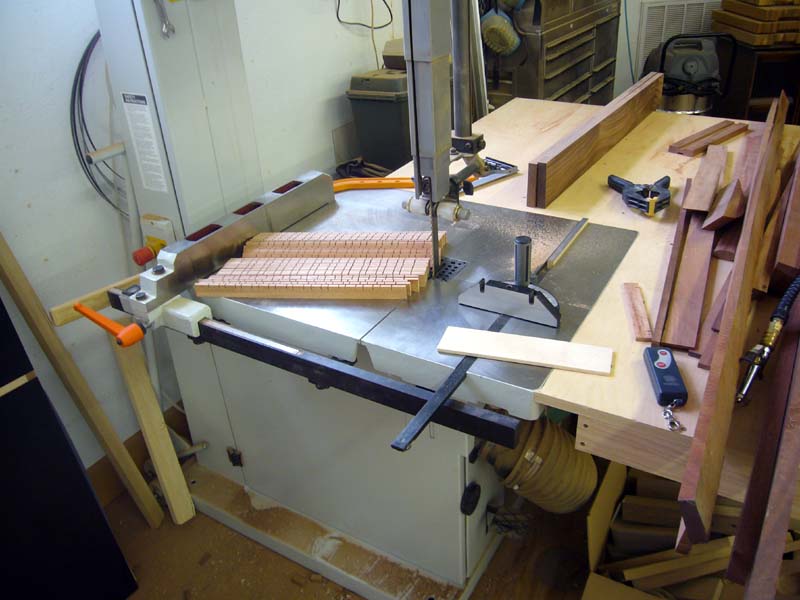
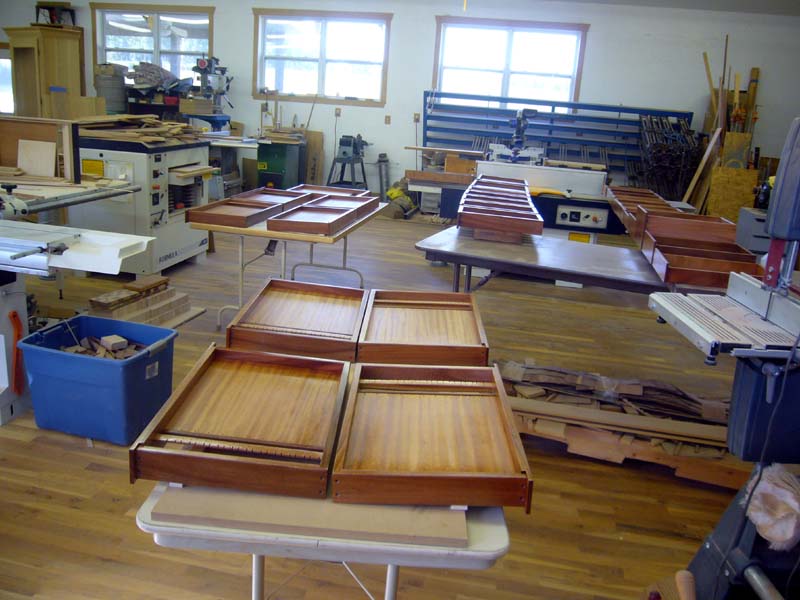
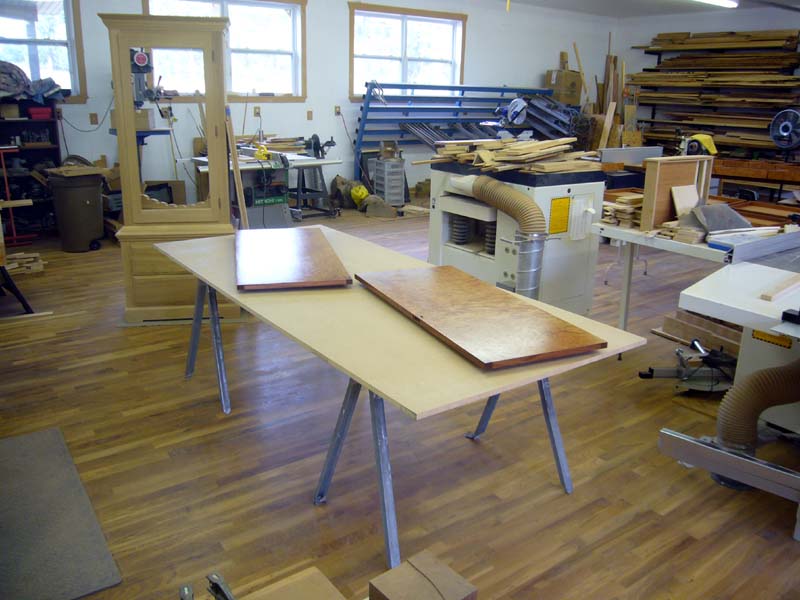
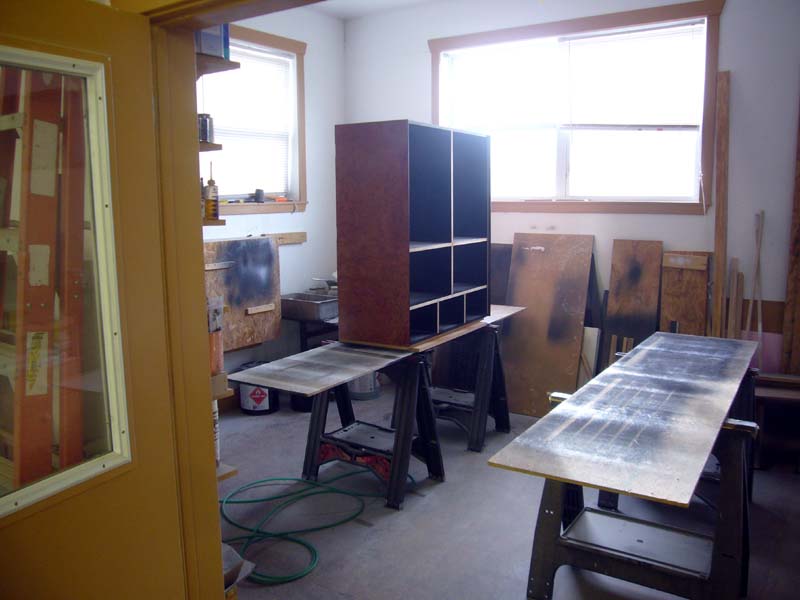
A lot has happened since the last post.  Here are a few pictures with some text explaining each:


Solid Mahogany legs for the base were milled and mortised to receive the upper and lower stretchers.
 
Close up of mortises in legs
     
Legs have been rough shaped  
Upper and lower front and back stretchers have been milled from solid Mahogany and fitted into the mortises in the legs.


Upper and lower side stretchers milled and fit as well.
 

Arches are cut in the upper front, back and side stretchers.  Decorative pegs are milled and inserted into the lower front and rear stretchers.  The entire base is then assembled and glued and clamped together.
     

Here's a view of the assembled base from the side.  Notice that the rear legs have been re-milled so that the piece will be able to sit flush against the wall.
 
While working on the base, the case has been veneered and assembled.
     

Since the doors will be so large, a solid and stable core had to be created.
 
Each door is made up of a piece of 1/4" baltic birch plywood laminated onto a piece of 3/4" baltic birch.  This full 1" core is then edge banded in solid Mahogany in preparation for veneering.
     

Leaves of veneer are chosen for the doors.  They're then marked for cutting, making certain a good match with the sides is maintained.
 
Here are the doors fresh from the vacuum press.  They're still over sized and need to be cleaned up, but the book match came out great!
     

This shows that the book match with the sides came out great as well!
 
Mahogany pullout fronts are milled oversized and rough fit in the case.
     

All the interior parts are laid out and a jig is built around them to hold them in position during the veneering process. Zinc washer are used to keep each part evenly spaced from its neighbors, insuring an even gap across the enter interior.

Notice that the final dimensions of the drawers have been determined.  There is a single deep middle drawer, with a pair of shallower drawers to each side.  The upper drawer on each side is slightly smaller than the drawer below it.  This layout maximizes the use of the space left over after accommodating all the pullouts.
 
With the jig built to hold the interior parts, leaves of veneer are selected and hand stitched to create a proper book-match.
     

Here are the pullout and drawer fronts fresh from the vacuum press with the book matched veneer permanently bonded.
 
Perfect alignment and good glue squeeze out shows that the veneering process was successful. 
     
 
Some very careful work with a Japanese pull saw and a veneer saw and the parts will be separated from one another ready for cleanup.
   
The various parts have been separated and initial cleanup has begun.
     

Mahogany is milled for top, bottom and backs of the pullouts, as well as the sides of the drawers.
 
Laminating 1/16" thick Mahogany veneer together to form the earring racks has begun.


8-05-2012


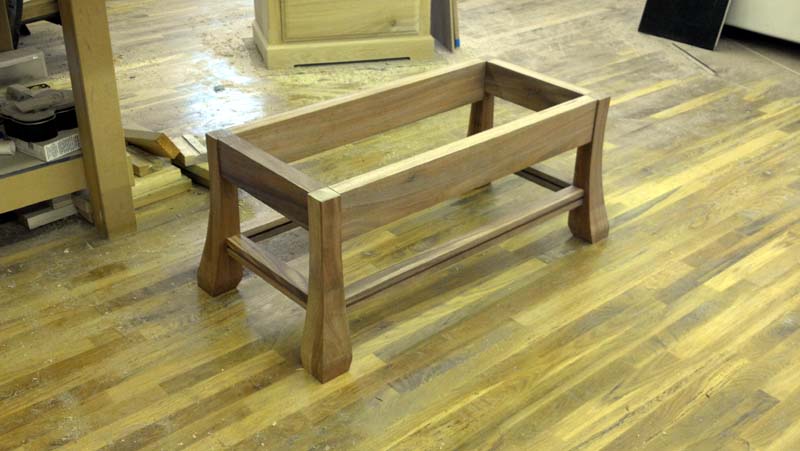
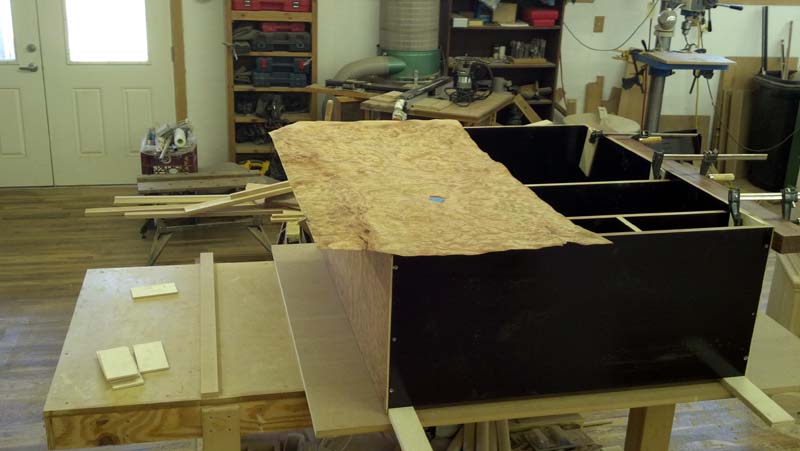
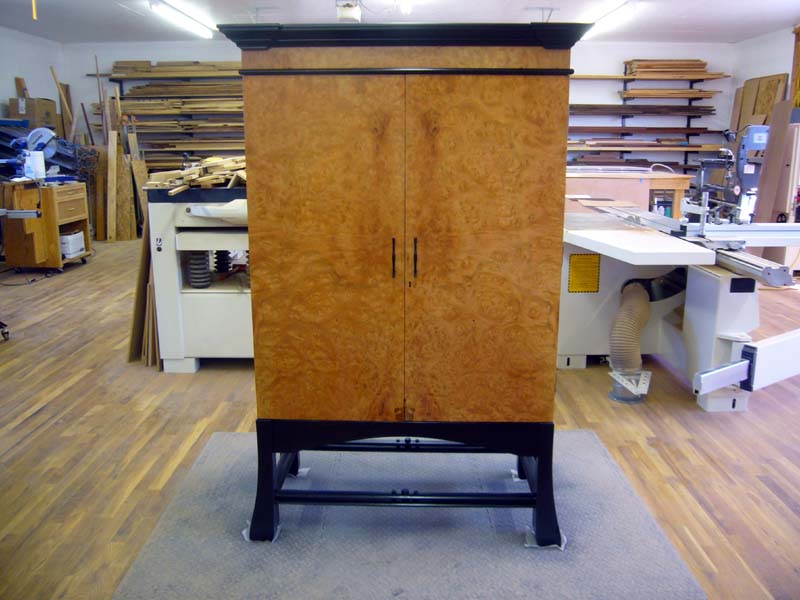
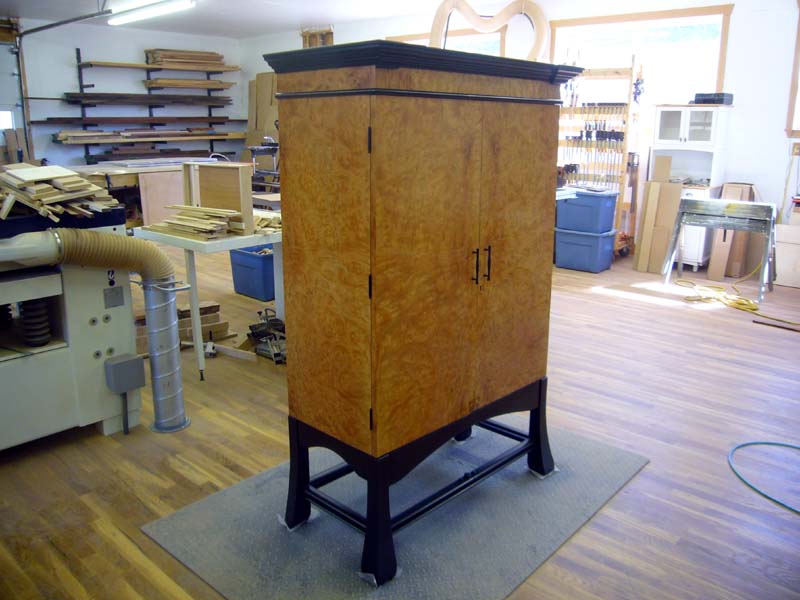
Another busy week, with loads to show for it...the armoire is finally taking form! 


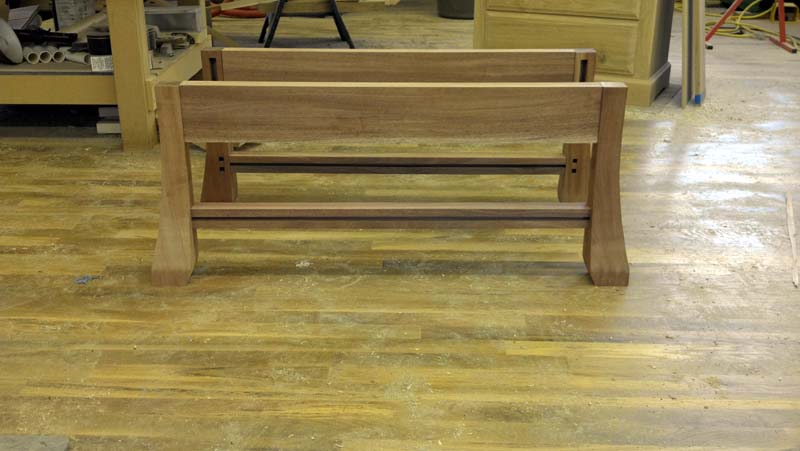
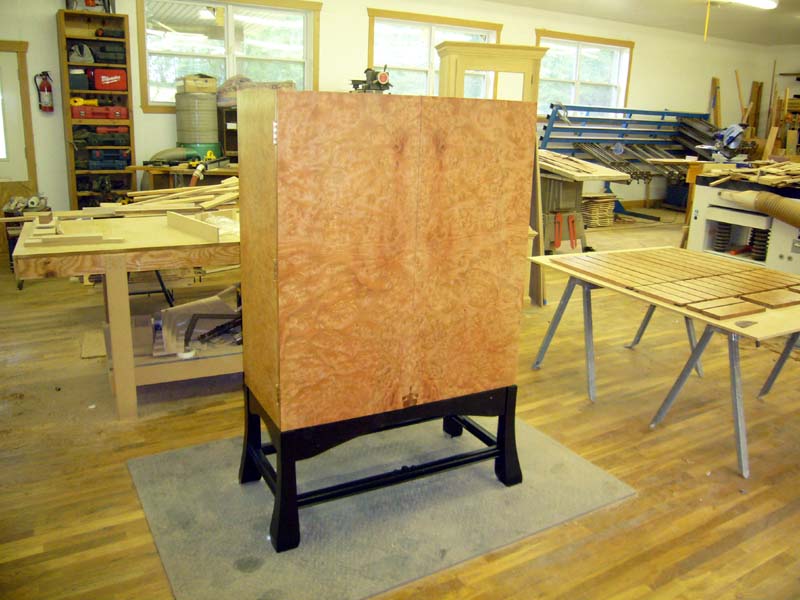
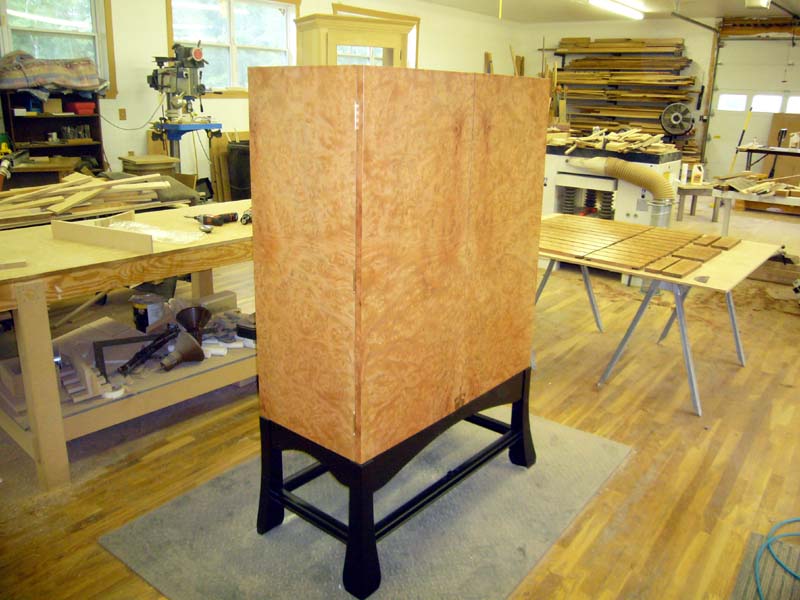
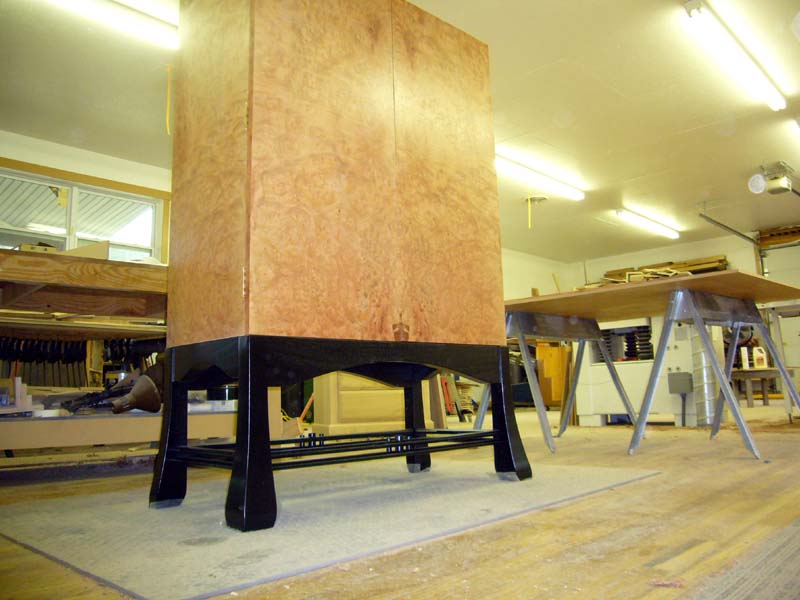
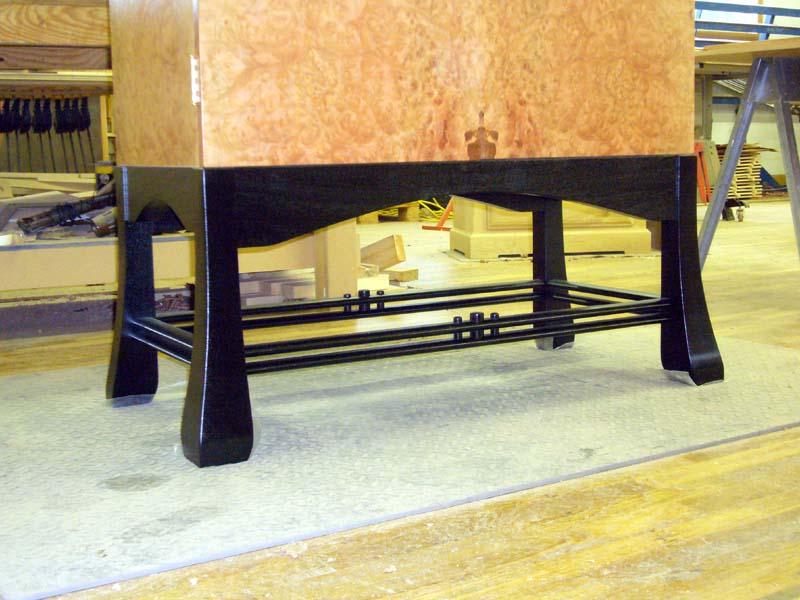
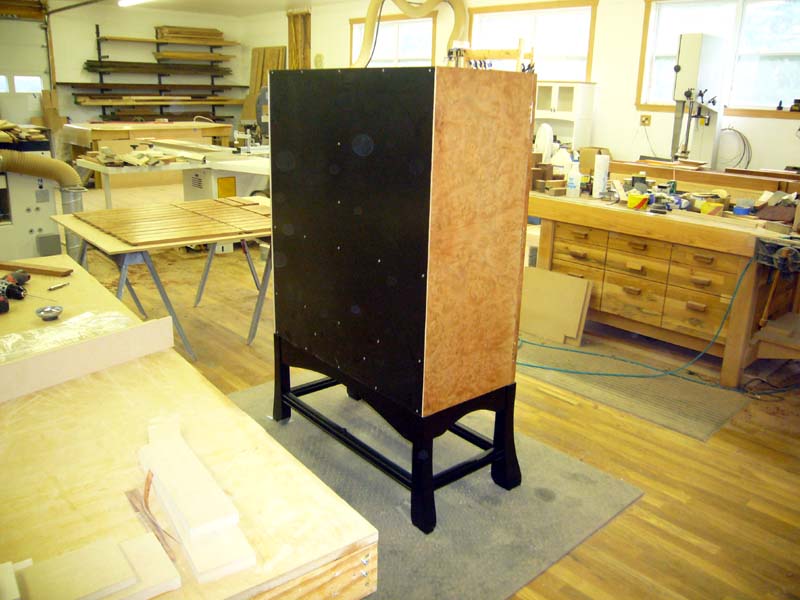
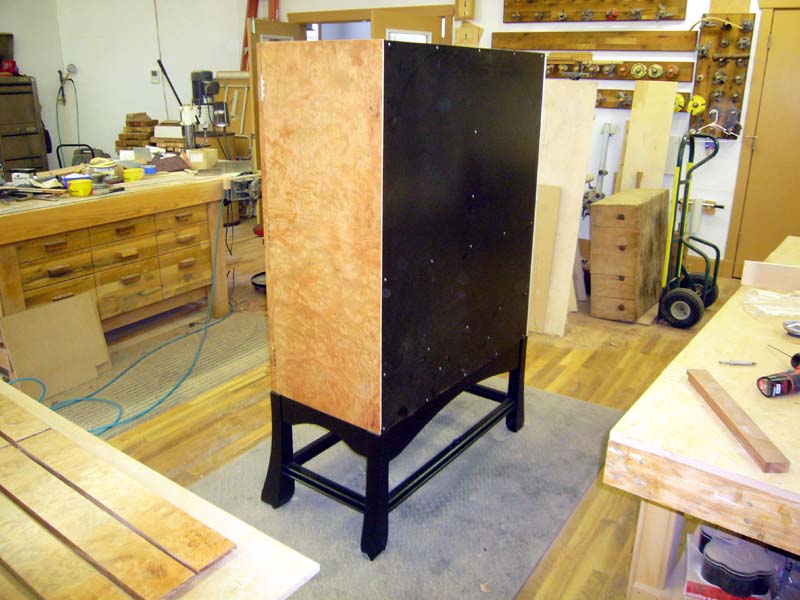
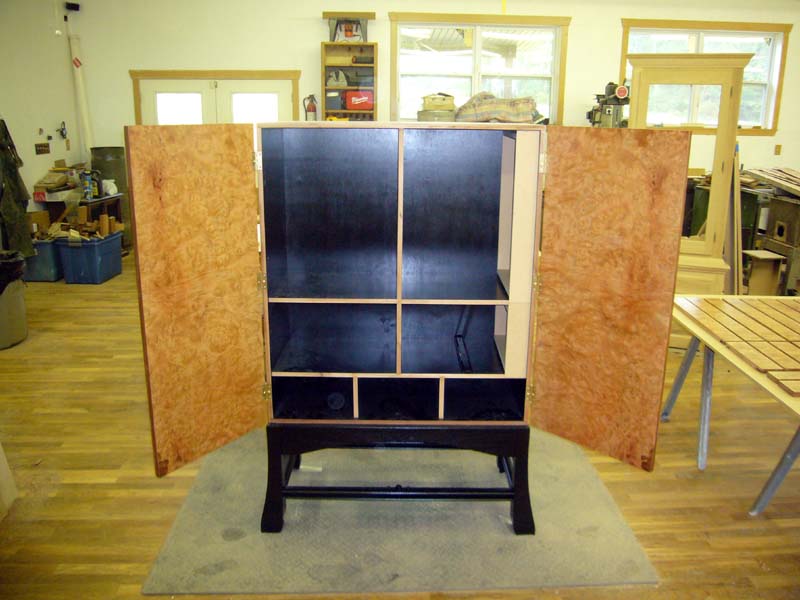
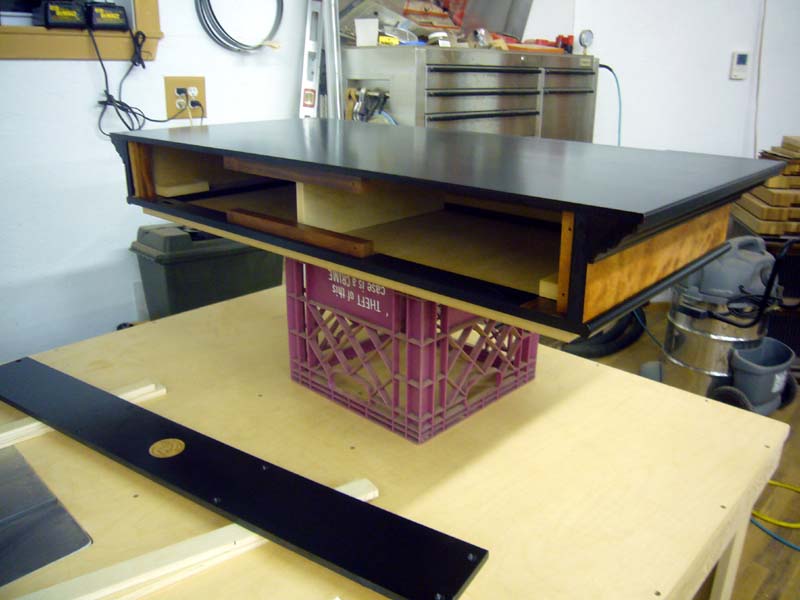
The base has received it's final shaping and sanding.  It's been ebonized and received an initial coat of sanding sealer.


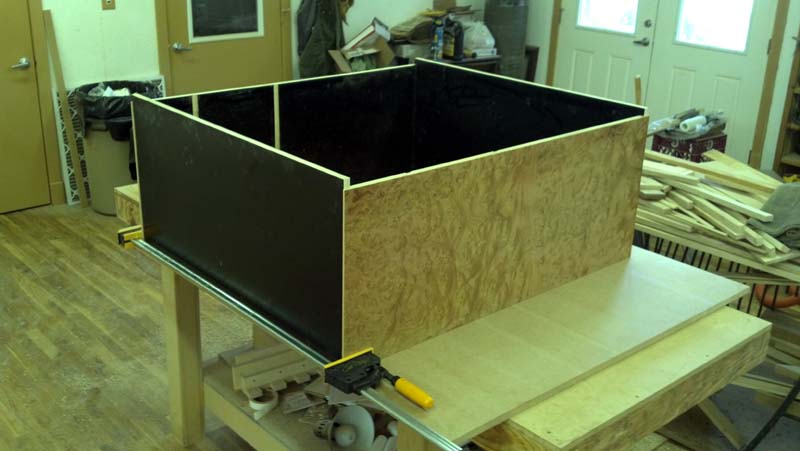
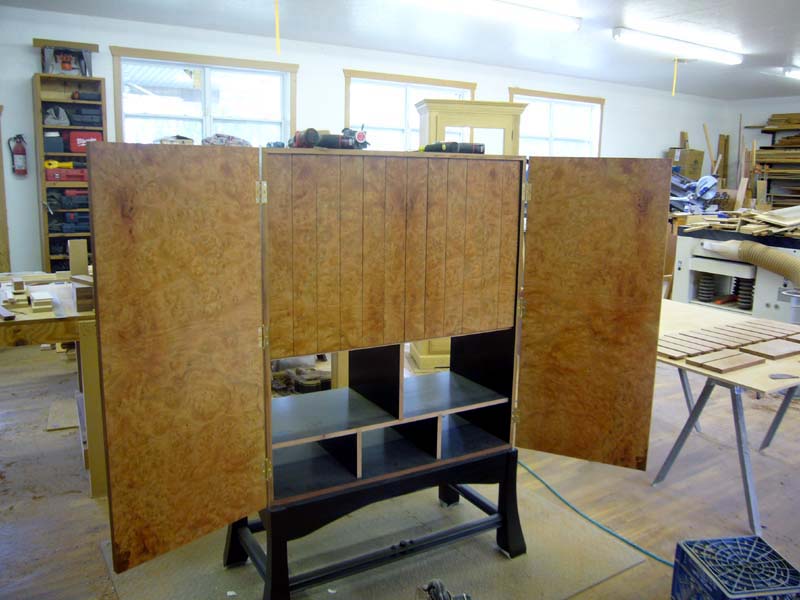
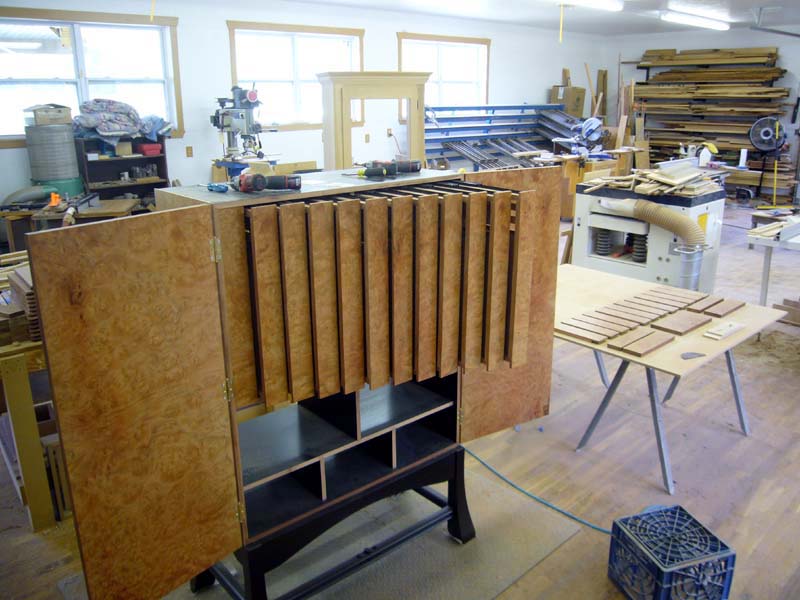
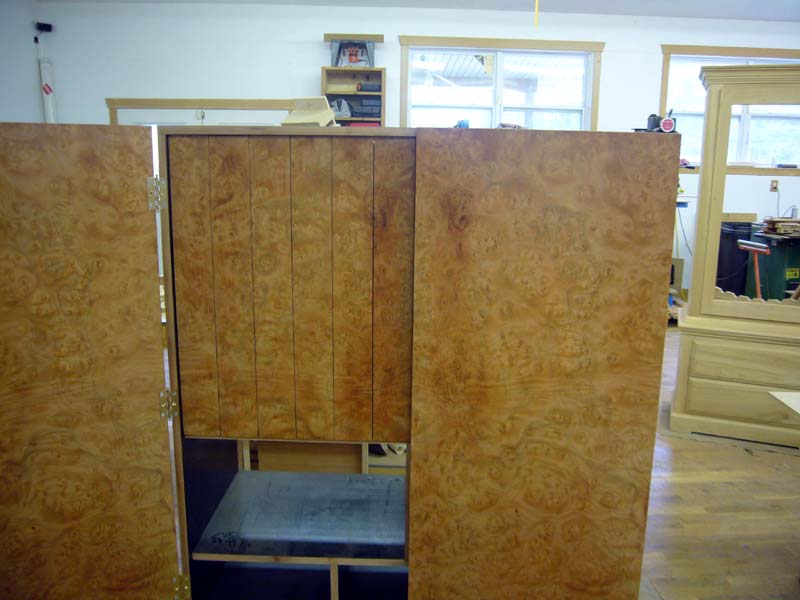
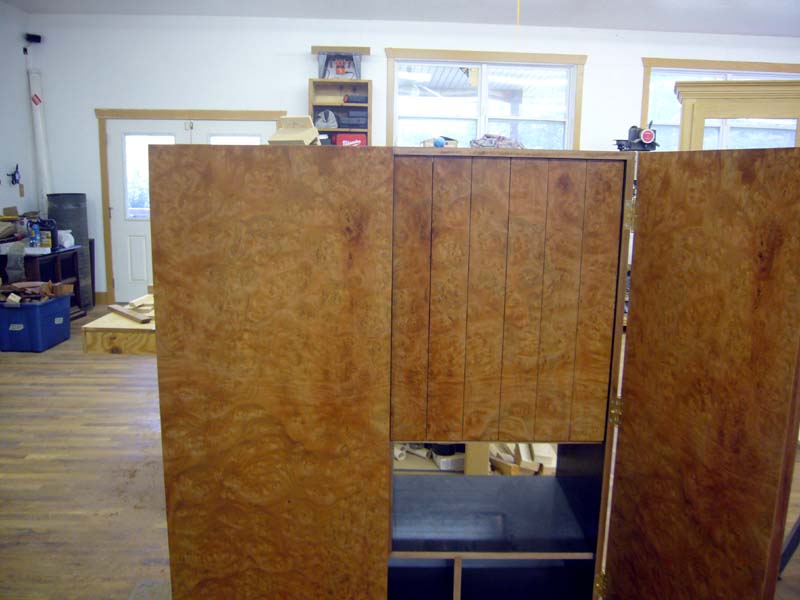
The cabinet itself has been stood up on the base and an ebonized back has been fitted.  The doors have been veneered all around and have been rough fitted and mounted.  Some minor tweaking needs to be done to the doors to create the proper gap in the center and get everything lined up properly.


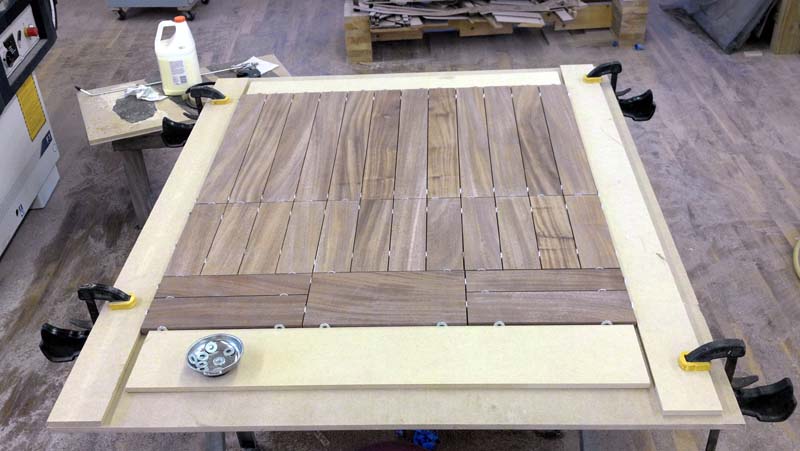
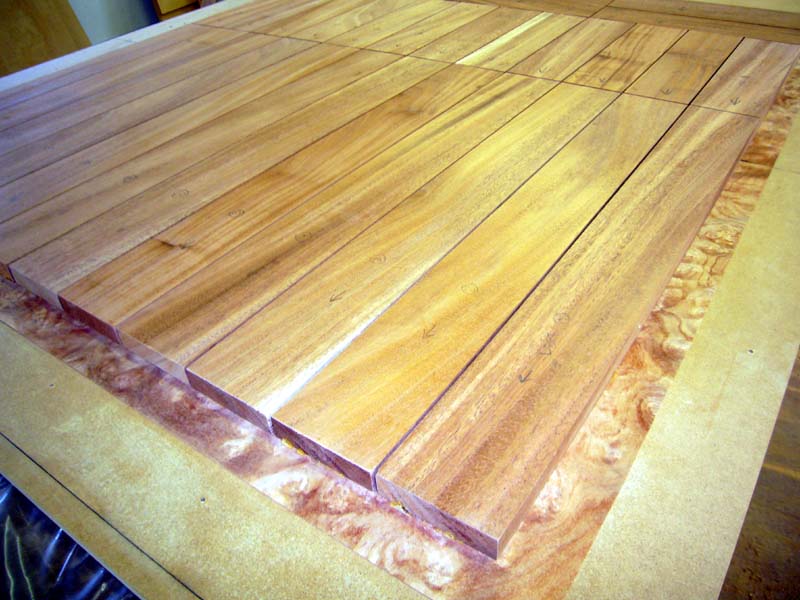
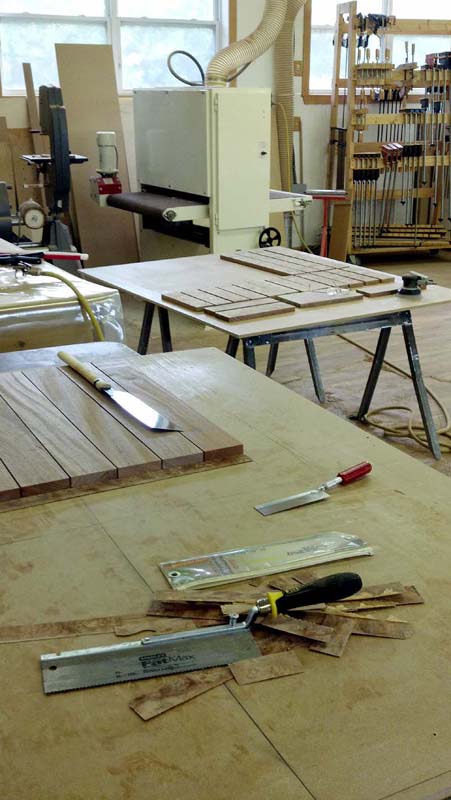
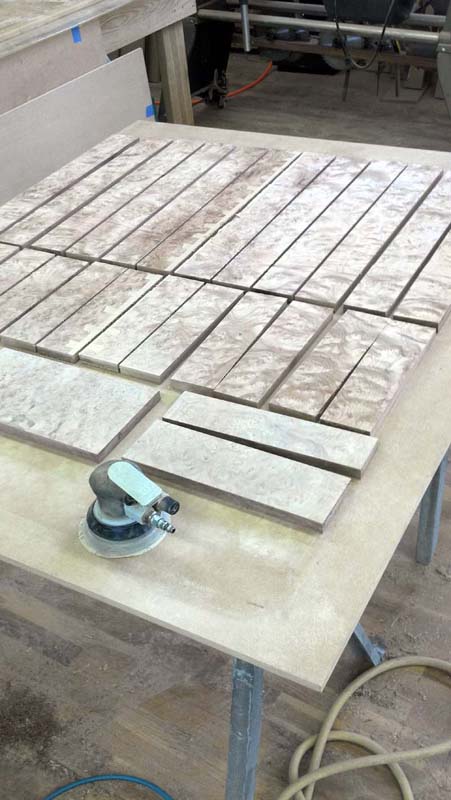
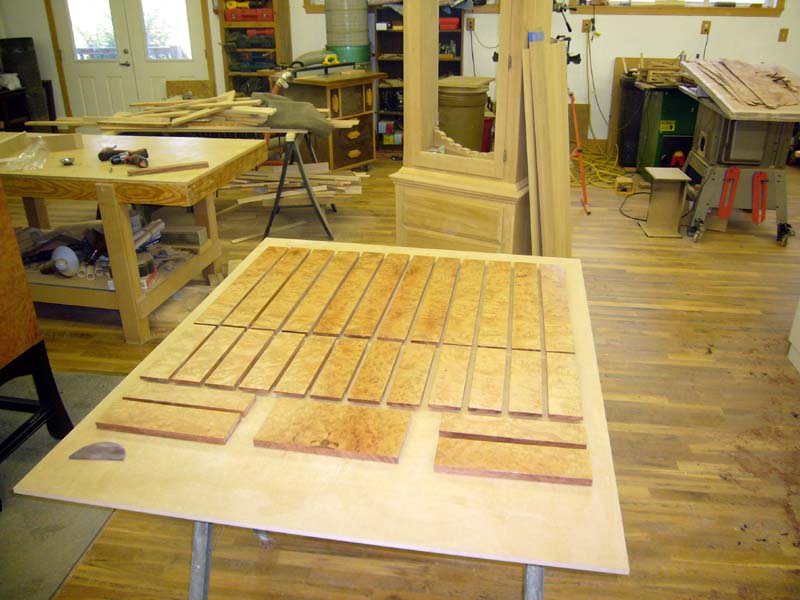
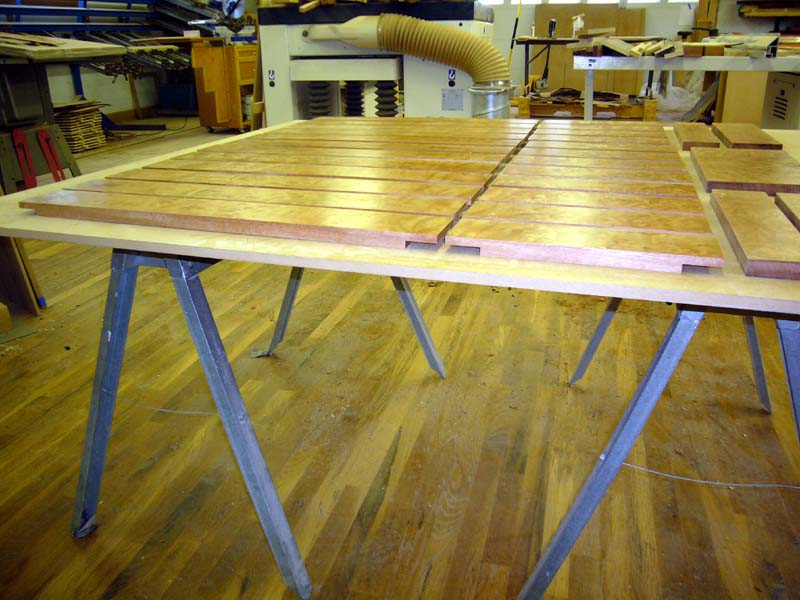
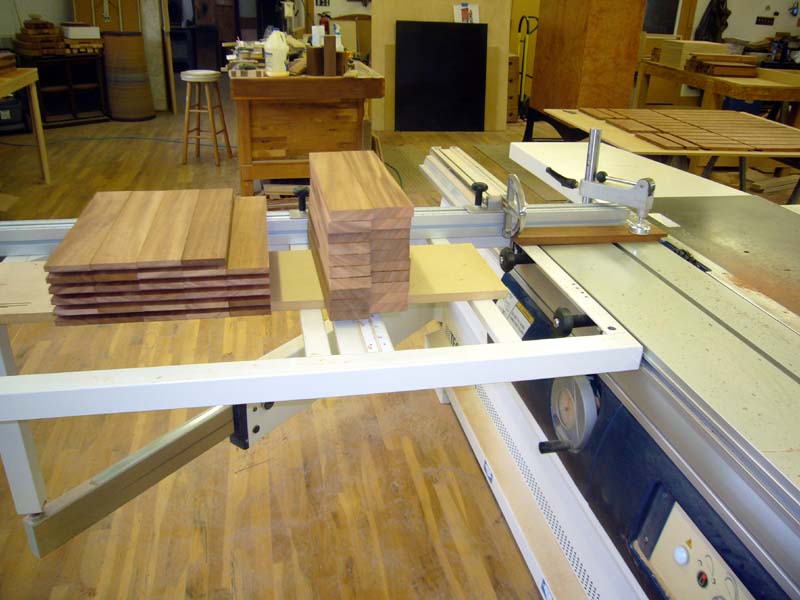
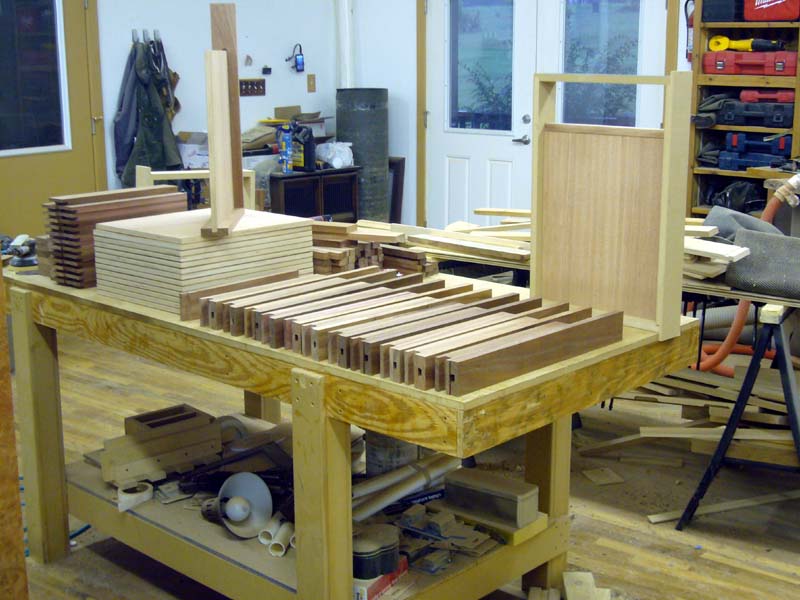
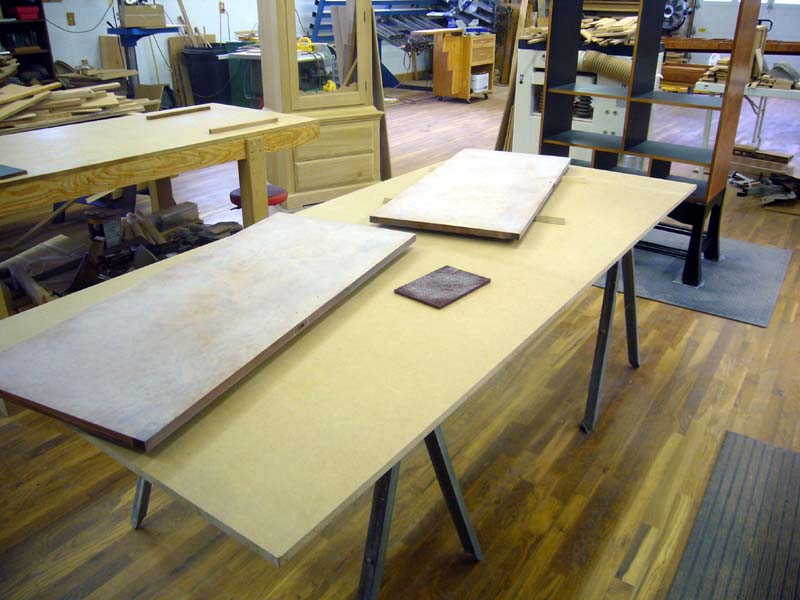
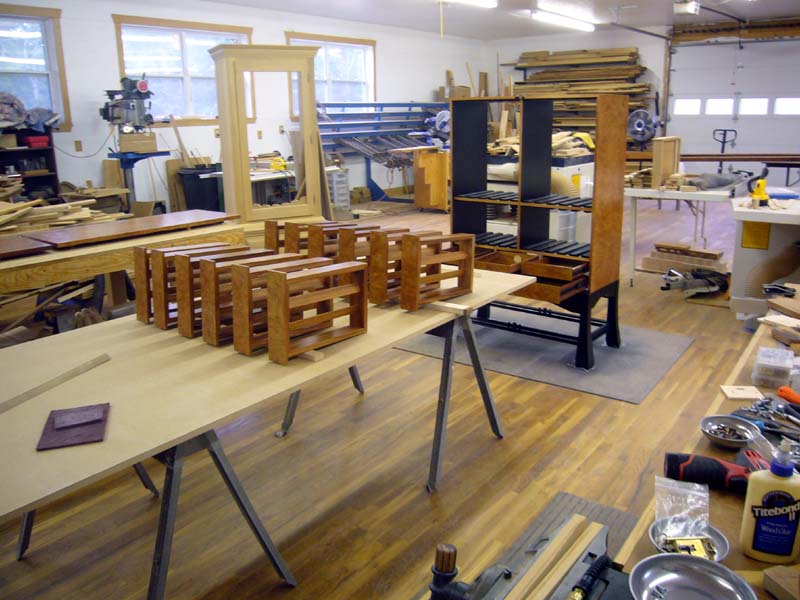
The pullout and drawer fronts have been cleaned up (de-glued from the vacuum press), sanded, and have received a coat of sanding sealer to protect them while they get further milled. 


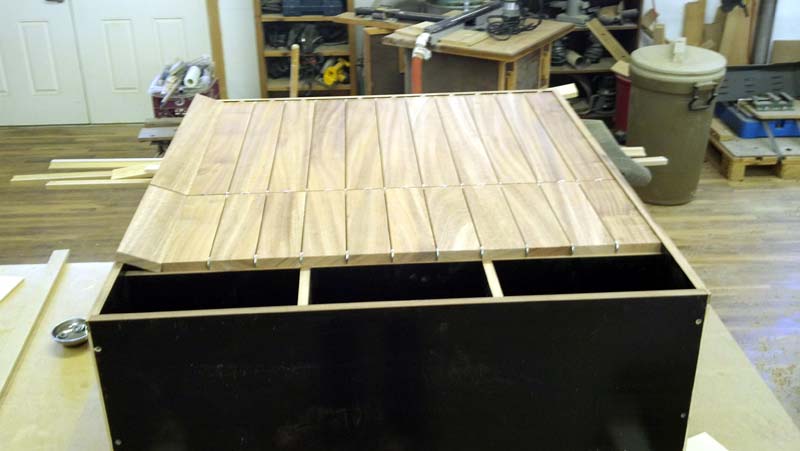
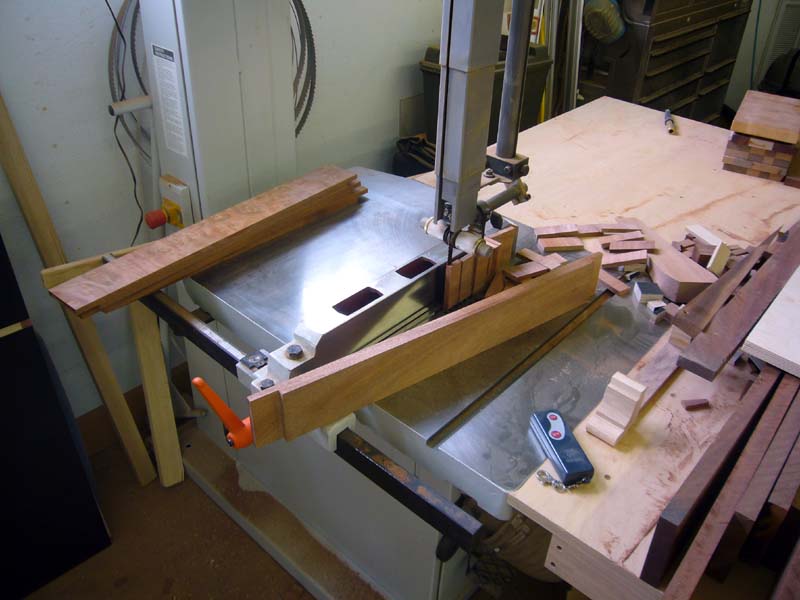
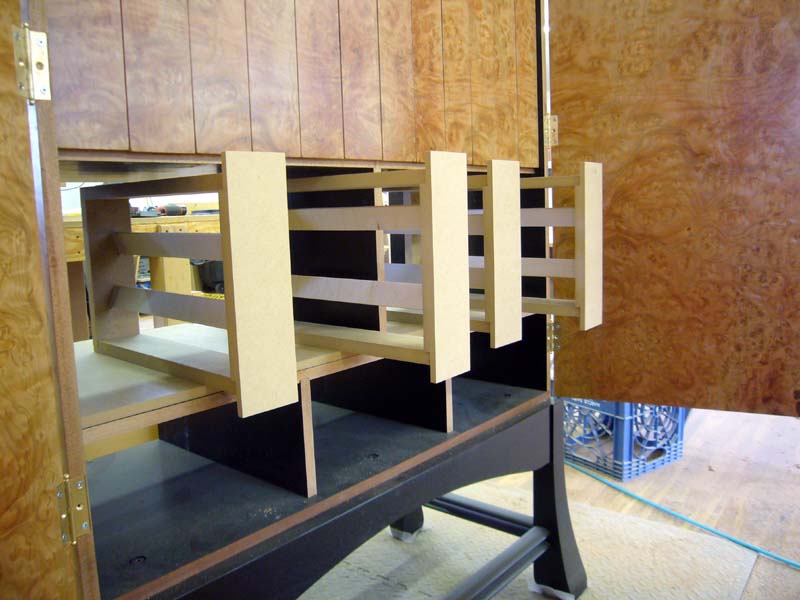
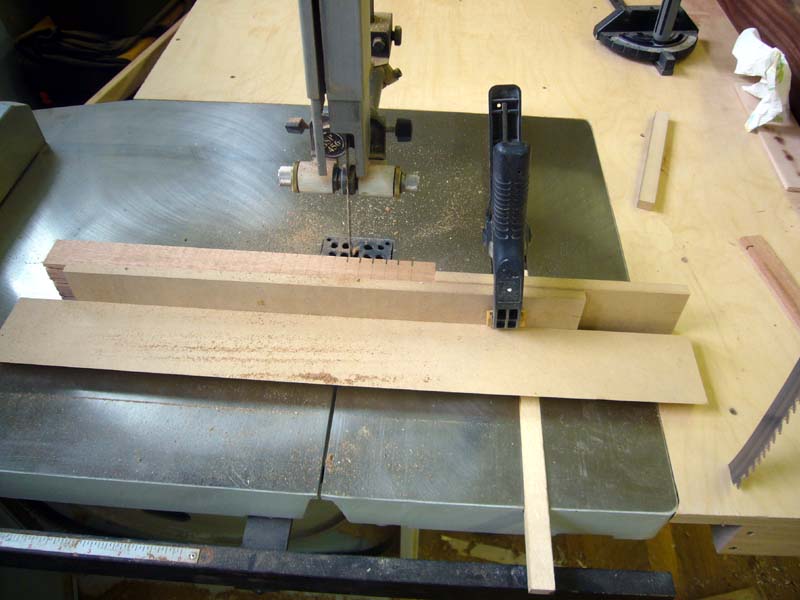
Prototypes of both the large upper, and small lower, pullouts have been made to obtain precise measurements.  With these measurements, the rabbets have been milled, top and bottom, on all the pullouts.  


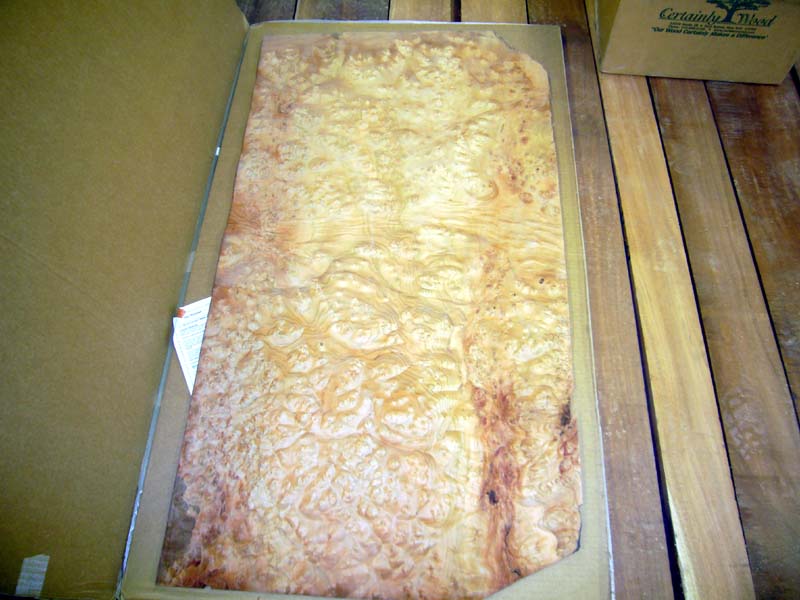
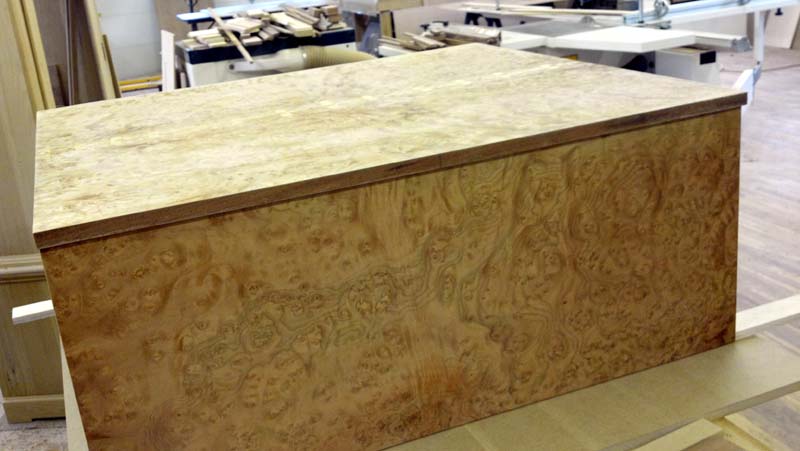
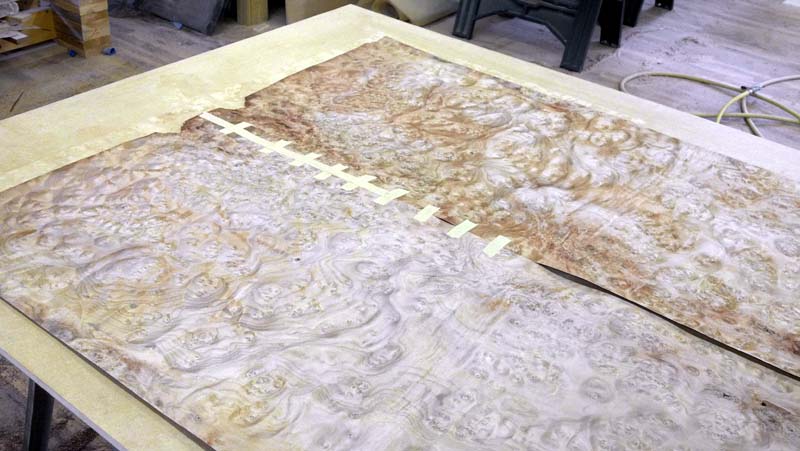
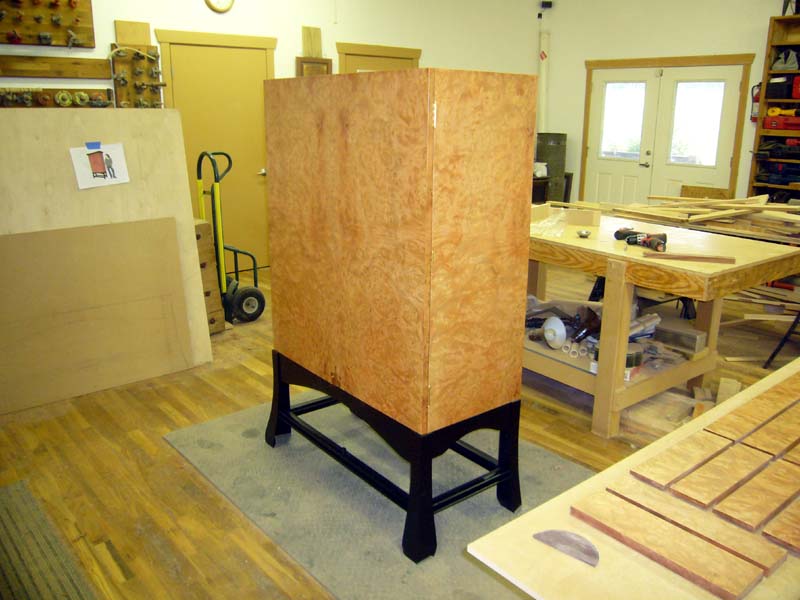
I sure wish there was some way for photographs to show the true beauty and depth of the Pelin Burl.  Even with some minor post-processing in PhotoShop, they still look bland compared to real life.  Oh well...


Still LOTS to do...but the progress to date is satisfying to see...
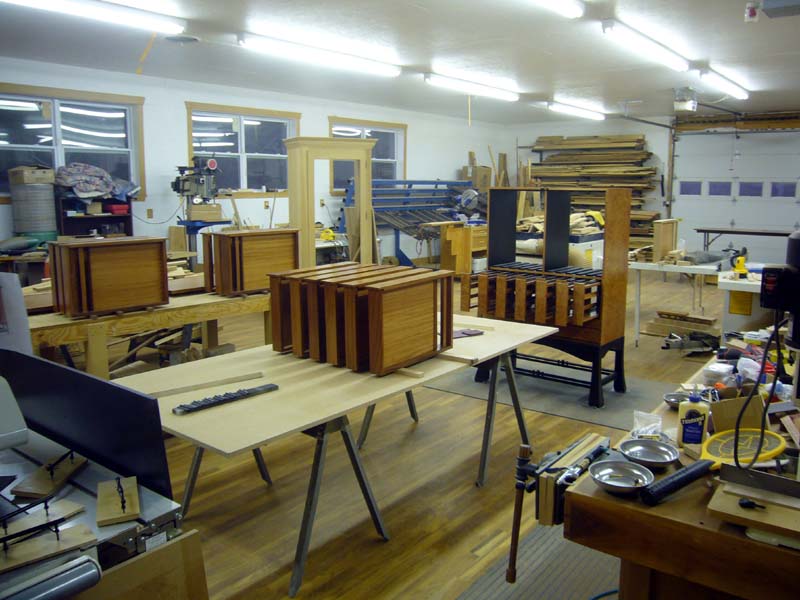


8-18-2012


I guess it's time for an update...been almost two weeks since the last one.  That doesn't mean no progress has been made.  It just means that creation progress, instead of web updates progress, has been made...


Anyway, I've added a little text to each photo below explaining what they're showing.


We're getting close...


Milling the interior parts for the upper large pull-outs.
 
All the parts have been created, ready to start assembly.
     

Working on version 4, no five, of the prototype.  This is the final version.  The earring racks will be straight up and down (vertical) instead of angled.  This will provide you with a clearer view of what's on the racks, since they'll be about eye level.  Not to mention, the space is a little too tight to allow for proper use if the racks were angled.  (See some of the previous prototypes sitting on the bench.)


Here's a closer shot showing the final placement in the prototype.  This is the placement that proved to be the most useful, and makes the most of the limited space.


Milling the parts according to the dimensions found in the final prototype.
 
Making the earring racks. Too bad there isn't  a way to automate this time consuming process...
     

Drilling the holes in the pullout partitions that will receive the solid brass shoulder hooks.  Notice the two sets of holes in the drilling template.  The template is flipped over when drilling the other side. The holes have to be offset so that they don't meet, otherwise the hooks would hit each other as they were inserted.
 
After individual sanding, the pullout components were pre-drilled for trim screws using a template to evenly space the holes uniformly across all pullouts.


Here's a shot of the assembly line as one of the pullouts is completed.
 
Just testing the layout of the hooks.  Each hook will lie between a pair of holes and slots in the earring rack above. Yup, everything lines up very well!


I probably could have skipped all the details above and just posted the following pictures.  But I decided to add the above...just in case you were interested...:) 


(I can hear you now..."Yeah, yeah, I get it...lots of work goes into creating this.  Where's my armoire?" )


Here's what you've probably been waiting/wanting/hoping to see...


There's NO WAY this picture can convey the beauty of almost seven feet of this veneer!!!  
Adding a flash to the picture shows the grain a little better, but it still looks NOTHING like it does in person!
     

Let's see if a front view helps to reveal the beauty...Nope!
 
Did I mention all the pullouts have been mounted?

Let's see if an accordion view helps.  Nope.

(By the way...extending all the pullouts at the same time is something you should NEVER EVER DO. Think file cabinet with all the drawers extended.  Get it?  Ouch!)


 Here's something else you should NEVER do. 

But it sure looks cool...
 
If you could stand in the shop, you'd realize just how gorgeous this looks! 


8-26-2012


It's been a very busy and productive week.


We're getting even closer...


Again, a little text with each photo below explaining what they're showing.


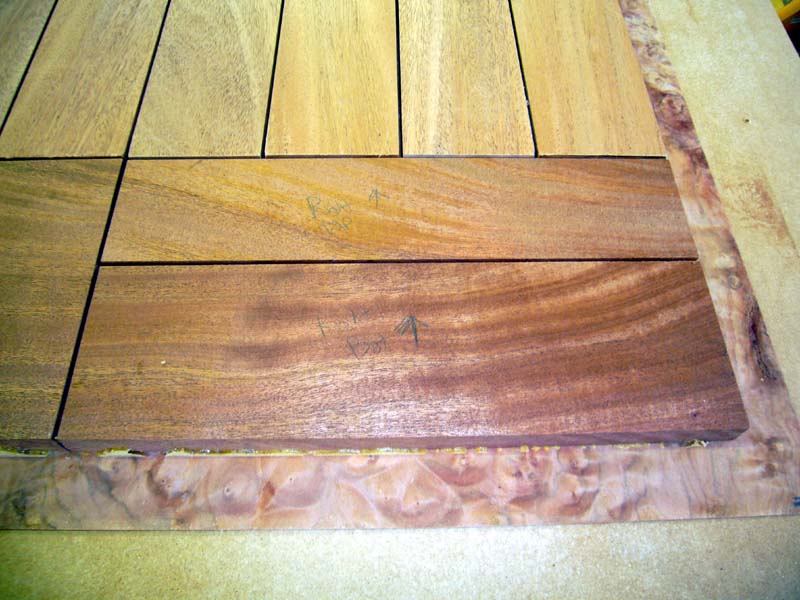
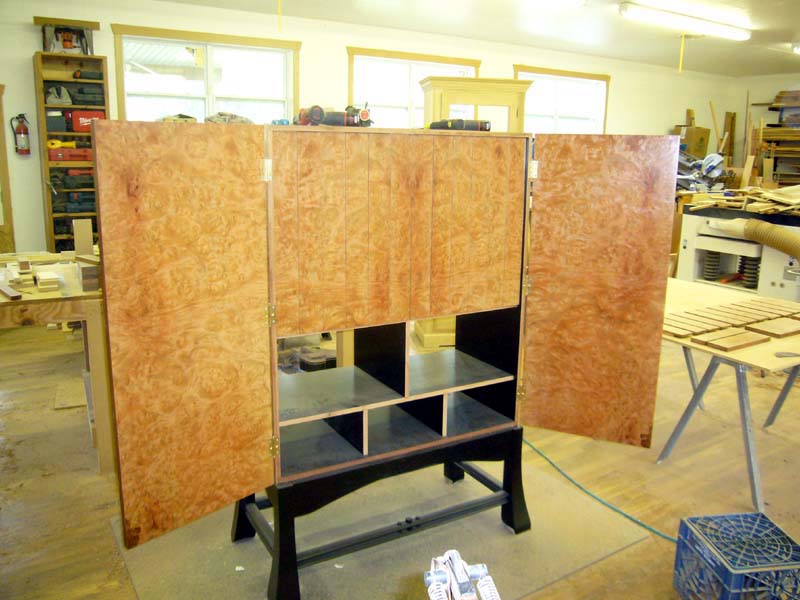
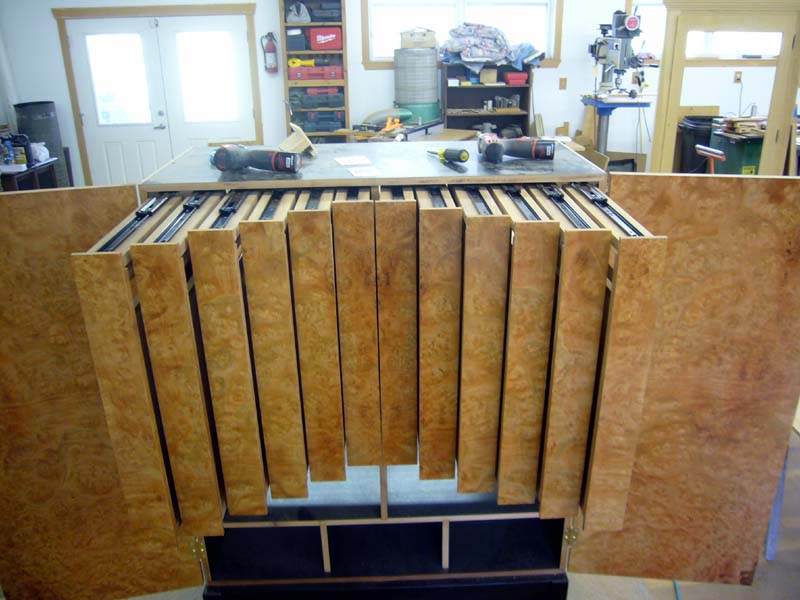
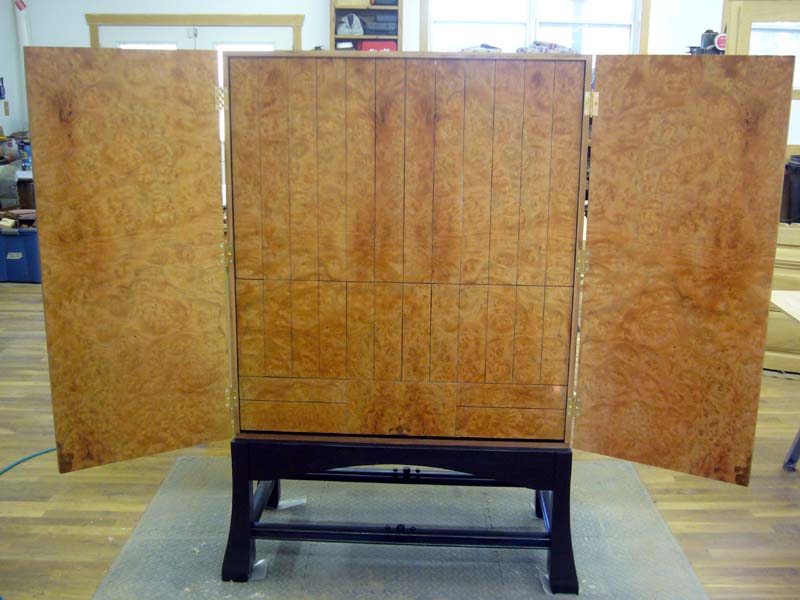
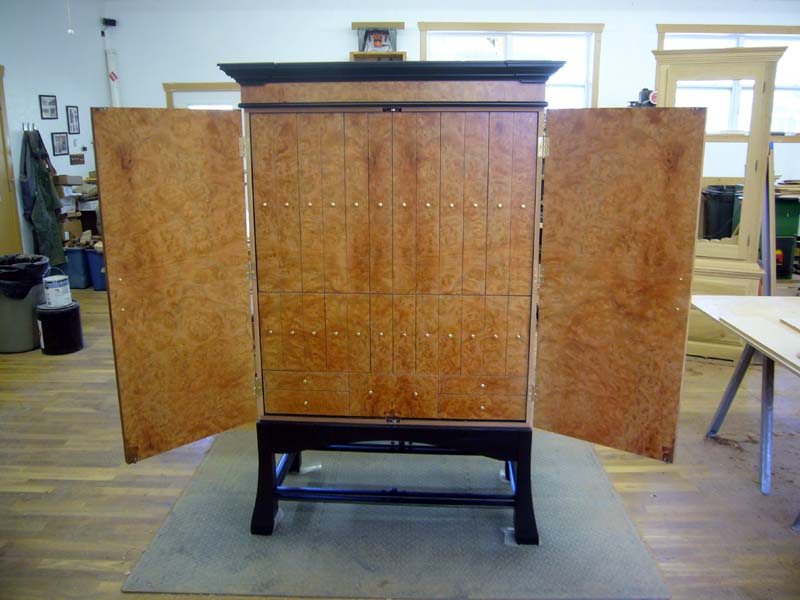
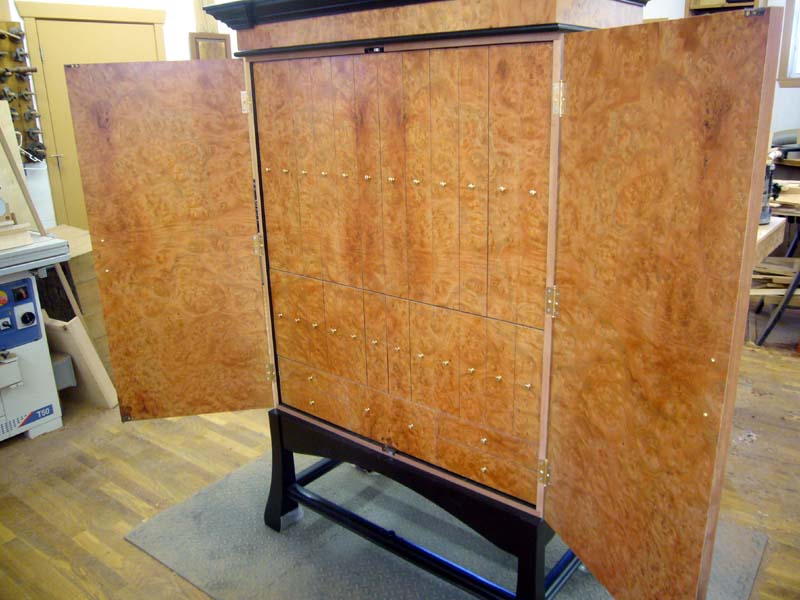
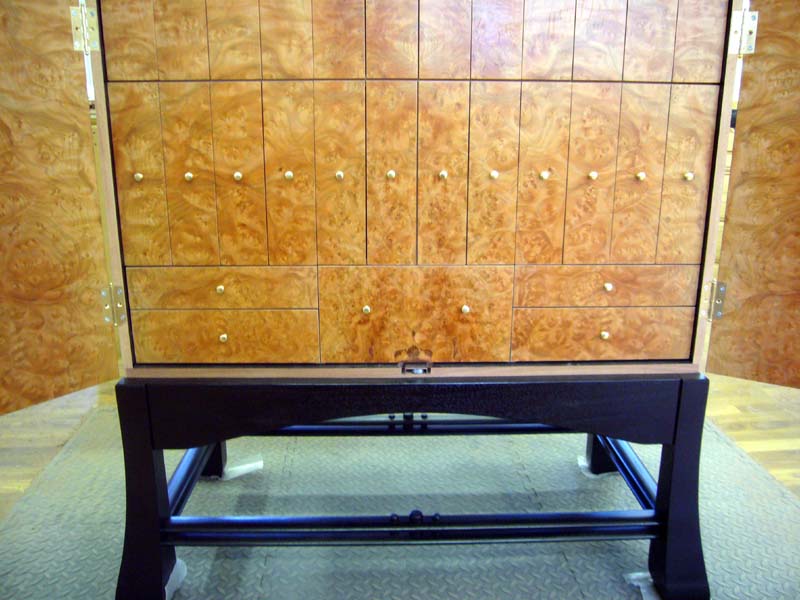
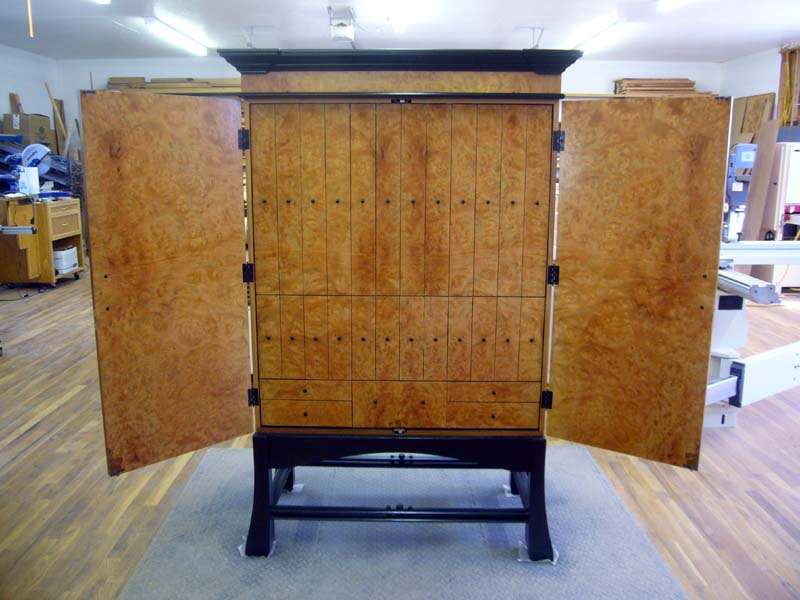
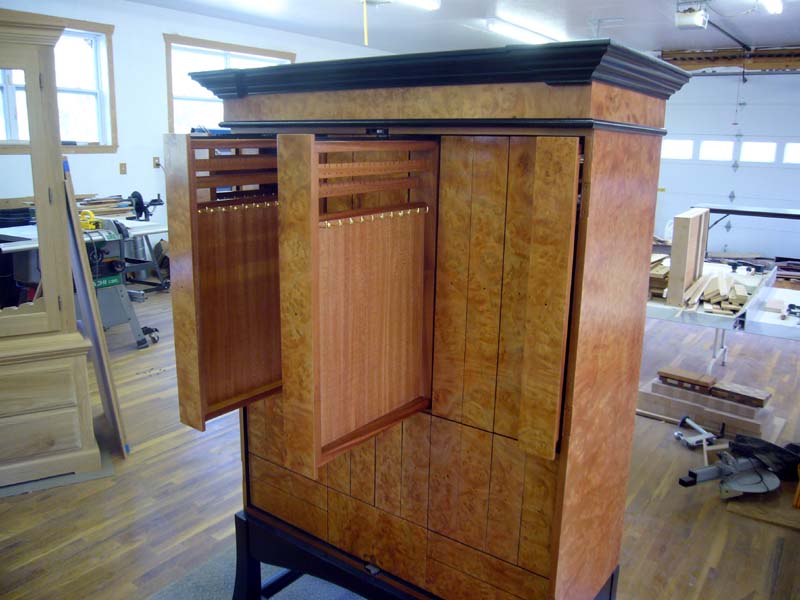
First off, in my haste to get the last set of pictures posted, I inadvertently had the center two pullouts in the wrong slots.  The following pictures show the correct layout.  You can see that the pattern of the burl carries across the doors and matches exactly with the burl on the pullouts.


Ok, now on to this weeks accomplishments...


Moving on to the lower earring only pullouts, several prototypes were built to help determine the proper angle and height of the earring racks. The goal was maximizing the use of the space, while still providing the best viewing angle.
 
With the design layout determined, it was time to make all the racks.  Starting to cut the slots in the racks...when...
     

KABOOM!  A $300 bandsaw blade decided it was at the end of it's duty cycle!
 
Without a replacement bandsaw blade, and a new one being 7-10 business days away, it was time for plan-B.  A special extra thin saw blade was procured to allow the racks to be completed.


With the slots cut, time to drill a whole bunch of holes.  (Seems we've been here before...)
 
Here's the finished product(s). Making all those prototypes paid off, since the layout came out quite nicely.


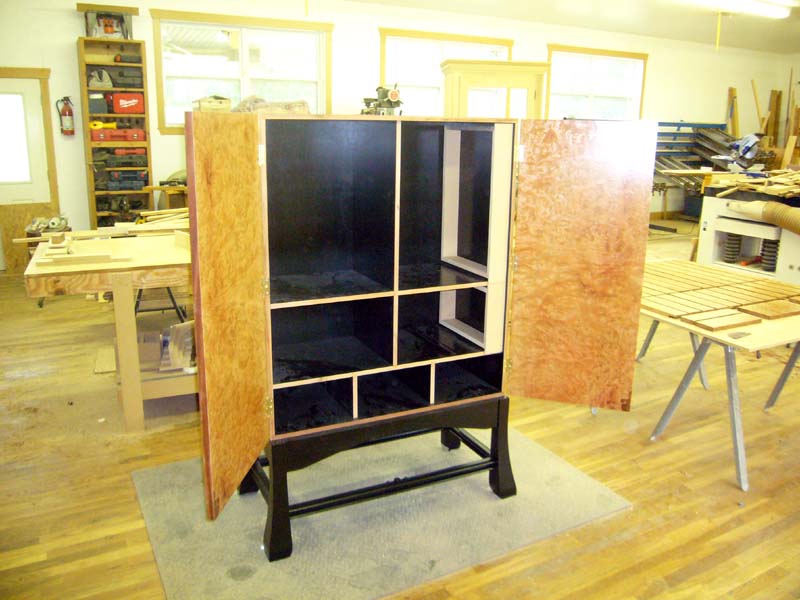
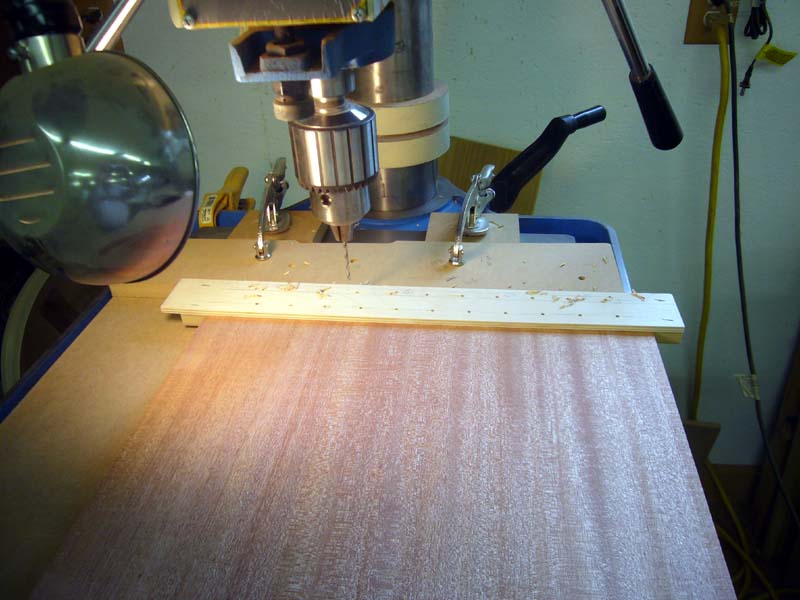
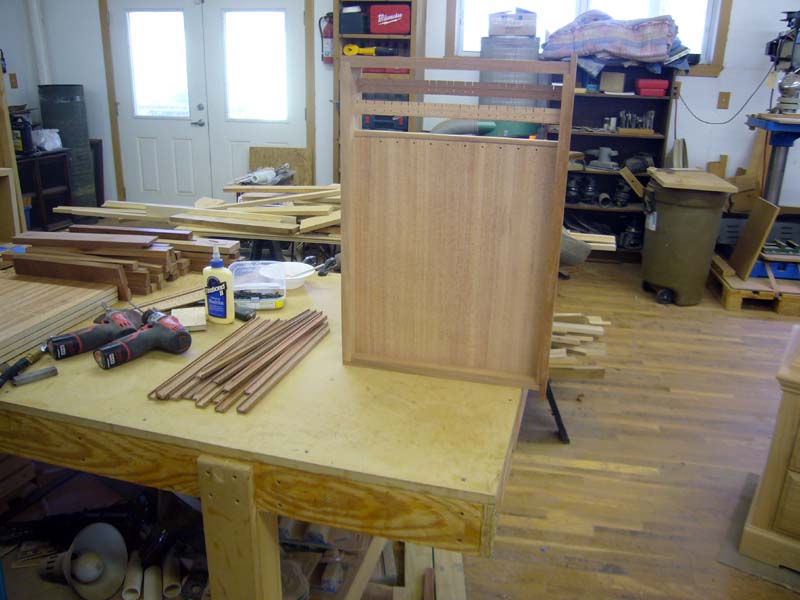
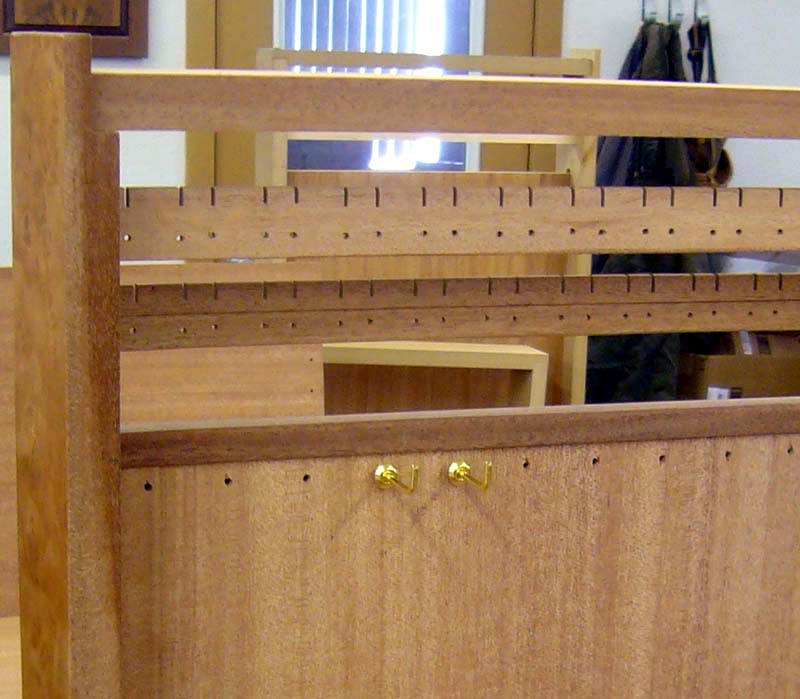
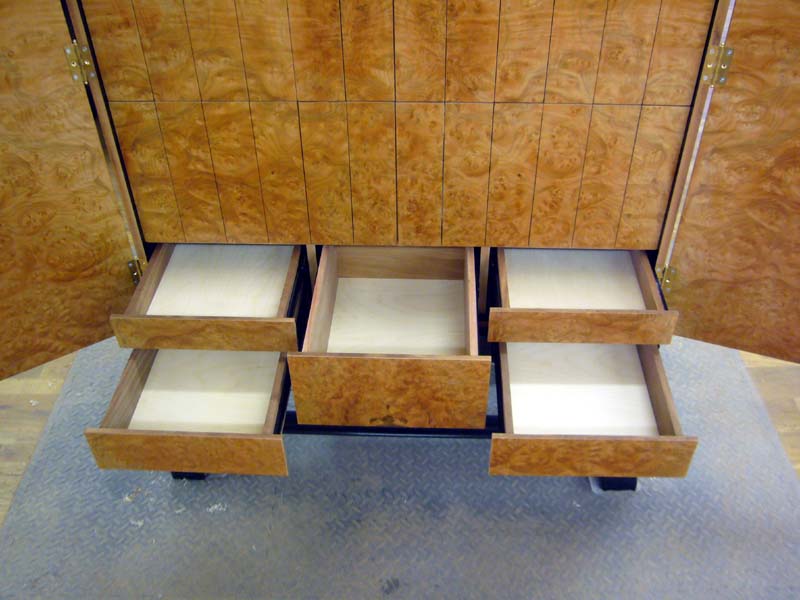
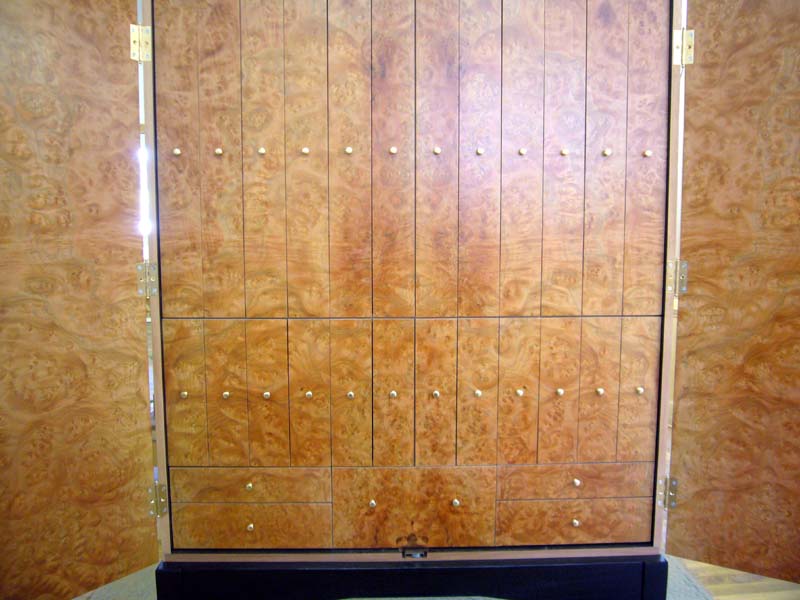
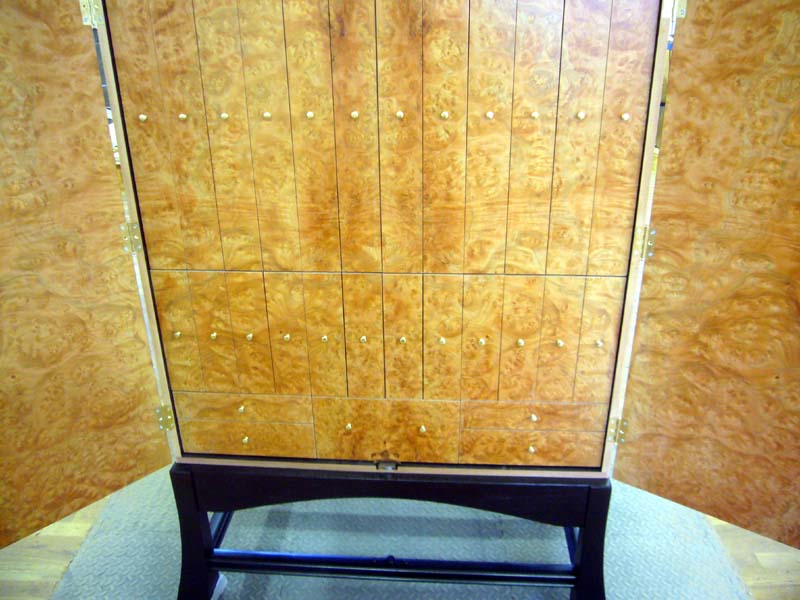
Wait a minute.  What's that you see below the earring pullouts???  Are those drawers?


Yes, the drawers are done and in!  

There it is...all the holes are filled!


There's still work to be done before the interior is completed, since most of the pullouts and drawers are way too close together.  Some of them are less than 1/32" apart! 

Also, all the hardware has to be removed to apply the finish, so the actual alignment won't be done until after the piece has had the final finish applied.


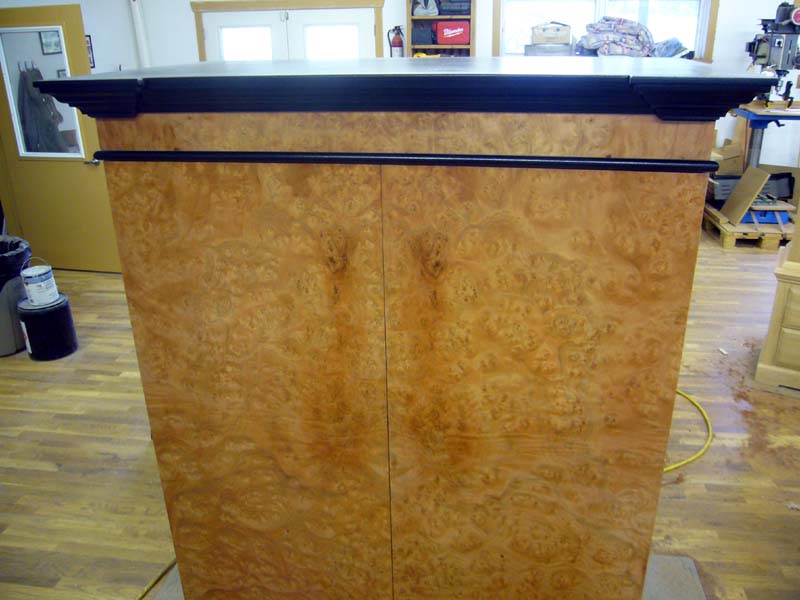
Work has begun on the top molding stack.  With that completed and installed, final sanding and fitting will begin...


Oh, by the way...with all the pullouts completed, the total capacity of the piece has been determined.  Are you ready for this?


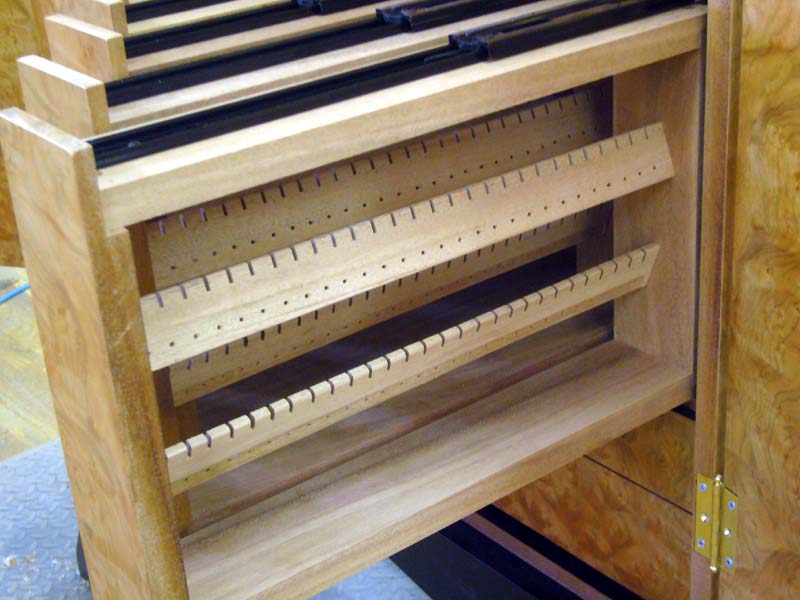
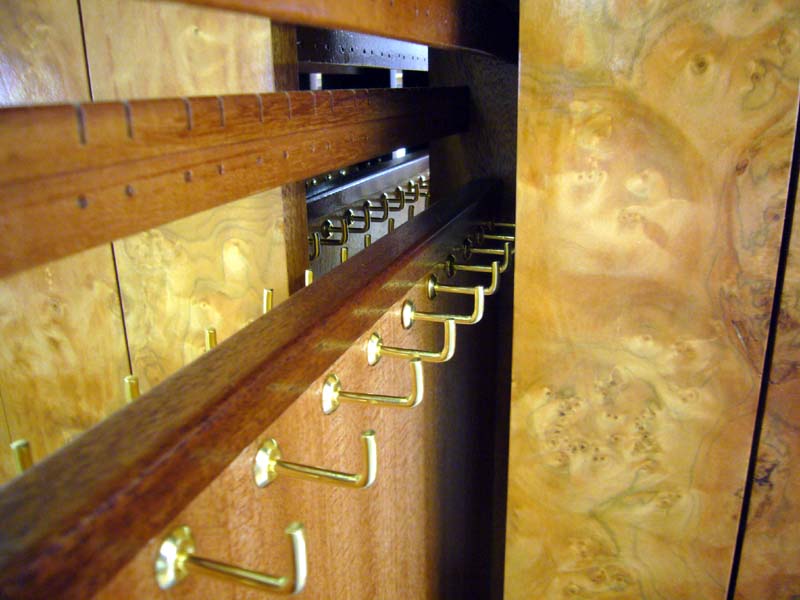
If you were to fill every hook with a necklace, and every pair of holes or slots with earrings, your armoire will hold a mind boggling:


264 necklaces and 600 pairs of earrings!!!


And of course that doesn't include whatever you decide to house in those five spacious drawers!


9-2-2012


It's been a very busy and productive week.


We're getting even closer...


Hey, wait...I said that last week...oh well, it's still true...have a look...


Instead of boring you with a bunch of build pictures, how about if I just cut to the chase?


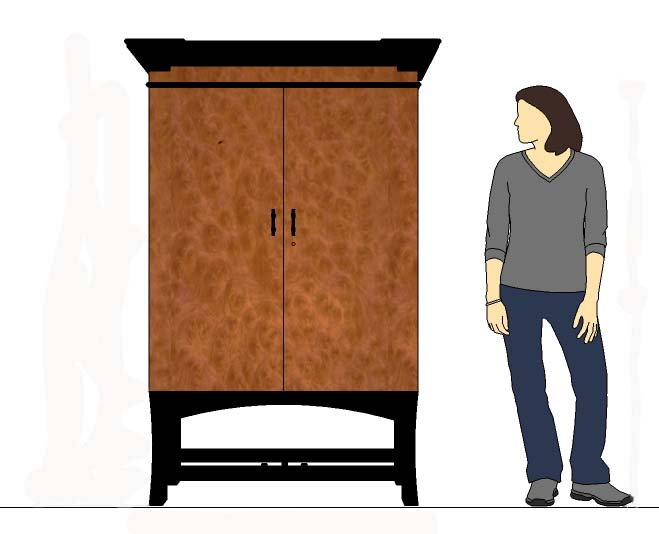
Remember this sketch I sent you when we were finalizing the design details?


I think the real thing looks even better than I envisioned it...


It's on to fitting the doors and installing the interior hardware...


9-10-2012


We're now about as close as we're going to get without being done. 


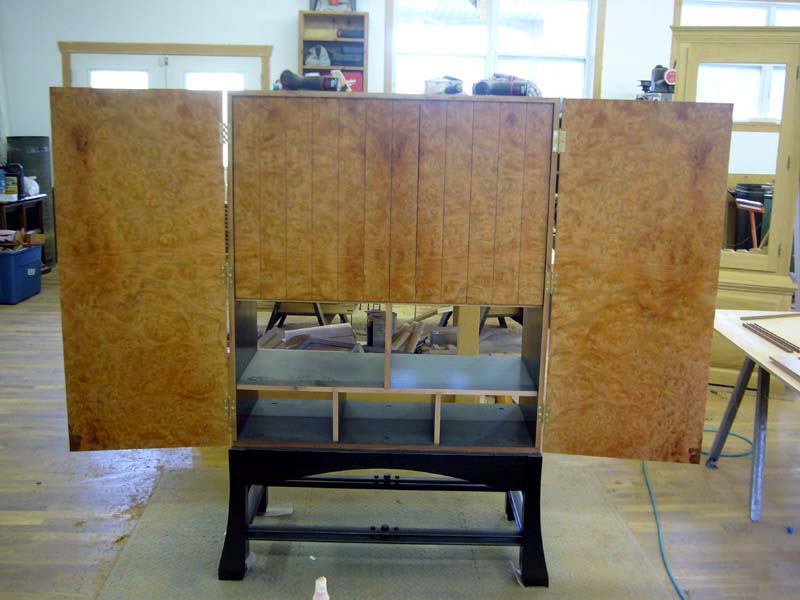
The pullouts and drawers have been sanded to create the proper horizontal gap between the sections.  The vertical gaps, which are adjustable with the permanent mounting of the slides, will be set once the piece emerges from the finishing room and final assembly is done.


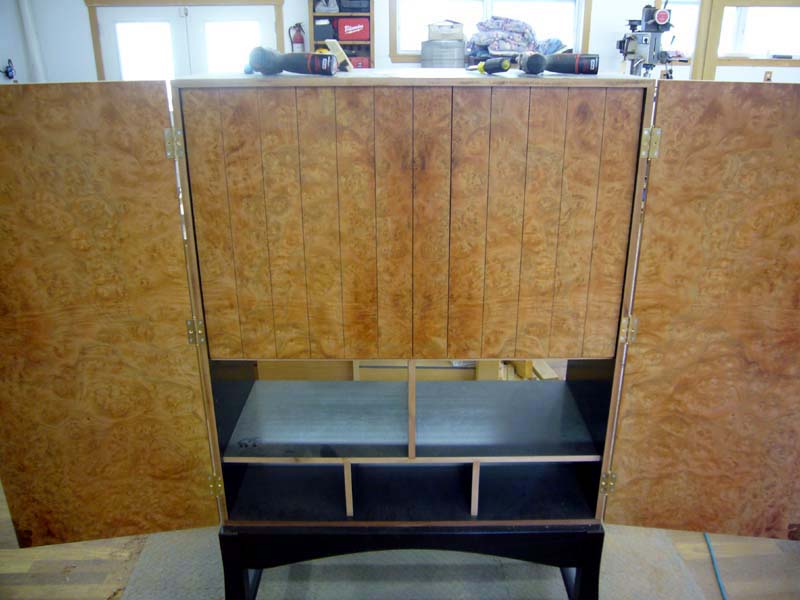
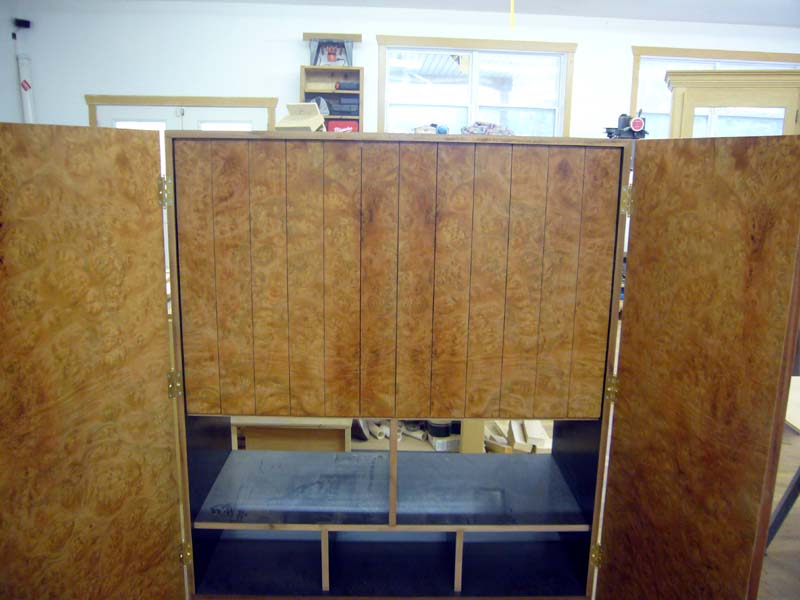
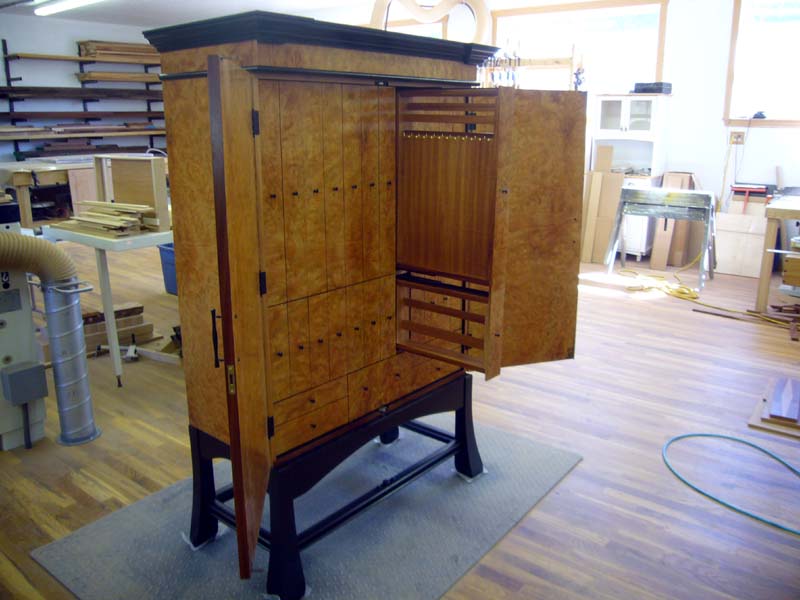
The door catches have been installed.  The left door gets closed first.  When the right door is closed, it locks the left door in place.  Turning the key and engaging the actual lock will securely lock both doors. A pair of rare earth magnets have been embedded into the top of the right door and the top of the cabinet. This will allow the doors to remain closed without the need for actually locking them shut.  The actual lock will be added once the doors are removed for sanding and finishing.


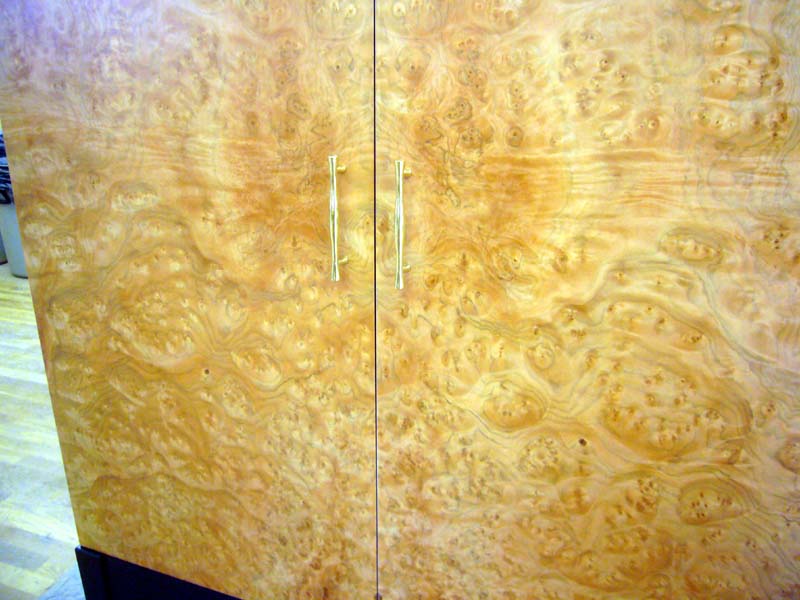
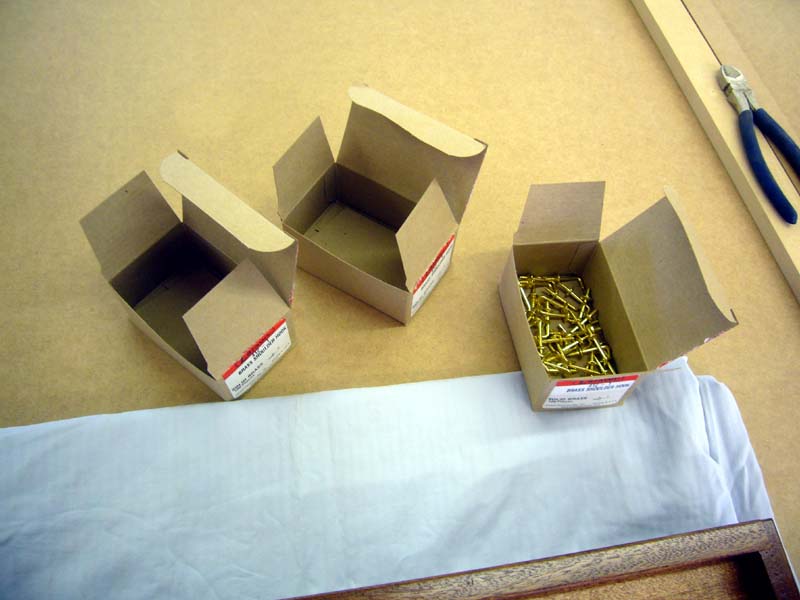
The door handles and all the internal knobs on the pullouts and drawers have also been installed. A second, simple straight set of door handles will be included for you to choose from. But the look of those shown below seems to blend well with the look of the piece.


All of the hardware is high quality solid brass.  As originally proposed, the hardware will be given a black toning, which will fit in better with the overall look and feel of the piece. If you would prefer, the hardware can be left bright brass, but the black patina will help it blend much better.  The chemicals to add this black patina are on their way and should be here in the next 2-3 days.  This additional step is needed because no quality hardware could be found with an existing black finish.  It was all either painted zinc, or cheap pot metal.  Neither of those would have been appropriate for your armoire!


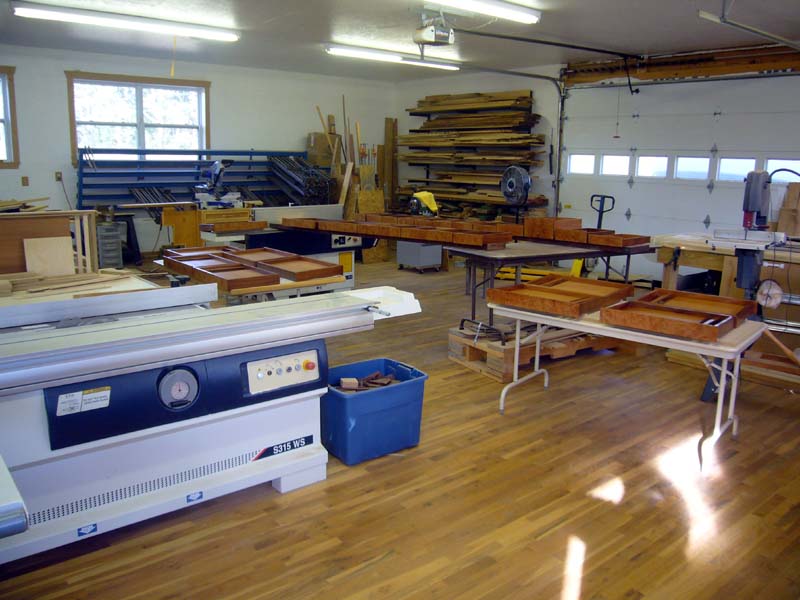
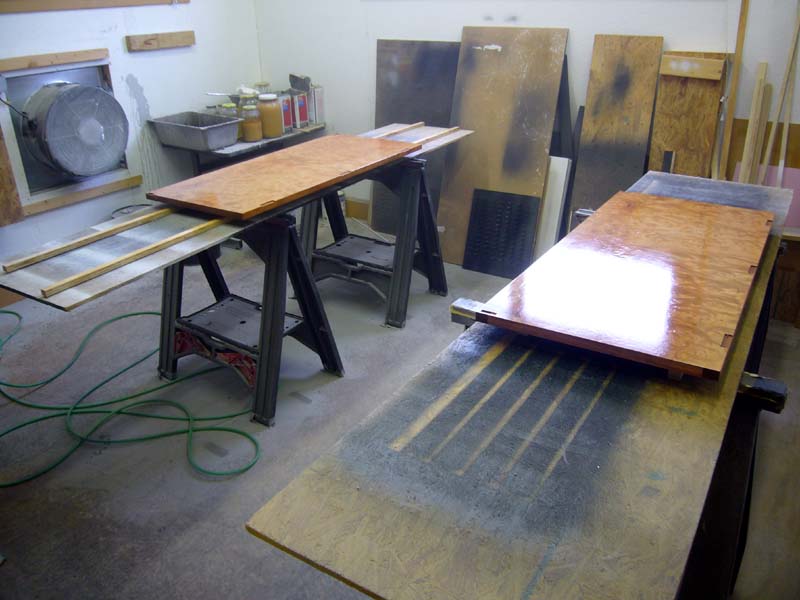
Final hand sanding will be done to each component as the piece is completely disassembled on the way to finishing. 


Once all the components have been finished, final assembly and adjustments will be done.


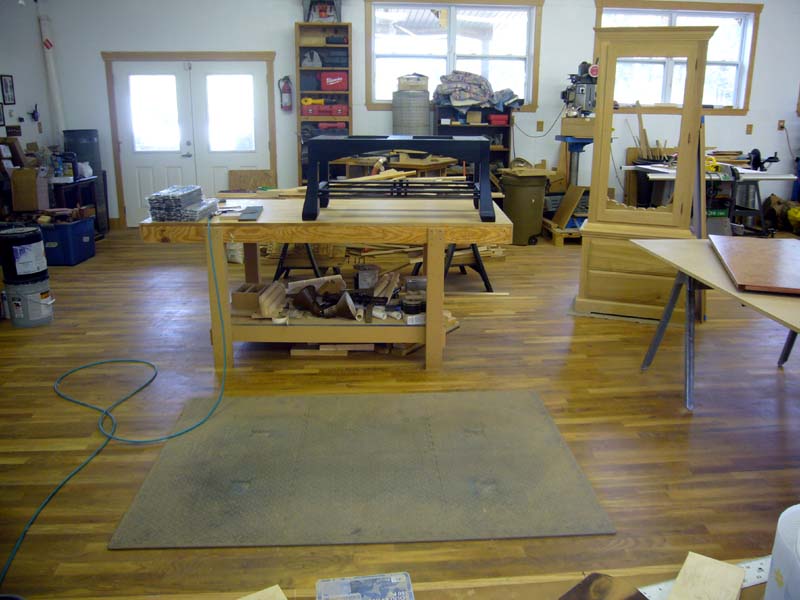
Here are a few shots showing the piece ready to be disassembled for final sanding and finishing.


9-18-2012


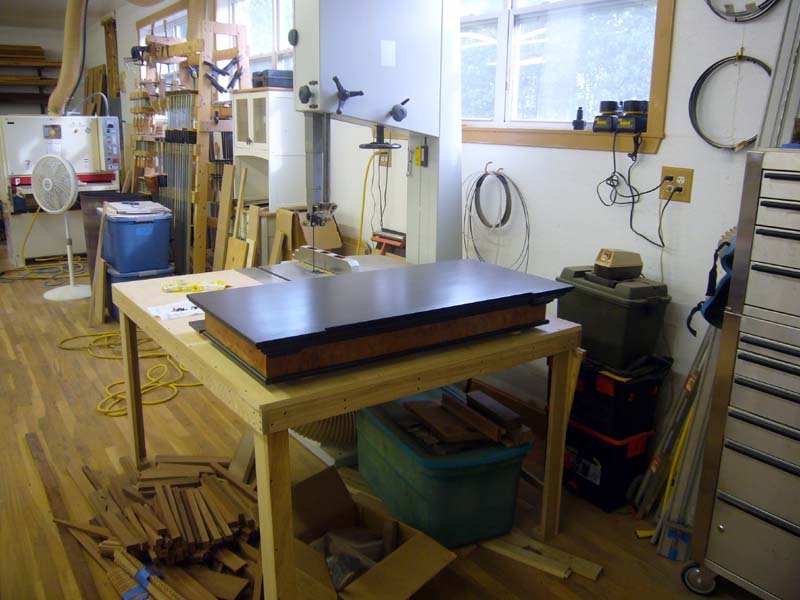
Just a quick update to let you know that the finishing process is going well.  All parts have been hand sanded and now have (at least) two coats of sanding sealer applied.  The lock and keyhole escutcheon have been installed. Work begins now to get final top coat applied to everything.  Once the top coat cures for a few days, final assembly and tuning will begin.


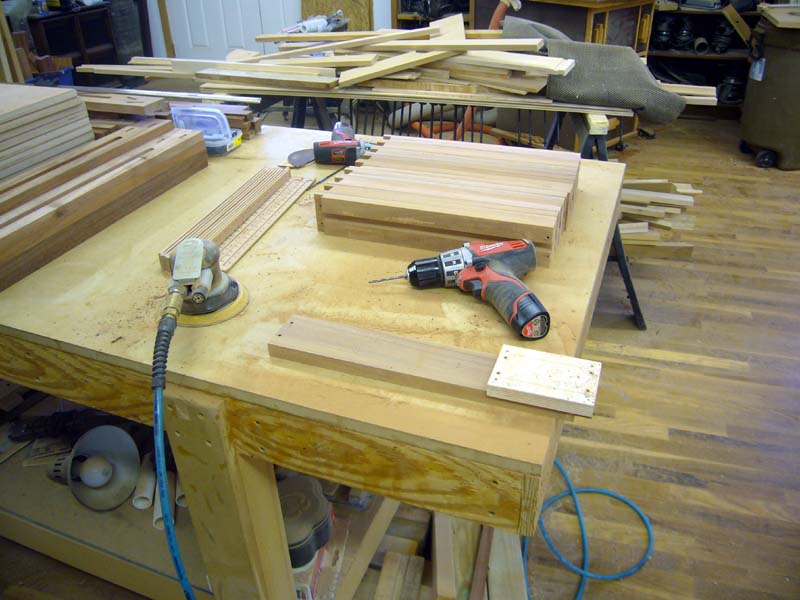
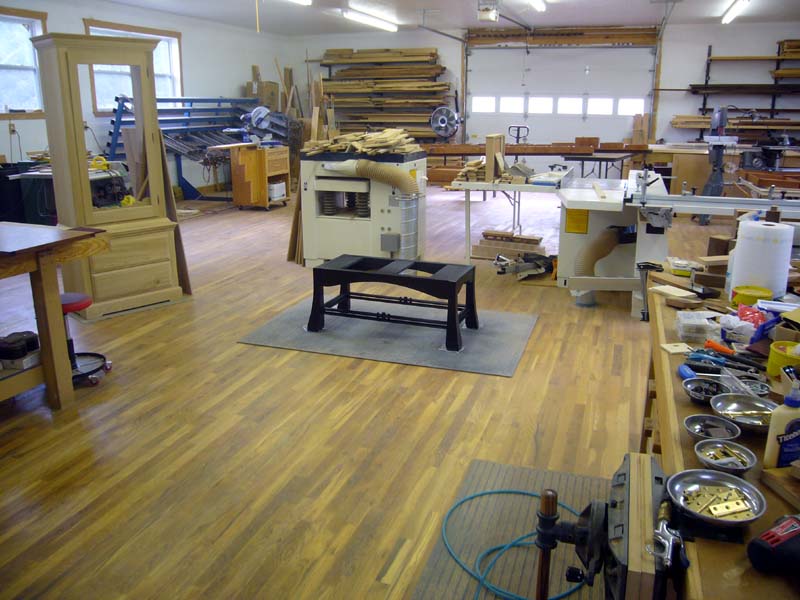
For now, there are parts everywhere.  I need a bigger shop!


9-29-2012


The update you've been patiently waiting to see is finally here...


YOUR ARMOIRE IS READY TO COME HOME!!!


And finally, here are some pictures and details of the final dash for the finish line, the steps to complete the project...


Base top-coated and moved to assembly area
 
Main cabinet top-coated and moved.  Staging platform set up and ready

All the components need to be sanded once again to level out and smooth the sanding sealer.  Here's what the doors looked like after sanding.
 
And here are the doors with top-coat sprayed on them.

The molding stack and its back top-coated
 
The lower, earring only, pullouts were top-coated in batches

Lower pullouts top-coated, cured, and ready to be re-installed
 
Upper pullouts top-coated and curing.  Lower pullouts re-installed

Each box contained 100 solid brass shoulder hooks.
 
After a few hours of work, there are now 264 hooks installed.

Close-up of installed hooks