Fivebraids Custom Woodworking, Inc.
Purveyor of "Things Wooden"
Metter, Georgia
*** Business and Retail Shop Closed. ***
Thanks for your support
|
|
Fivebraids Custom Woodworking, Inc.Purveyor of "Things Wooden"Metter, Georgia*** Business and Retail Shop Closed. ***
Thanks for your support
|
|
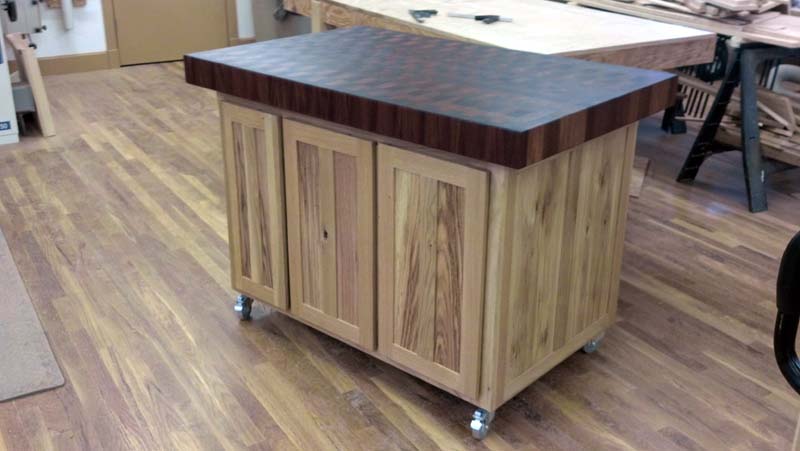
Butcher Block topped Kitchen IslandThis kitchen island/cart was built to match an existing set of kitchen cabinets. (The same kitchen cabinets that were matched in the Liquor/Wine Hutch project.)
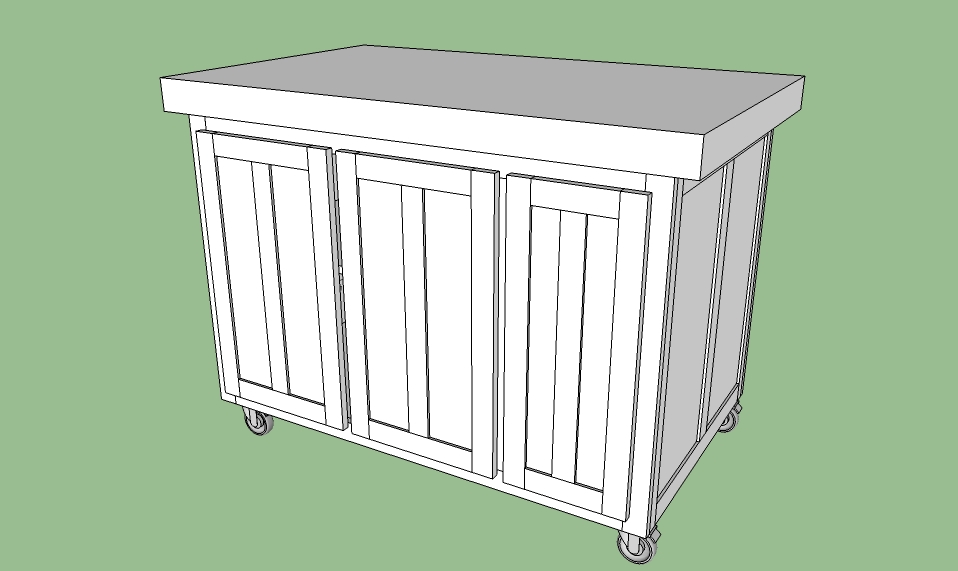
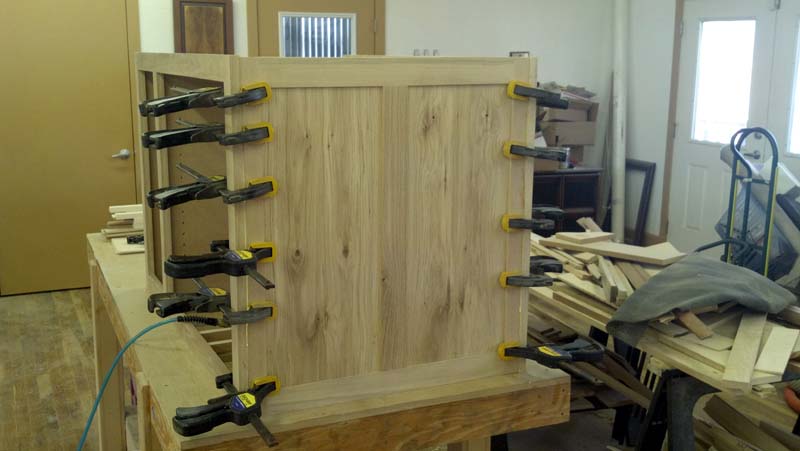
The initial CAD drawing showing design and dimension details was approved, and construction began. The basic box was built, then a White Oak face frame was built and attached to both sides.
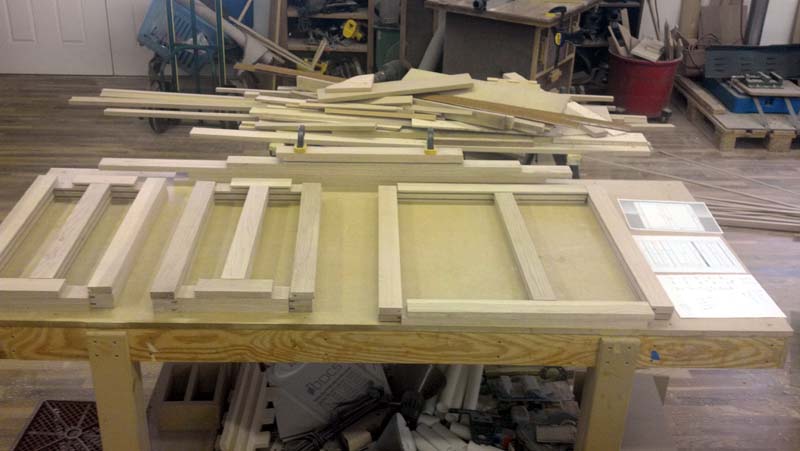
Next, it was time to mill all the door parts. There are six doors on the island, three on each side. But the two end panels are constructed using exactly the same techniques, so parts were made for a total of eight doors.
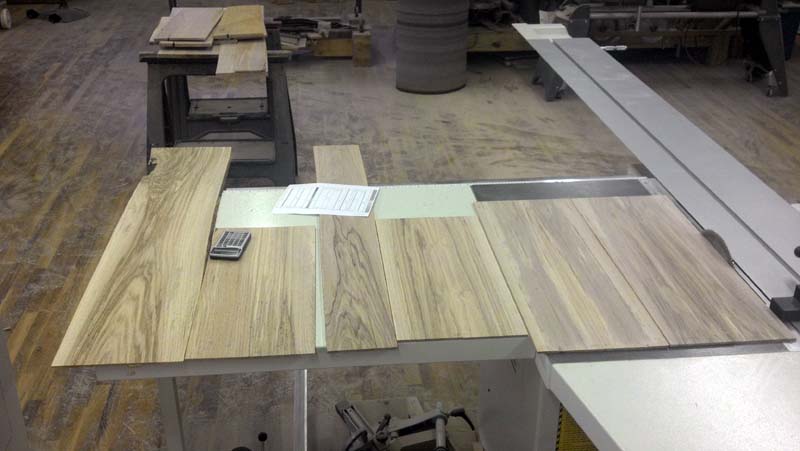
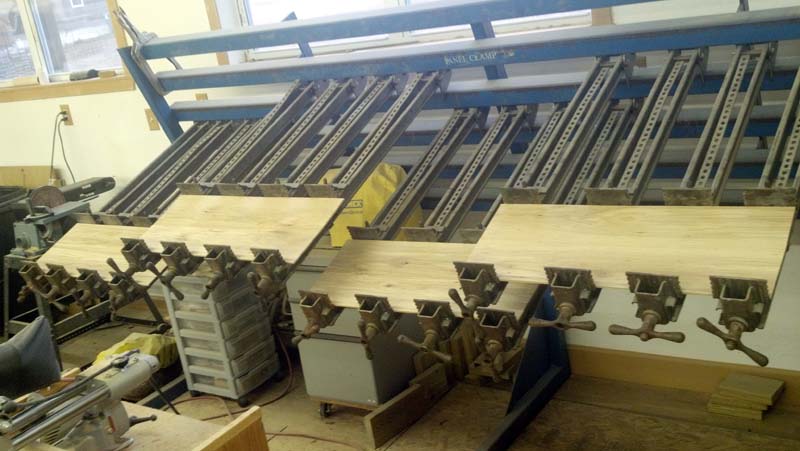
With the stiles and rails for the doors made, it was time to select oak stock with a little 'figure' to add some interest to the otherwise plain design of the doors. The figured stock for the large end panels was resawn into two thinner slices, opened up and then glued into book-matched panels.
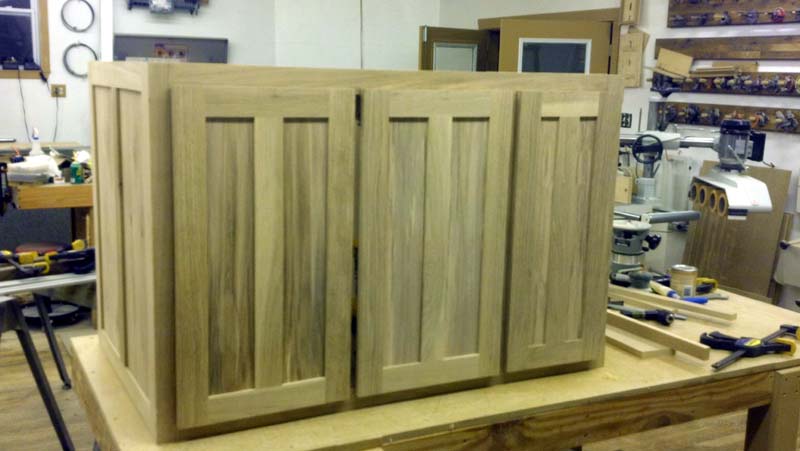
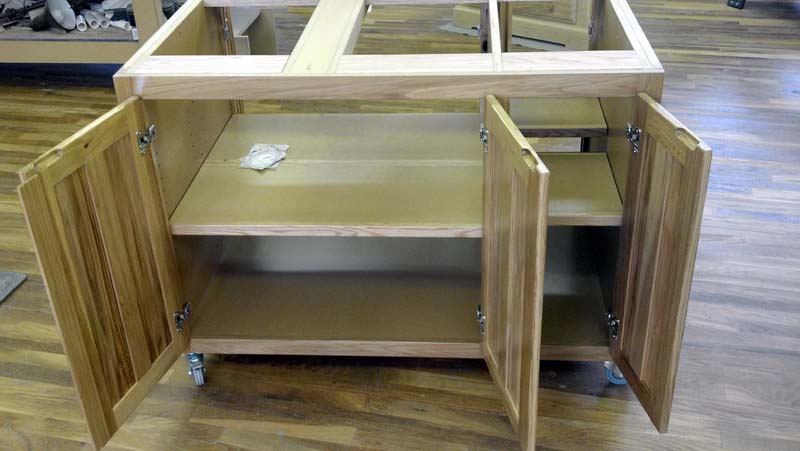
End panels and doors were assembled and mounted. Reinforced shelves were made and fitted with adjustable shelf pins.
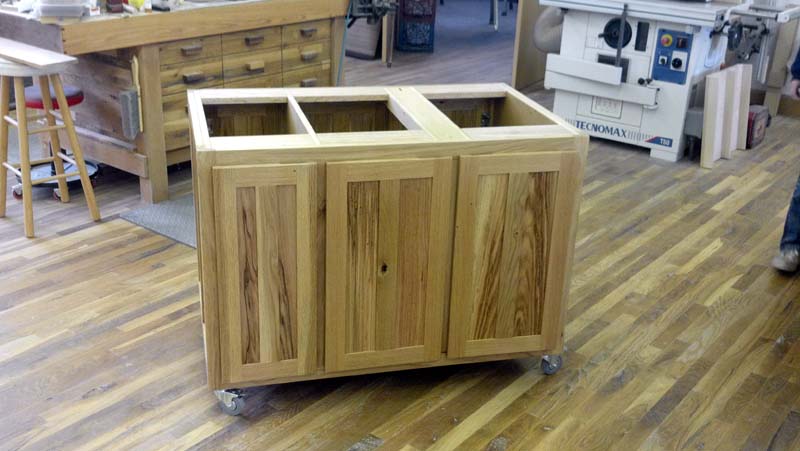
Industrial strength rubber casters were mounted, then the entire cabinet assembly, doors, and shelves were sprayed with several coats of lacquer.
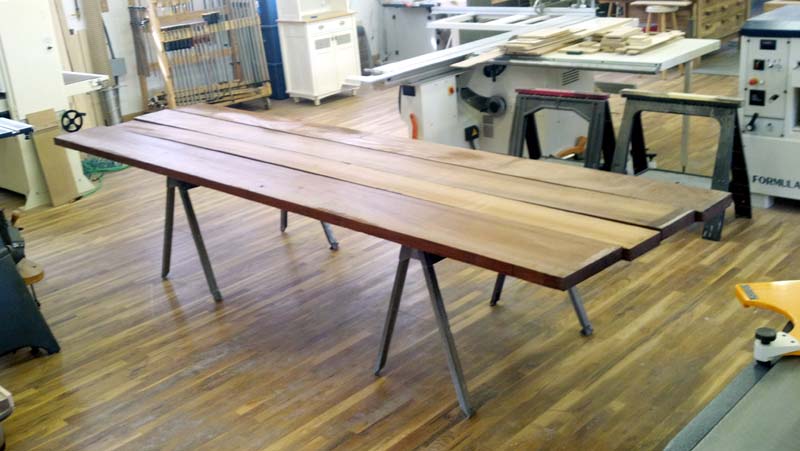
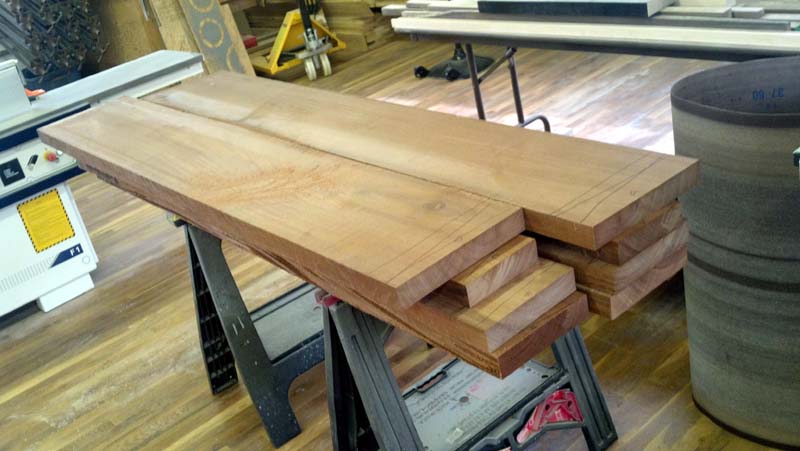
With the cabinet completed, it was time to move on to the butcher block top. It starts with 100 board feet of 2" thick, thirteen foot long African Mahogany. The boards were cut in half to make them more manageable, and carefully marked to be able to re-assemble them as work proceeded.
The boards were then ripped into smaller widths, and glued back together into a set of four 6 1/2' long, 18" wide 'blanks' (just under the maximum width that our planer can handle).
The four blanks where then planed to uniform thickness and glued together into two 6 1/2' long 36" wide blanks.
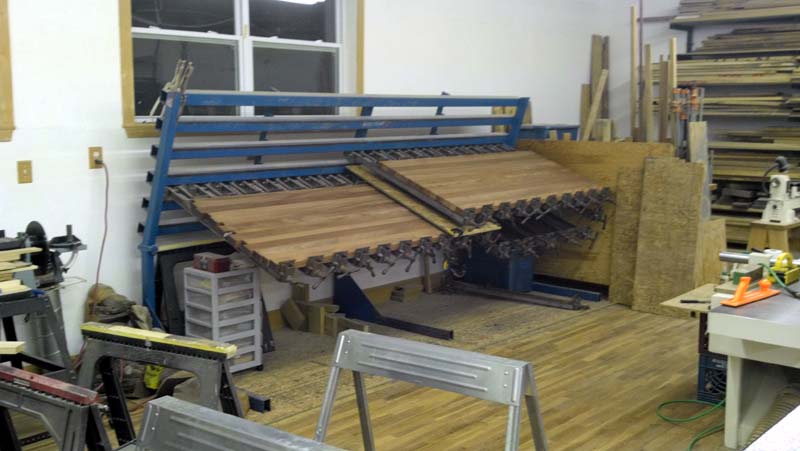
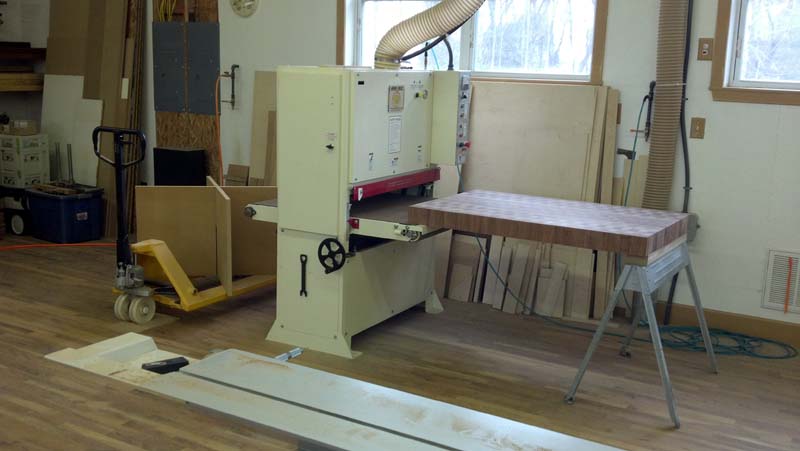
Too wide to fit through the planer, these two blanks were sent through the widebelt sander to make them perfectly flat and uniform. Once through the widebelt, the two blanks were completely crosscut into 3 3/4" slices. Here, Denise is carefully marking the slices that have been kept in sequence as they came off the saw.
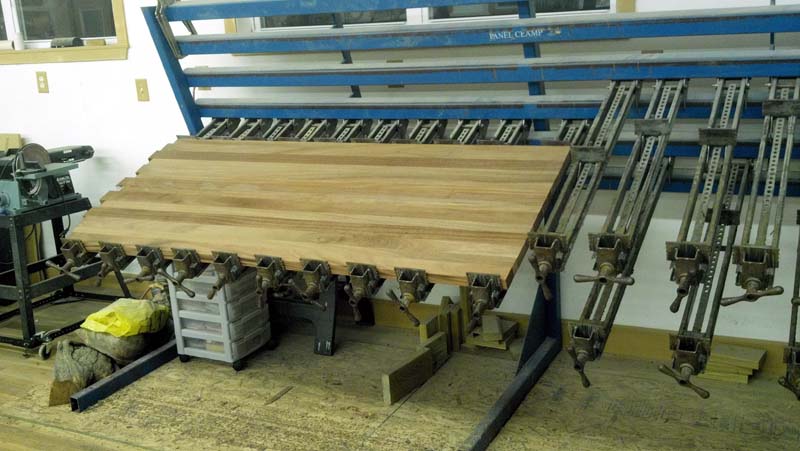
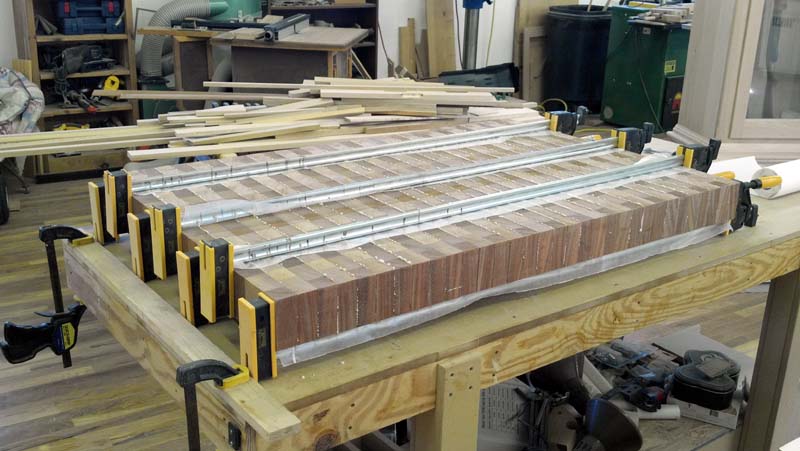
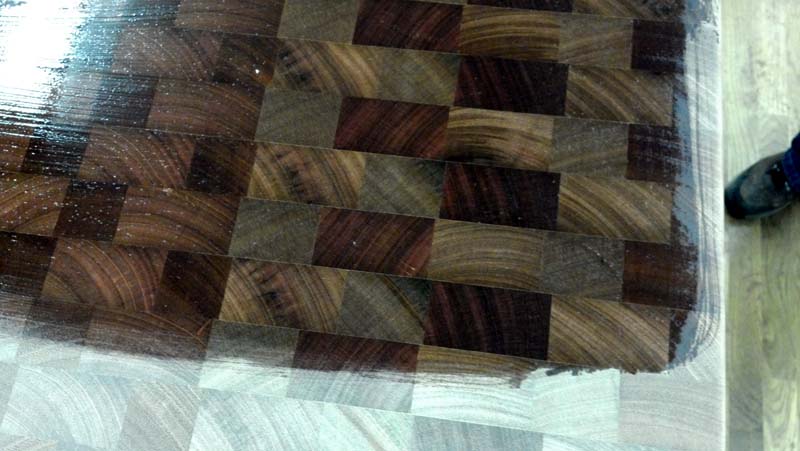
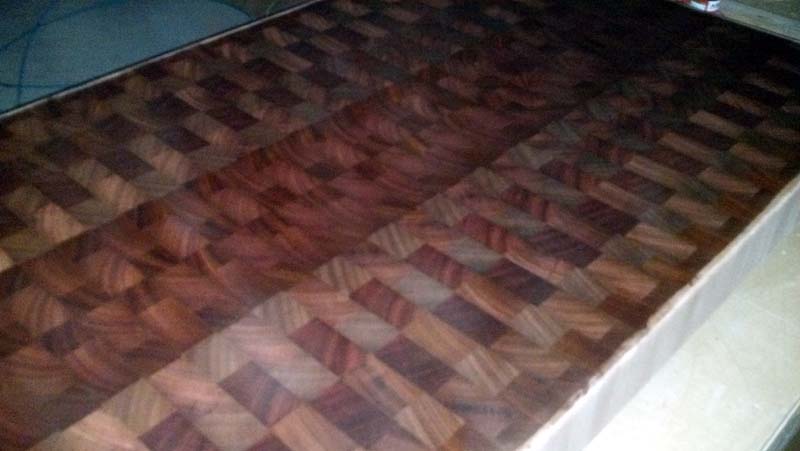
The slices are then re-arranged into a visually appealing patten, taking care to keep them in their sequential order so the grain pattern is maintained. Once a pattern is selected, all the slices are then glued together to form the actual blank for the top.
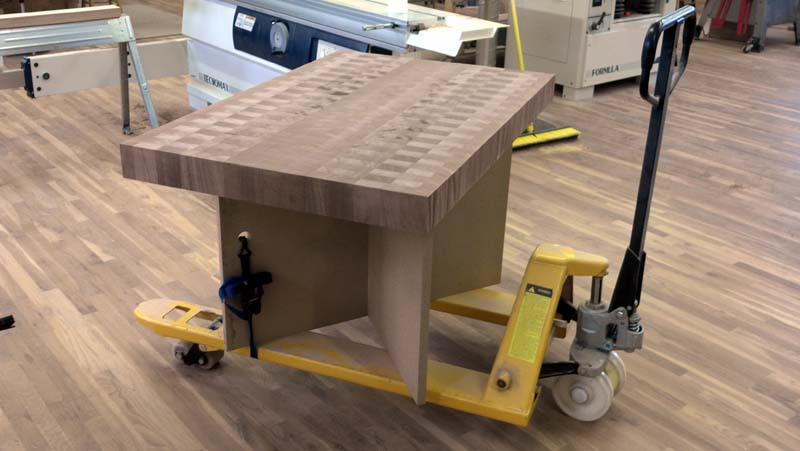
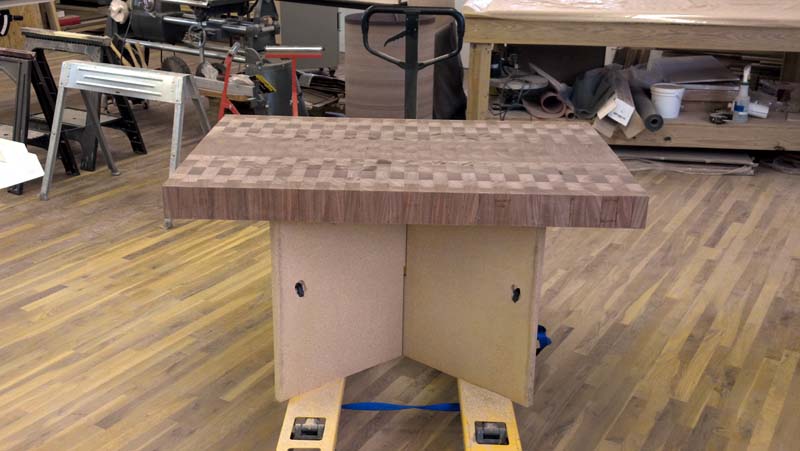
This is where things got a little more challenging, when the sheer size and weight of the top became apparent. A cross brace was constructed and attached to the shop's hydraulic pallet jack to assist in moving the blank into and out of the widebelt, and eventually up on to the saw. (The top alone was weighed when delivered. It tipped the scale right at ONE HUNDRED AND SIXTY FIVE POUNDS finished!!!)
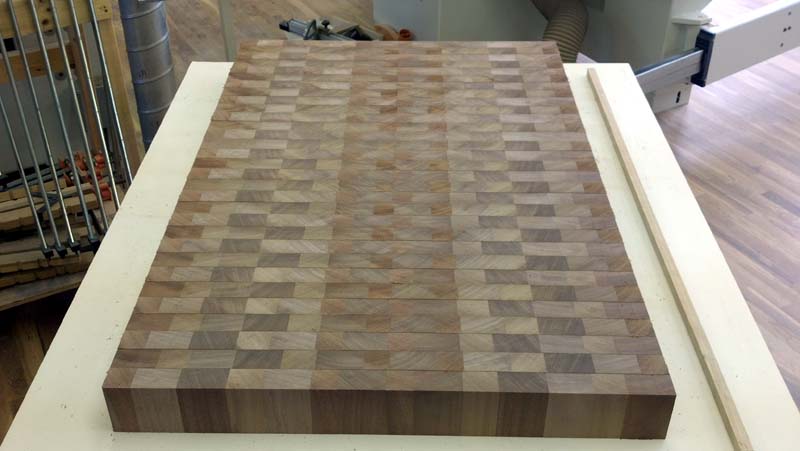
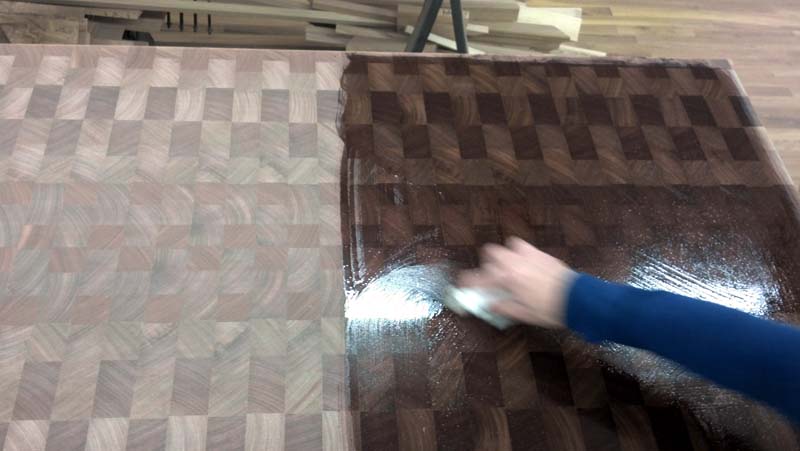
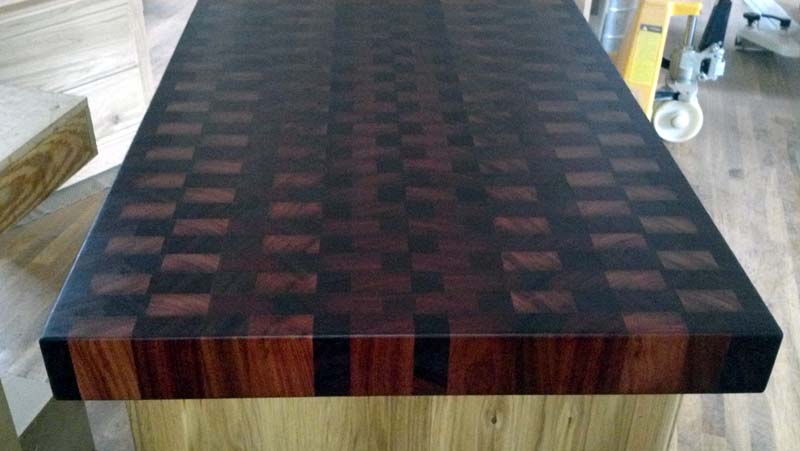
With the top perfectly flat and square, all that remained was our usual butcher block cutting board finish of mineral oil and wax. Here's a few shots when the true beauty of the top showed itself.
Once several heavy coats of mineral oil and wax were applied to all sides of the top, all that was left was to securely bolt the top to the cabinet. Here's the finished piece ready to be delivered to it's new home. As usual, pictures do absolutely no justice in showing the beauty of the grain and pattern in the top.
|